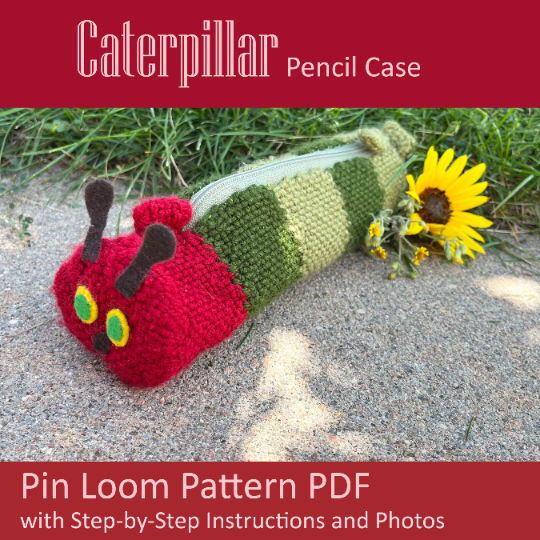
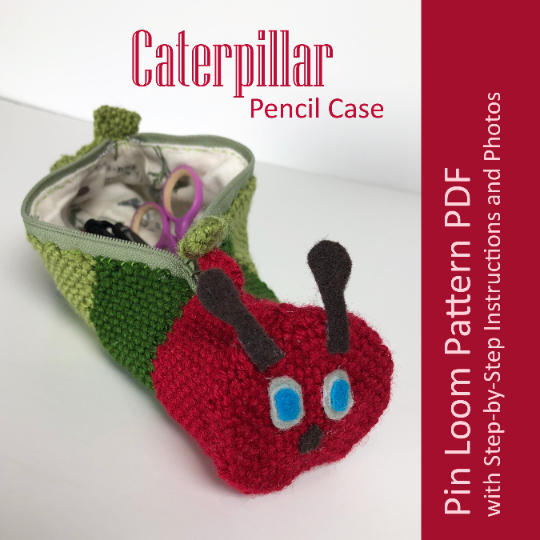
Make your own super cute caterpillar pencil case with pin loom woven shapes. This zipper pouch uses only 2 pin looms: 4″ square and 2″x4″ rectangle! If you also have a 1″ square, you can add little finger grips and zipper pull (pictured but optional).
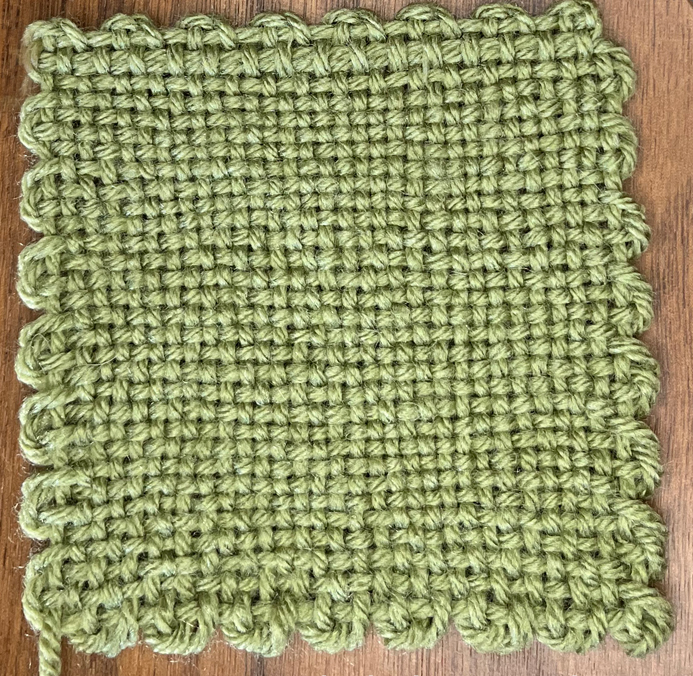
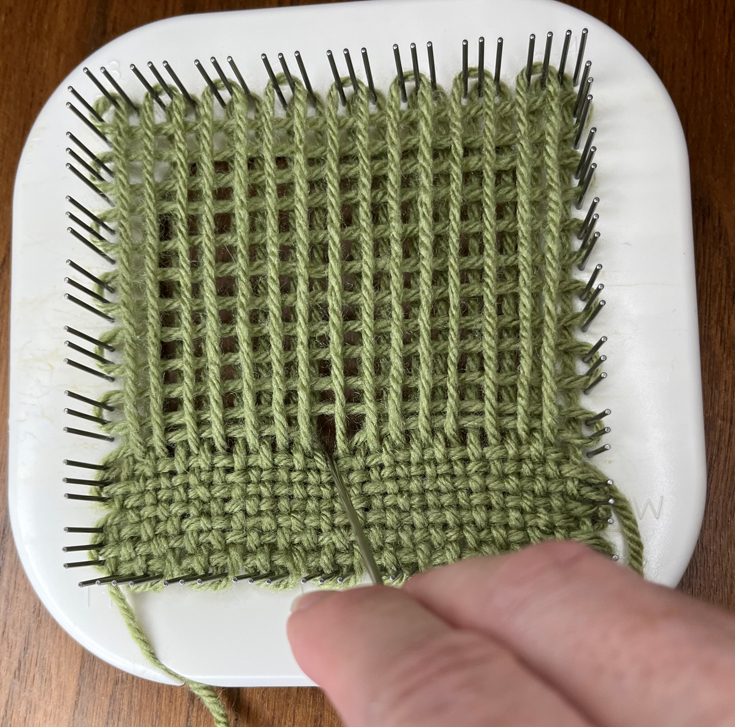
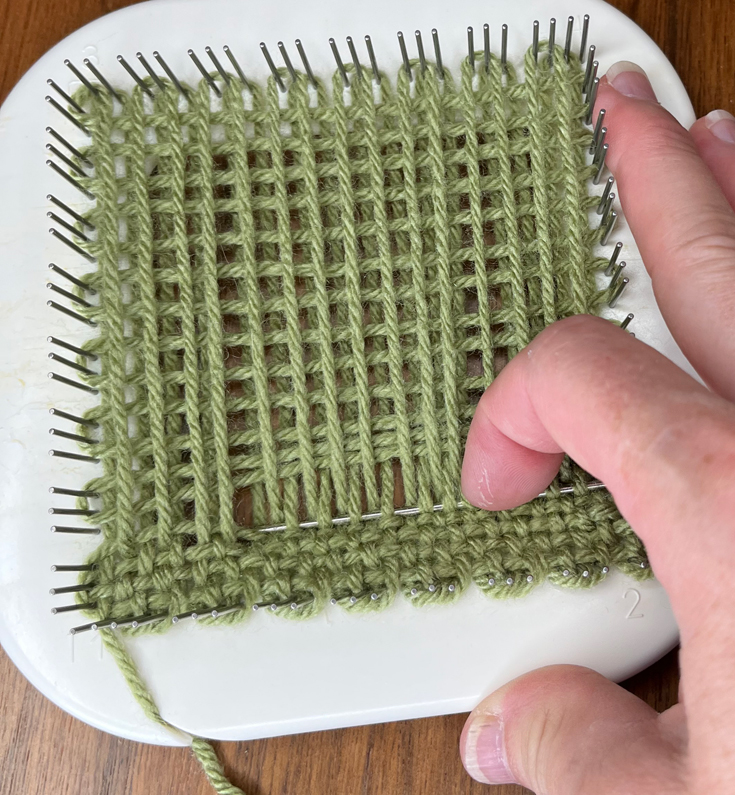
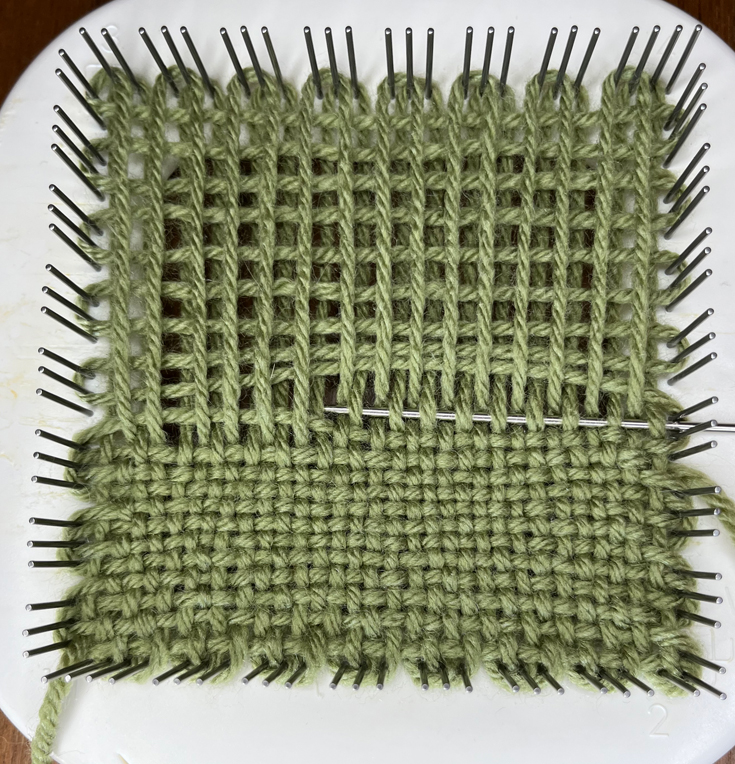
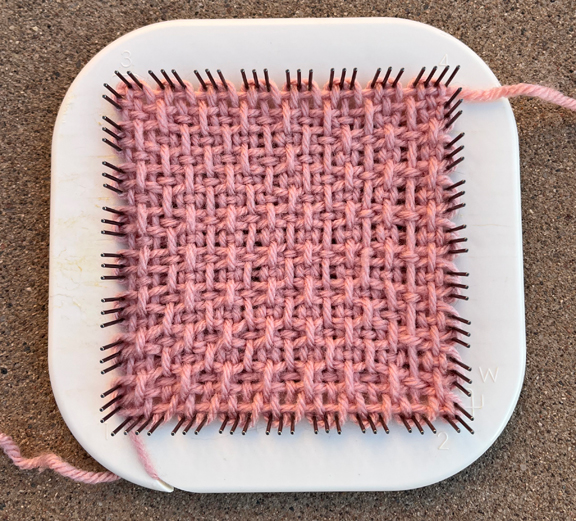
This is a beginner friendly project as each shape is woven in plain weave. The Caterpillar Pattern includes step by step written instructions and lots of photos. Here’s what’s in the tutorial:
- Caterpillar Pencil Case
- Step-by-Step Written Instructions
- 10+ color photos and charts
- 7 pages
Reviews for our Pin Loom Patterns

- “Well written pattern, nicely illustrated with good photos showing any tricky parts.”
- “Well written pattern. Highly recommend her patterns.”
- “This pattern in incredible and the designer is wonderful!”
Caterpillar Pencil Case Pin Loom Pattern on Etsy
The Caterpillar Pencil Case Pin Loom Pattern is now available in our Etsy Shop. This first appeared in Little Looms 2022. We have the rights back and are making the pattern available to you in our Etsy Shop.
Available now on Etsy.

Share the Love, Pin to Pinterest
Share the love of pin loom weaving by pinning one of these images to Pinterest.
Thank you!
More about the Caterpillar Pencil Case
We call this Caterpillar Pouch a pencil case, but it’s also a fun size for storing other craft and hobby supplies like crochet hooks. The Caterpillar Pencil Case is pretty quick to stitch. It takes a little longer if you want to line the bag…which we totally recommend as woven squares aren’t the most secure for sharp objects like pencils.
Here’s what you’ll need in order to make your own Caterpillar Pencil Case:
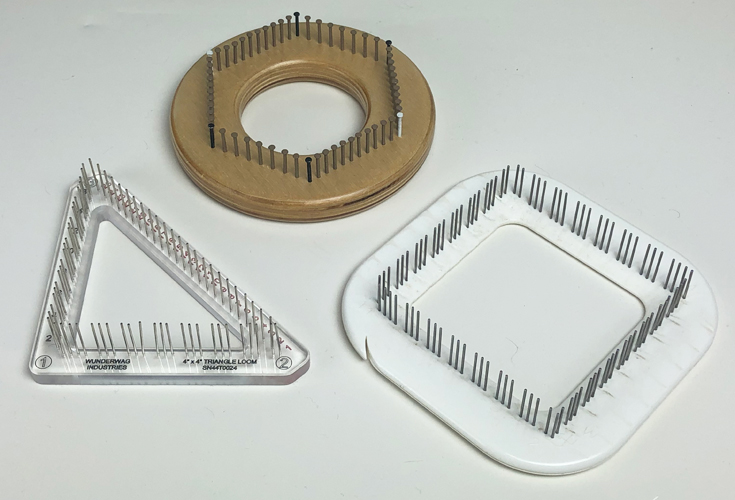
- Pin Loom Square: 4” (and 1″ optional)
- Pin Loom Rectangle: 2”x4”
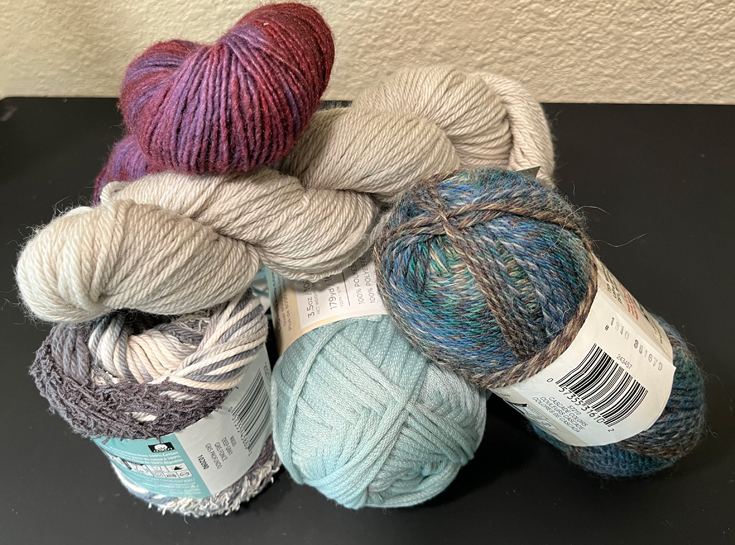
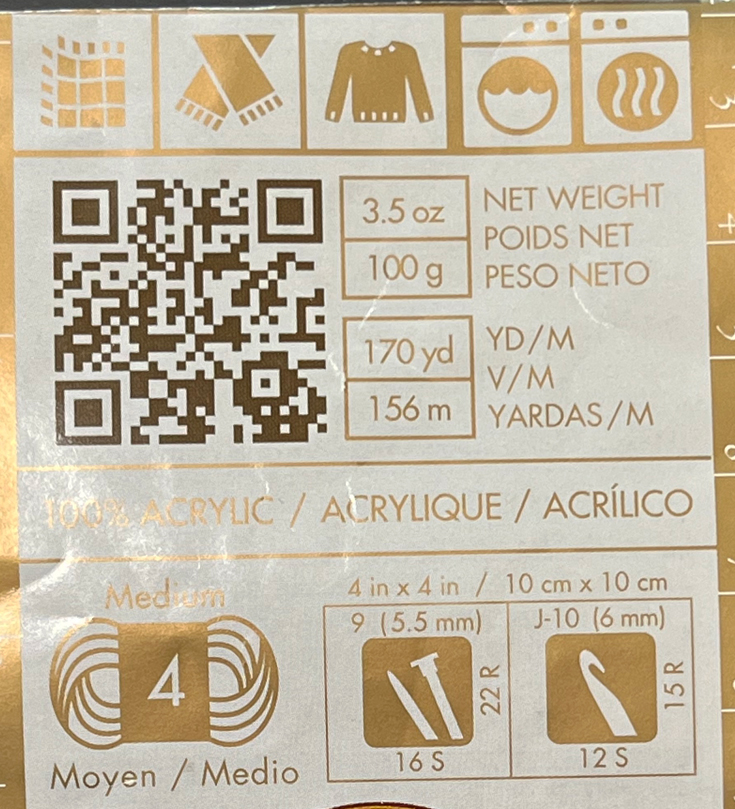
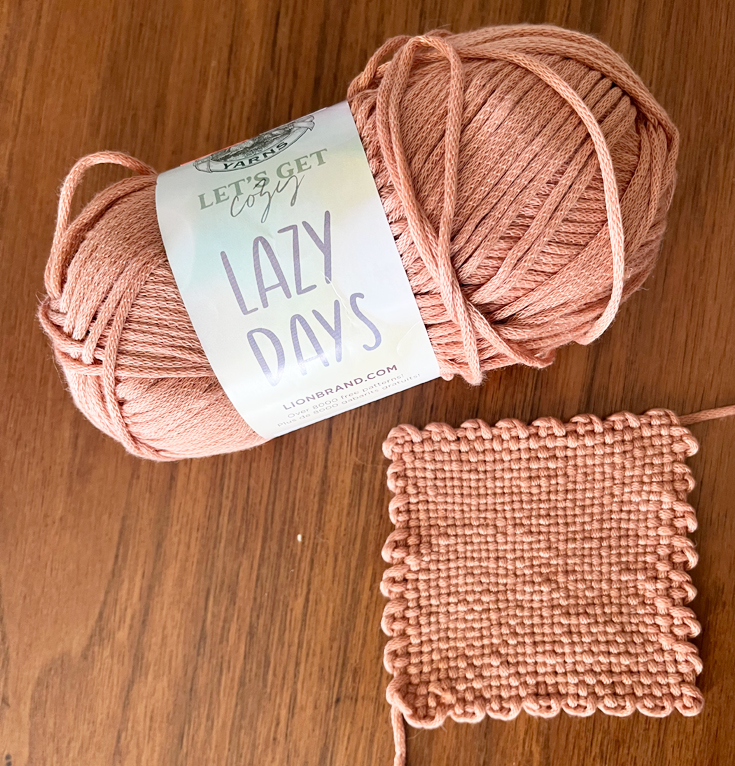
- Yarn: Lion Brand Yarns Vanna’s Choice (Acrylic, 170 yd/3.5 oz;),
#180 Cranberry, 20 yd;
#172 Kelly Green, 20 yd;
#171 Fern, 30 yd - Fabric for Lining: 1 sq. foot
- Zipper: 8” Green
- Felt: remnants of brown, blue, grey.
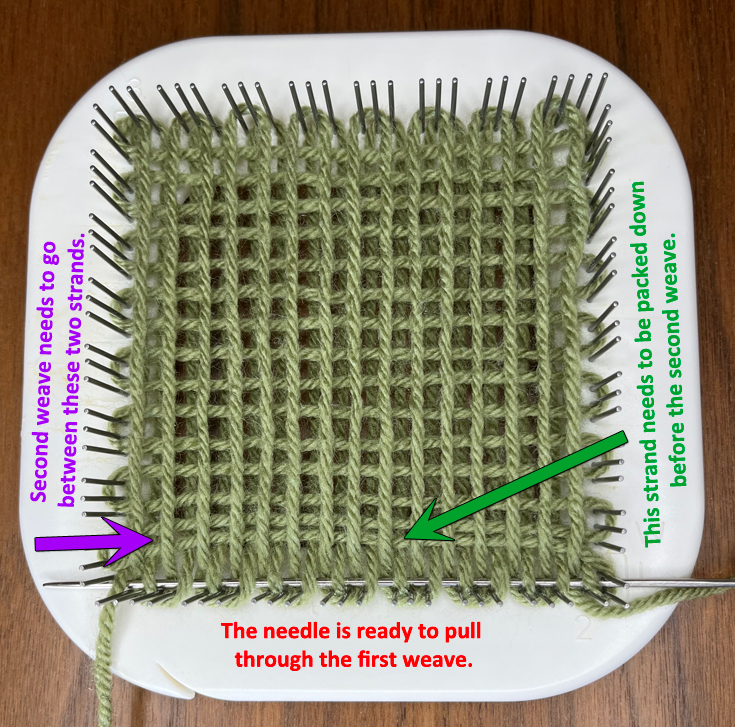
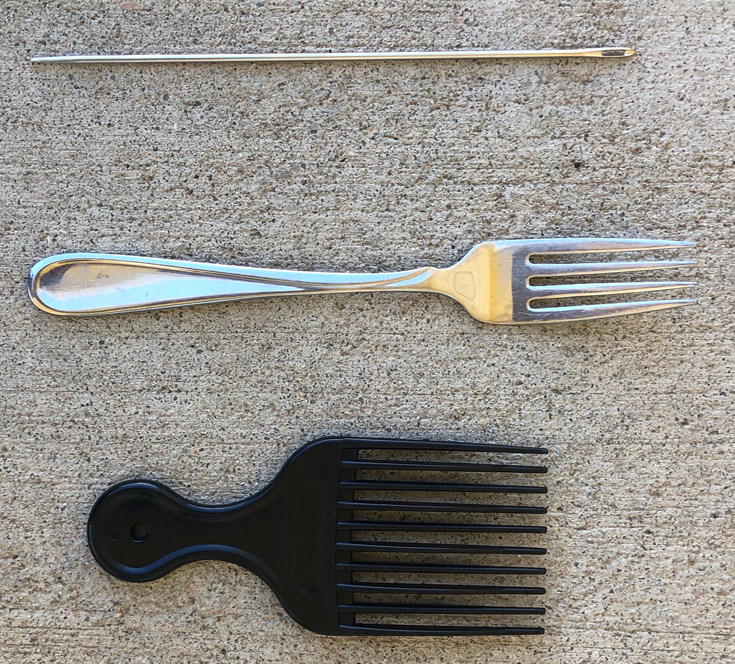
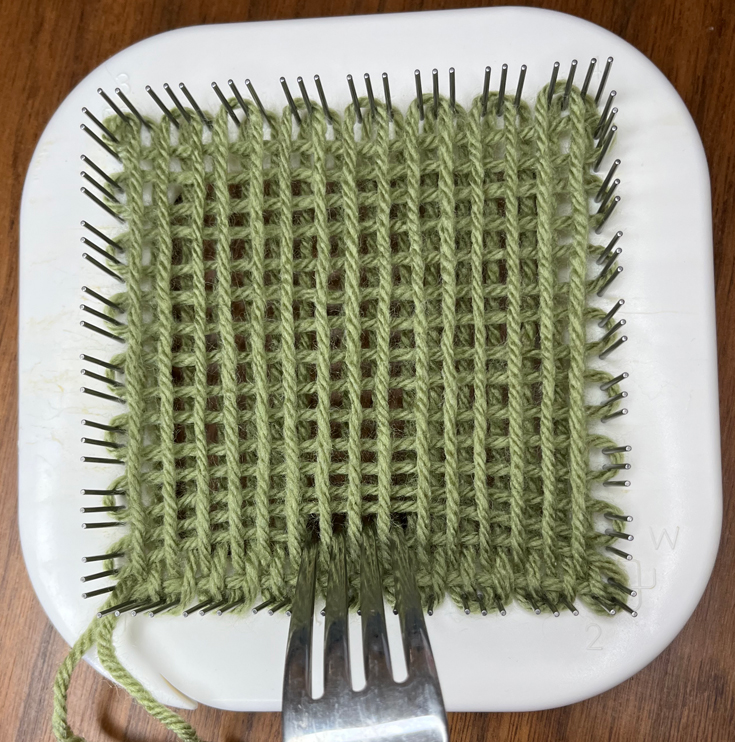
- Needle: 6” weaving needle, tapestry needle, sewing needle
- Thread: Green
- Washable Marker
- Fabric Glue
- Straight Pins
Caterpillar Pencil Case on Etsy
The Caterpillar Pencil Case Pin Loom Pattern is now available as an instant PDF download in our Etsy Shop.
Available now on Etsy.