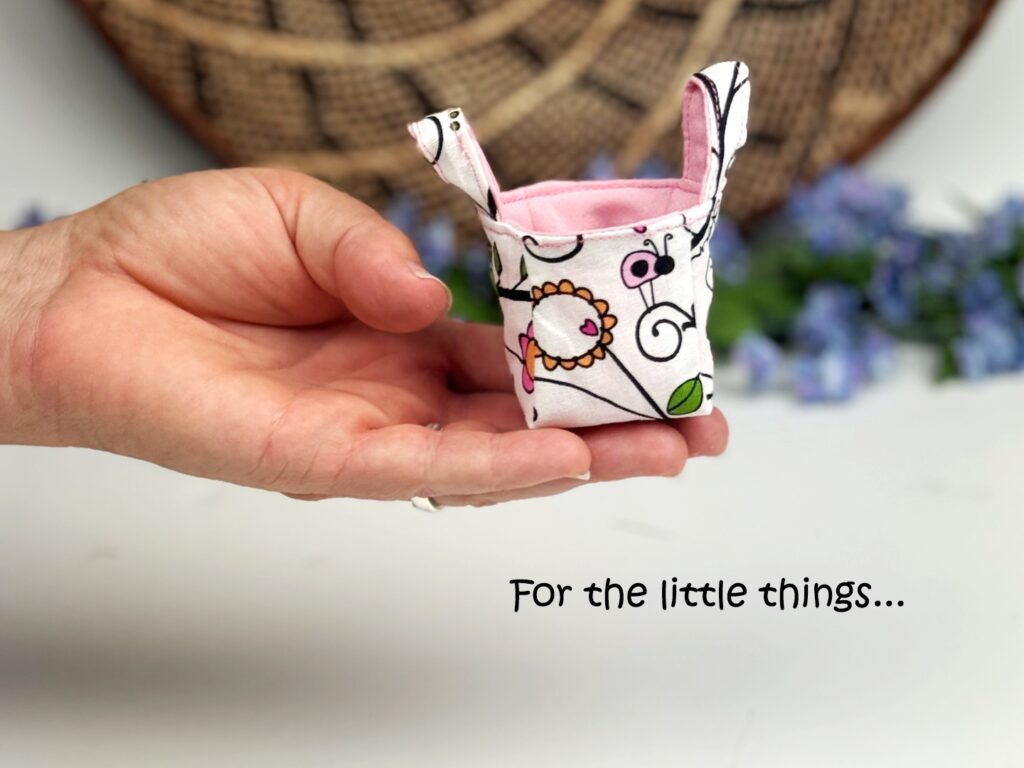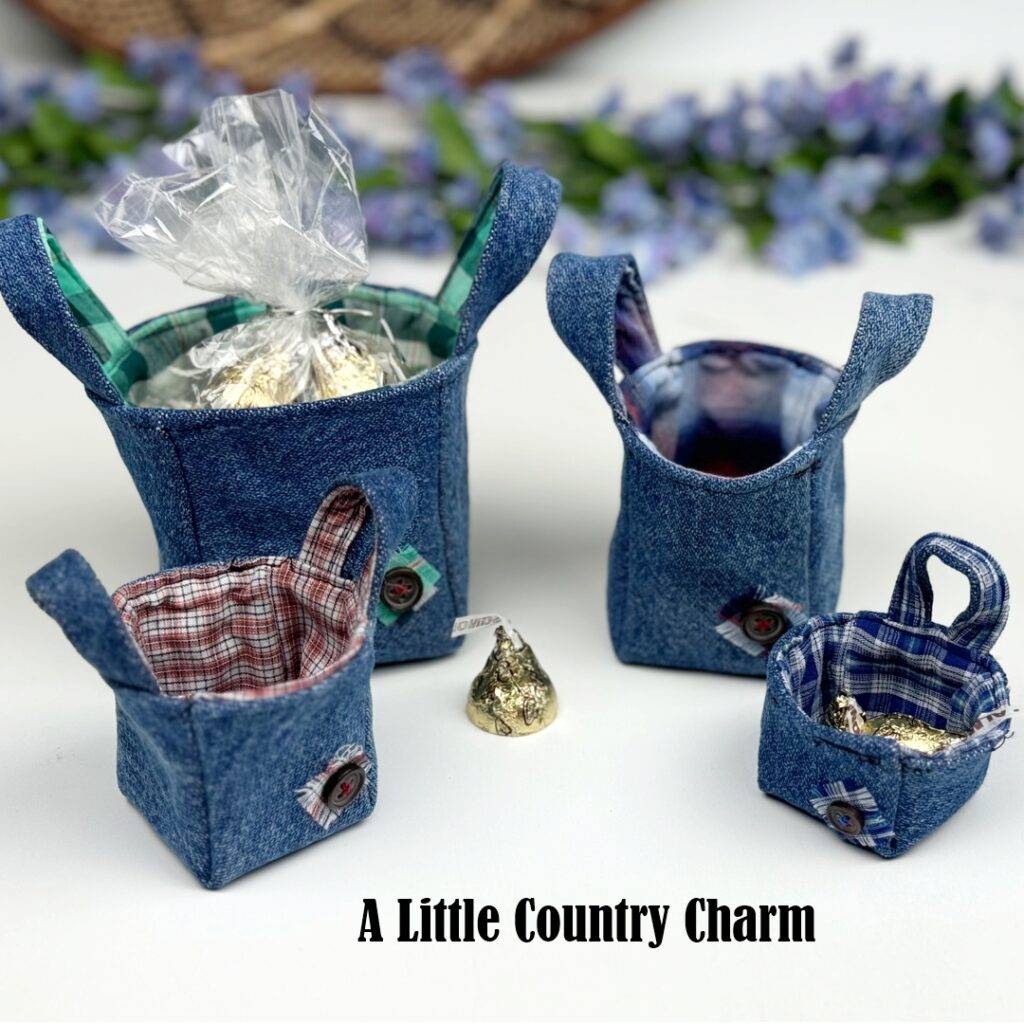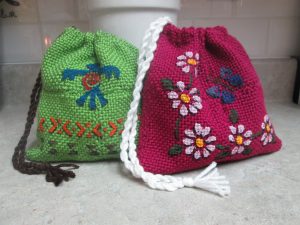
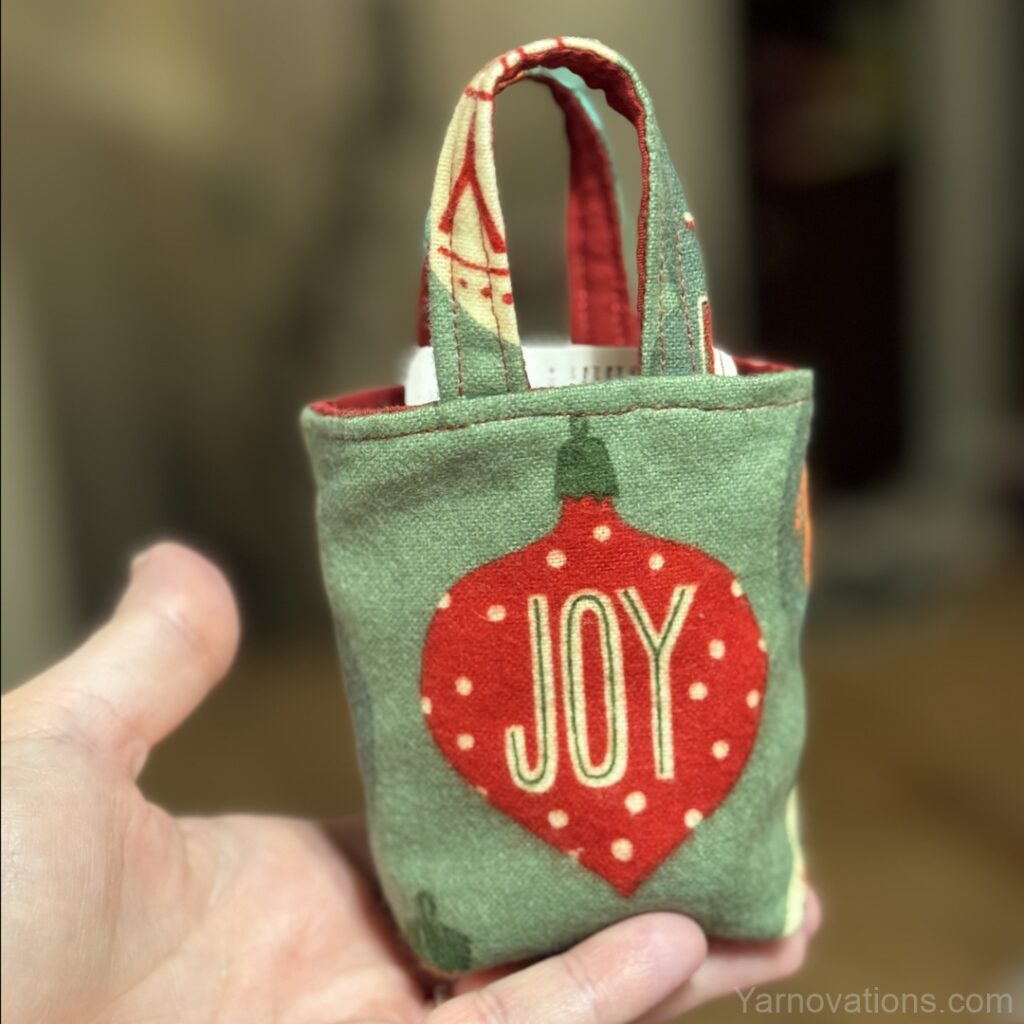
So tiny, so sweet, this little project is the perfect gift for raiding your fabric stash.
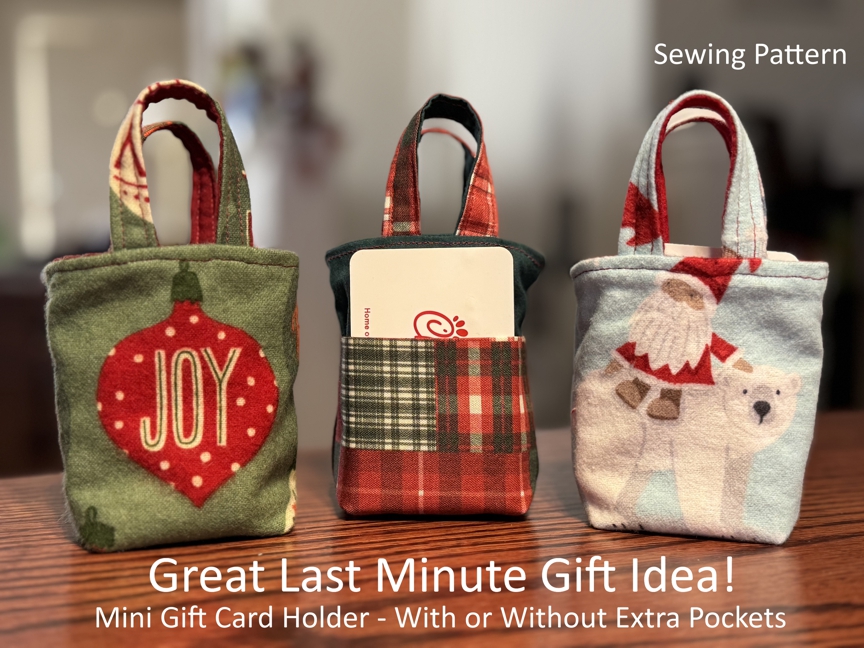
These mini market bags are reversible and can hold a bit of candy, a gift card or little notions. You can sew a gift card holder in 30-60 minutes…yes, we timed it. And the sewing pattern is really easy, too.
Mini Market Bag Sewing Pattern on Etsy
The reversible miniature market bag gift card holder sewing pattern is available now in our Etsy shop.
Available now on Etsy.

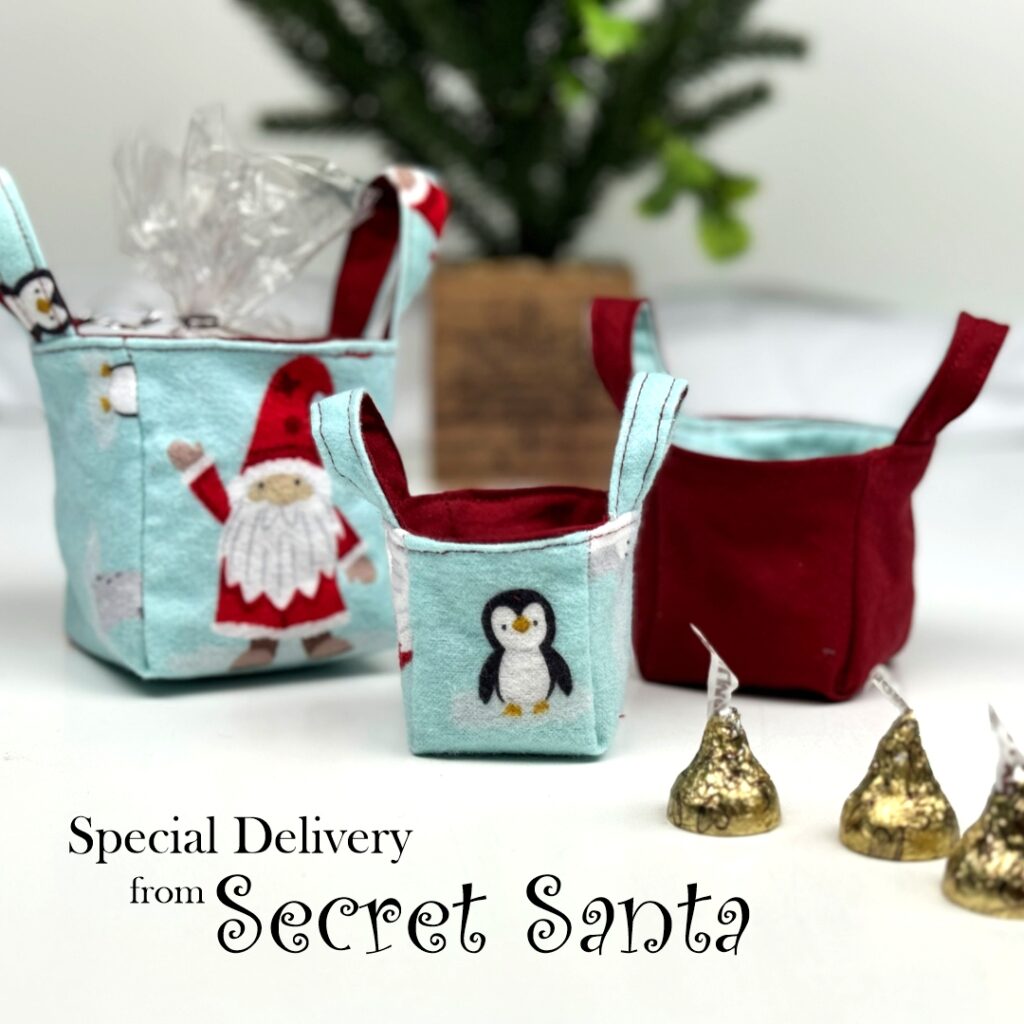
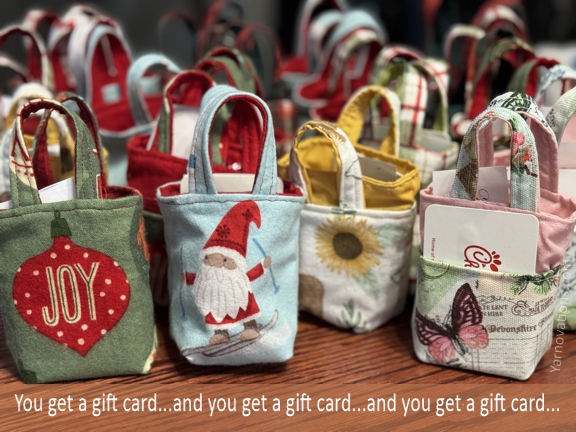
Last minute gifts…for all special occasions
Last minute gifts aren’t just something that happens at Christmas time…it happens all year long! This reversible miniature market bag gift card holder sewing pattern works for last minute gifts such as birthday, thinking of you, Halloween, Valentine’s Day, Secret Santa, St. Patty’s Day and so many more.
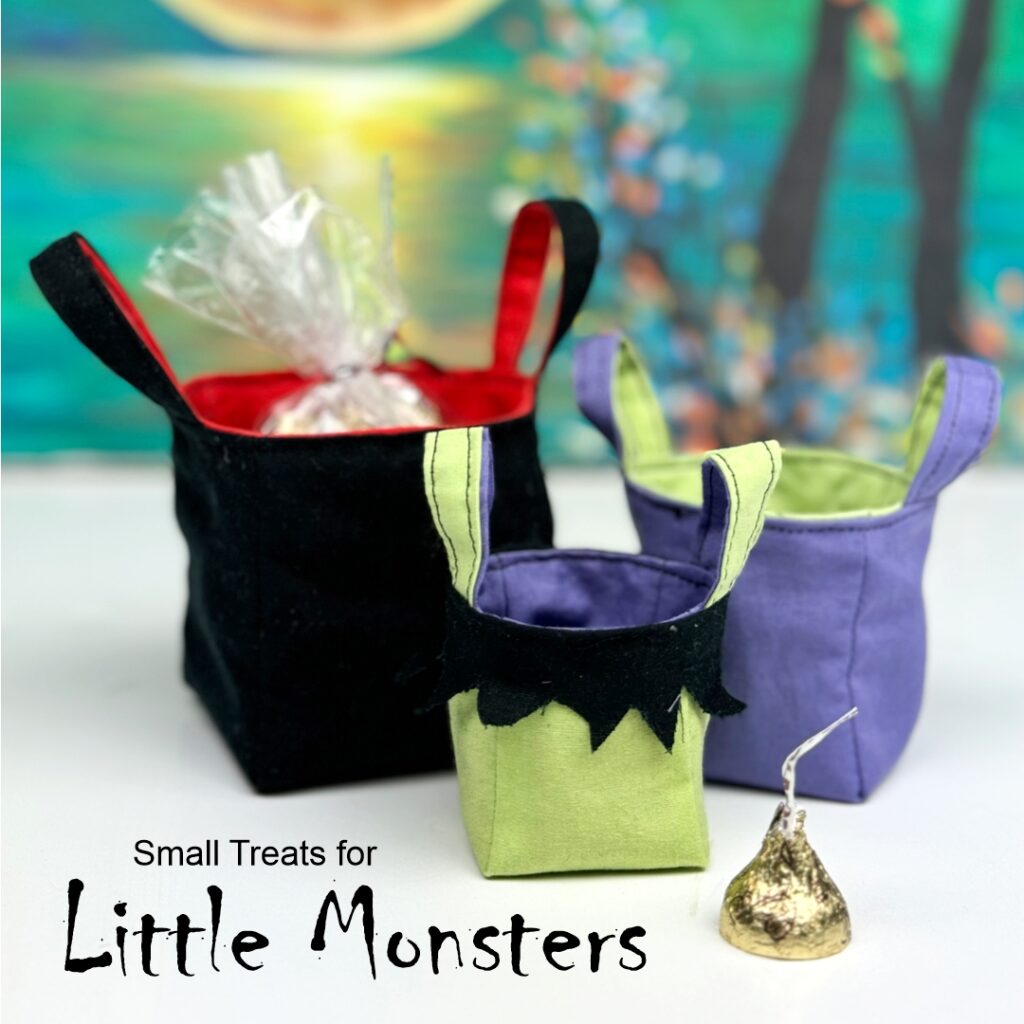
3 Market Bag Styles in this Sewing Pattern
The mini market bag sewing pattern has tracing templates and step-by-step written instructions for 3 different style market bags.
- Solid Fabric Market Bag: Of the three market bags, this one is the quickest bag to sew. There are no pockets nor color changes on the outside.
- Accented Top Market Bag: This design features a separate panel at the top to mix and match fabrics. It does not have a pocket. It’s easy, but does have an extra step.
- Pocket Front and Back: This mini market bag has a main pouch and gift card size pocket on the front and back. This is also a great sewing project for mixing and matching fabric.
Miniature Market Bag Sewing Pattern
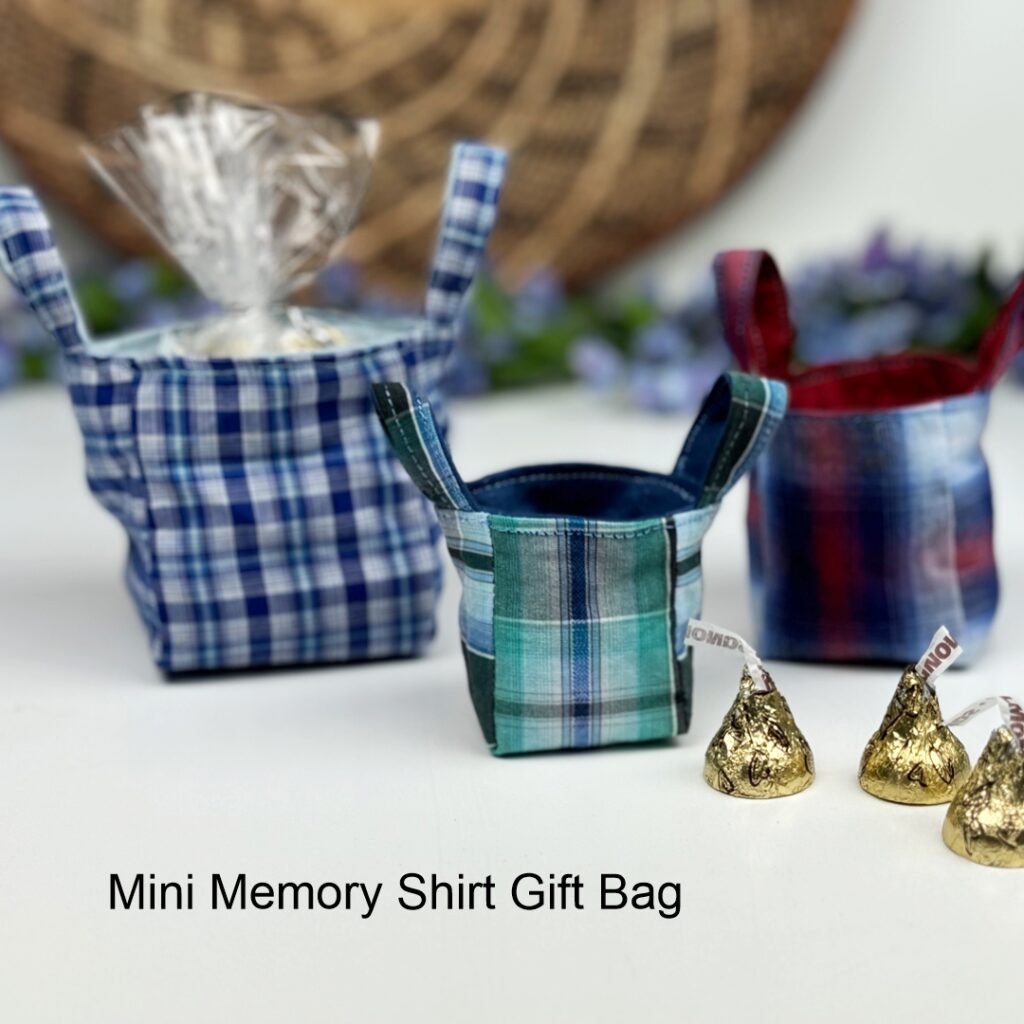
The mini market bag is also a great size for dolls like the American Girl Doll. Sew several for various playtime fun. Sew a shopping bag, beach bag or bag for using in a doll house.
The materials needed to make a miniature market bag are very minimal…making this a great stash buster for your fabric.
Materials needed to make a mini market bag:
- Fabric: Solid Bag: 6“ x 10” (2 fabrics)
- Fabric: Pocket Bag: 7” x 10” (pocket), 6” x 10” (bag)
- Fabric: Two Toned Bag: 8” x 10” (lining and top), 6” x 10” (bottom)
- Stabilizer (optional): the size of bag fabric
- Needle and Thread: matching or coordinating
- Straight Pins
- Scissors,
- Sewing Machine
- Pencil or Washable Marker
Mini Market Bag Sewing Pattern on Etsy
Get the Miniature Market Bag Sewing Pattern on Etsy.
Available now on Etsy.