Can you use larger or smaller yarn to crochet the Granny Square “Birds of a Feather”?
Great question! We’ve been asked if the granny square “Birds of a Feather” crochet pattern can made with larger (chenille yarn) or smaller (cotton thread) yarn. The simple answer is, Yes!
No changes are needed for the crochet portion of the pattern if you want to make a bird in larger or smaller yarn. As expected, the thicker or bulkier the yarn, the larger the bird and conversely, the thinner the yarn, the smaller the bird. The only change you’ll need to make in the pattern is the size of the eyes and crochet hook.
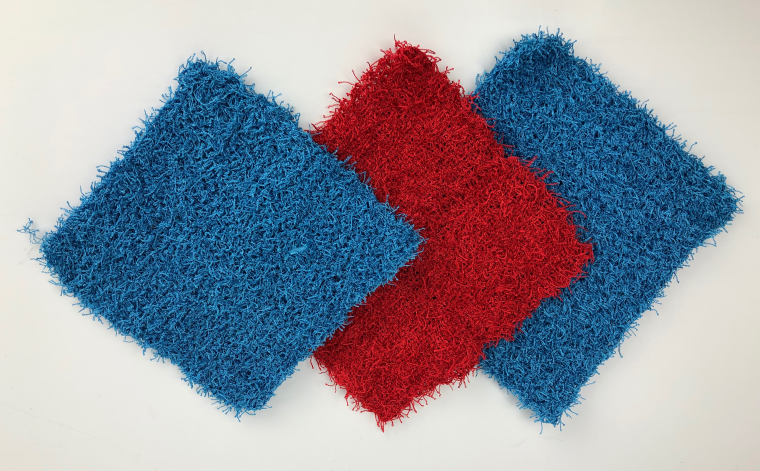
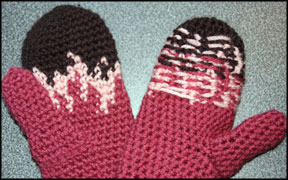
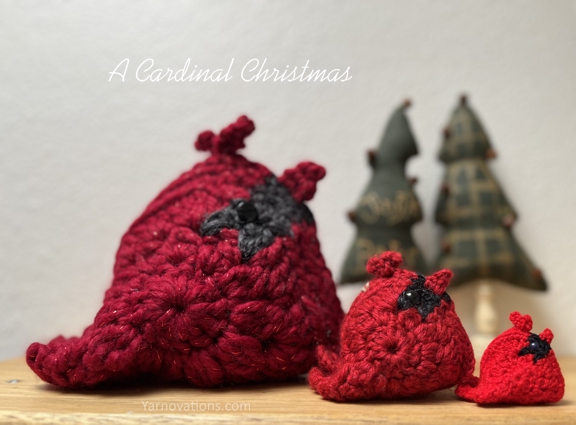
Pictured above are 3 cardinals made with different size yarn with NO changes to the crocheted portion of the pattern.
- Left: Lion Brand Wool-Ease Thick & Quick, super bulky, 79% acrylic, 20% wool, 1% other
- Middle: Lion Brand Heartland, medium worsted weight acrylic
- Right: Aunt Lydia’s Cotton Thread #5
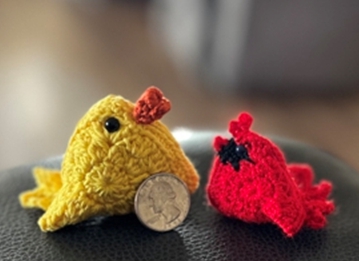
- Rubber Duckie: (pictured below): Paton Grace #3 light weight yarn, mercerized cotton
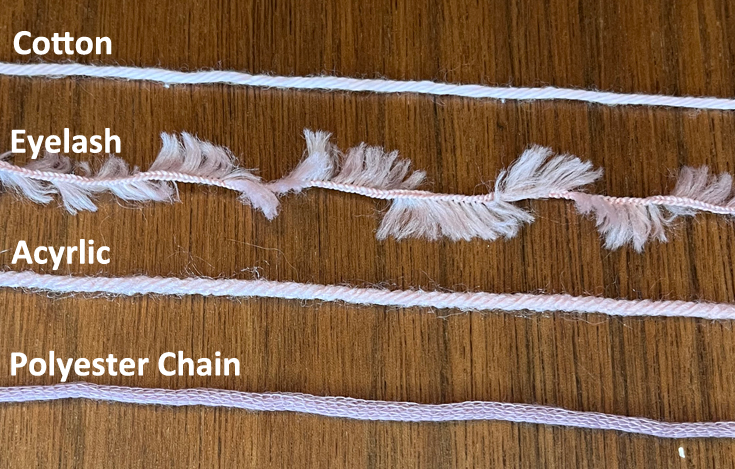
Observations about Working with Different Size Yarn
- For most yarns we used a hook 1 or 2 sizes smaller than the yarn label recommended.
- Thicker yarn will made a bird that may feel more squishy and appear more holey. It’s great for cuddling.
- Thinner yarn makes it more difficult to see your stitches. Cotton thread creates a stiffer bird. Great for creating little charms for bags or Christmas ornaments.
Pattern Modifications for Change in Yarn Size
EYES
You’ll want to increase or decrease the size of the button or safety eye depending on the size bird you crochet. Here’s what we used in those pictured on this post.
- Large cardinal used 5/8” buttons (loop back button which looks similar to a safety eye).
- Medium cardinal used 10 mm safety eyes.
- Small cardinal used 5 mm mini brads (like those used in scrapbooking).
- Rubber Duckie used 6 mm safety eyes.
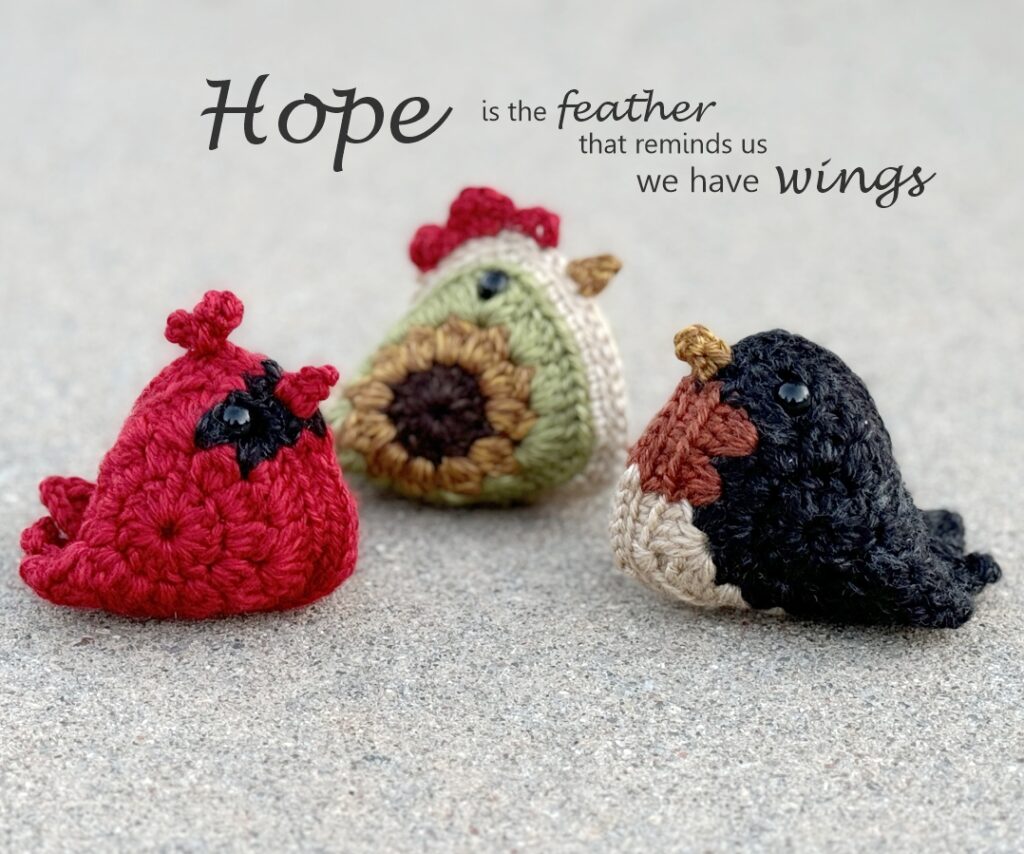
Birds, Birds, More Birds
There are so many beautiful birds in the world…and we’ve recreated several of them in 2 different crochet patterns. Each bird in these sets are made from 2 granny squares with color changes at just the right place to create different birds. Here’s what’s in each volume:
Birds of a Feather, Volume 1
The original set has 9 gorgeous birds that are fun to decorate with and for gifting. Birds of a Feather, Volume 1 is available on Etsy and includes the following birds:
- Sunflower Chicken
- Bald Eagle
- Bluejay
- Cardinal
- Goldfinch
- House Finch
- Parakeet
- Robin
- Turkey
- + Bonus: Mini Pumpkin
Birds of a Feather, Volume 2
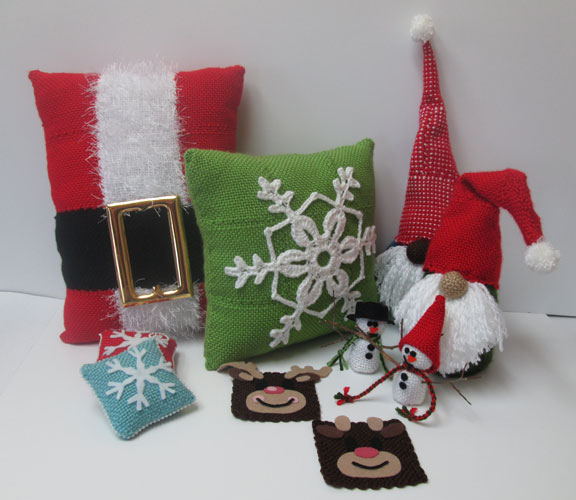
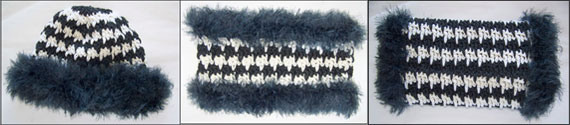
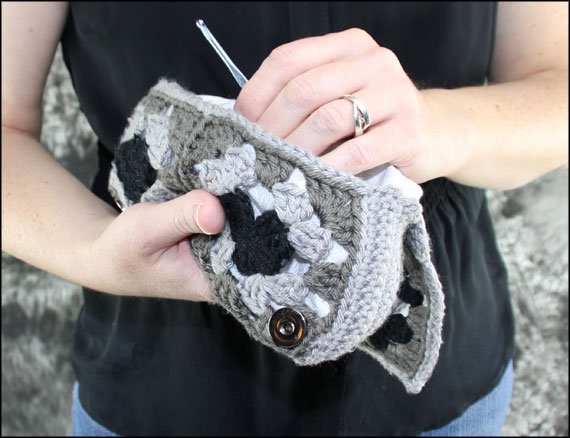
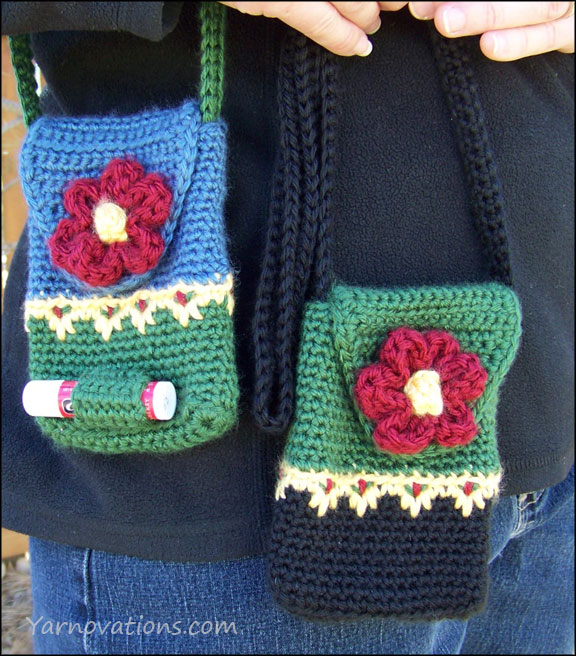
2 new features were added to Birds of a Feather, Volume 2. The step-by-step instructions for turning granny square birds (any from vol. 1 and 2) into a cell phone holder or a zippered pouch! Volume 2 also introduces some fun techniques to create birds with texture like furry feathers and 3D feathers! This set includes several exciting new birds including:
- Blackbird / Crow / Raven / Dove
- Black Breasted Red Phoenix Rooster
- European Robin
- Flamingo (2 styles)
- Goose / Mother Goose
- Mallard
- Red Winged Blackbird
- Rubber Duckie
- Seagull
- Stork with Baby Bundle
The crochet pattern for these fine feathered friends are available now on Etsy: