White and Bengal Tiger Stripe Scarves – Crochet Pattern
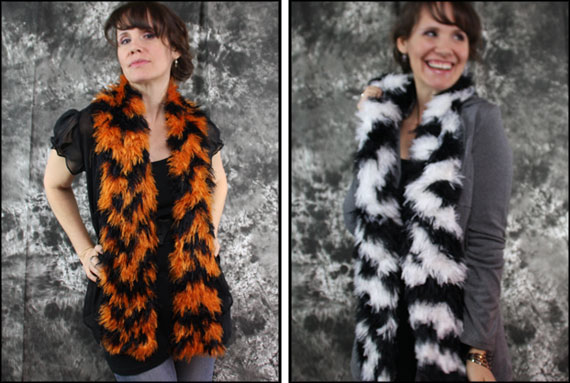
Bring out your wild side with these two tiger striped scarves. This pattern includes both the V stripe and Diagnal stripe option.
Trendsetter Merino 6 is paired with La Furla to create a pair of ultra plush scarves. Your kids will want to wear these to school. That’s ok. So long as they let you borrow them back for your nights out.
White and Bengal Stripe Scarves – Available in our Etsy shop.
Tiger Scarves Crochet Pattern available on Etsy.
There are more pictures of these scarves and how they can be styled.
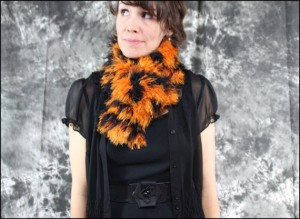
White and Bengal Tiger – Photo Shoot
The tiger stripe scaves are flirty and fun. Here are some are a few of our favorite pictures from the photo shoot. A big thank you to our friend Lorien for modeling these wild scarves.
Cute and Contemplative
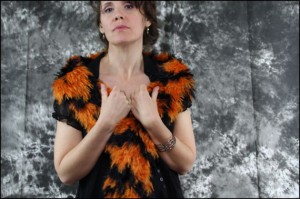
Sultry and Sexy
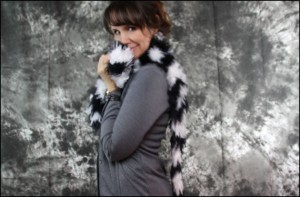
Flirty and Coy

Charming and Sweet
The 2 in 1 Tiger Scarves Crochet Pattern now available on Etsy.