Jimothy the Raccoon & Friends Sewing Patterns

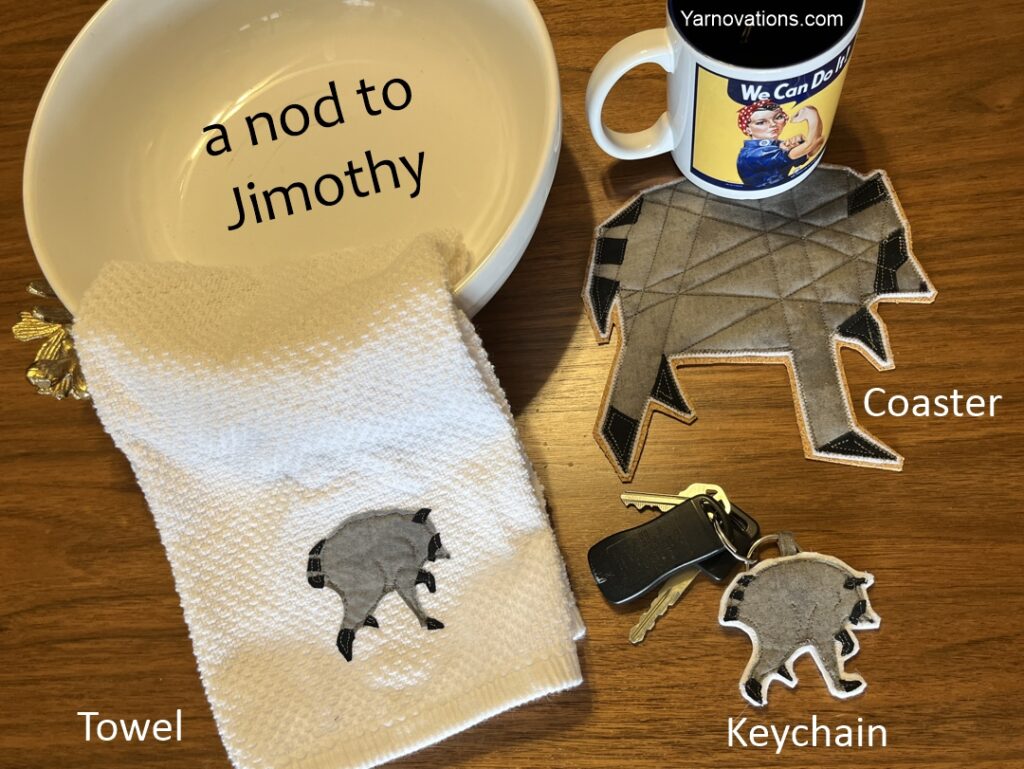
Love Jimothy the raccoon? Sew him with us. This trio sewing pattern is fun, easy and great for new sewists. Make a coaster, a keychain or an Christmas ornament … or applique a towel or shirt. This Jimothy sewing pattern has step-by-step instructions for 3 projects but once you learn how to make the applique, you can put Jimothy on a whole host of things.

Jimothy Sewing Pattern Includes

  • Tracing Templates for Jimothy the Raccoon
  • Tracing Templates for a Bison / American Buffalo
  • Tracing Templates for a Boy
  • Tracing Templates for a Girl
  • Step-by-Step Written Instructions for an Applique (shown on towel)
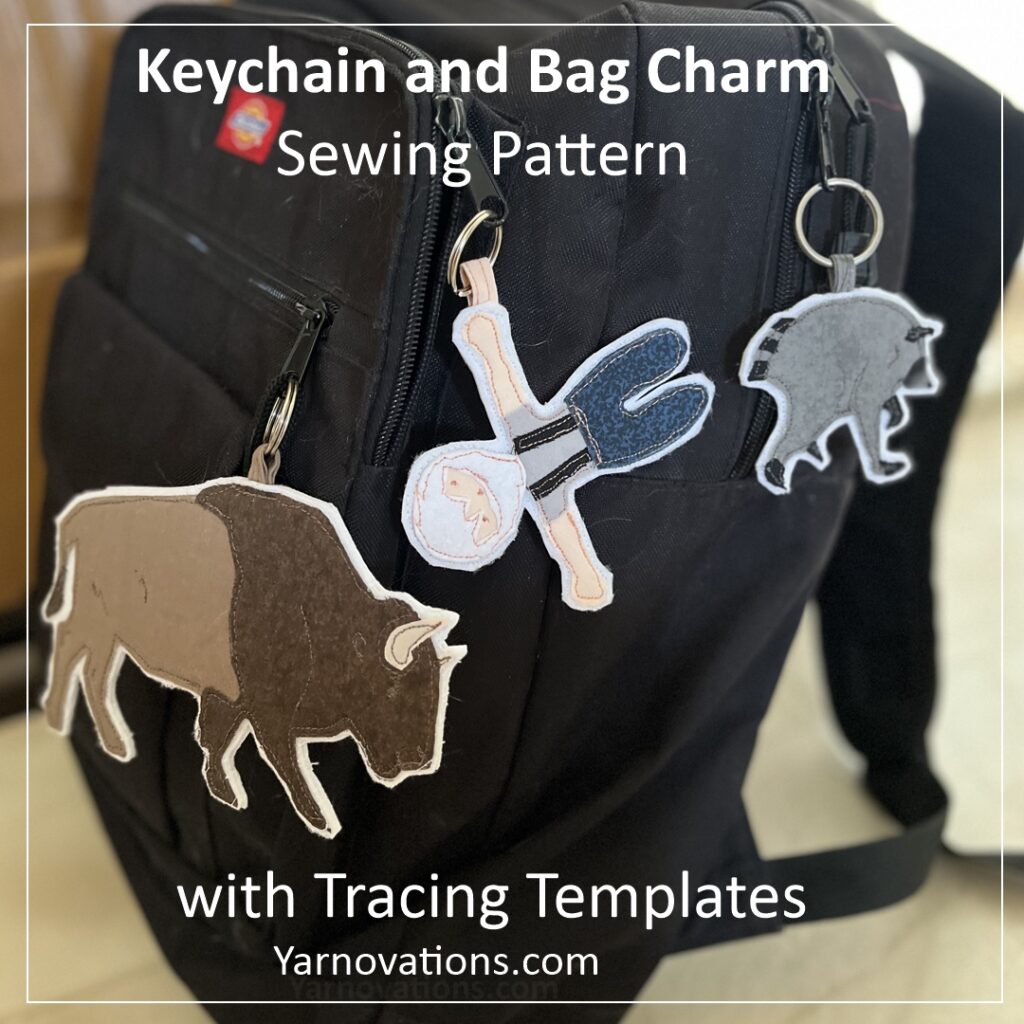
  • Step-by-Step Written Instructions for Keychain (or bag charm or Christmas Ornament)
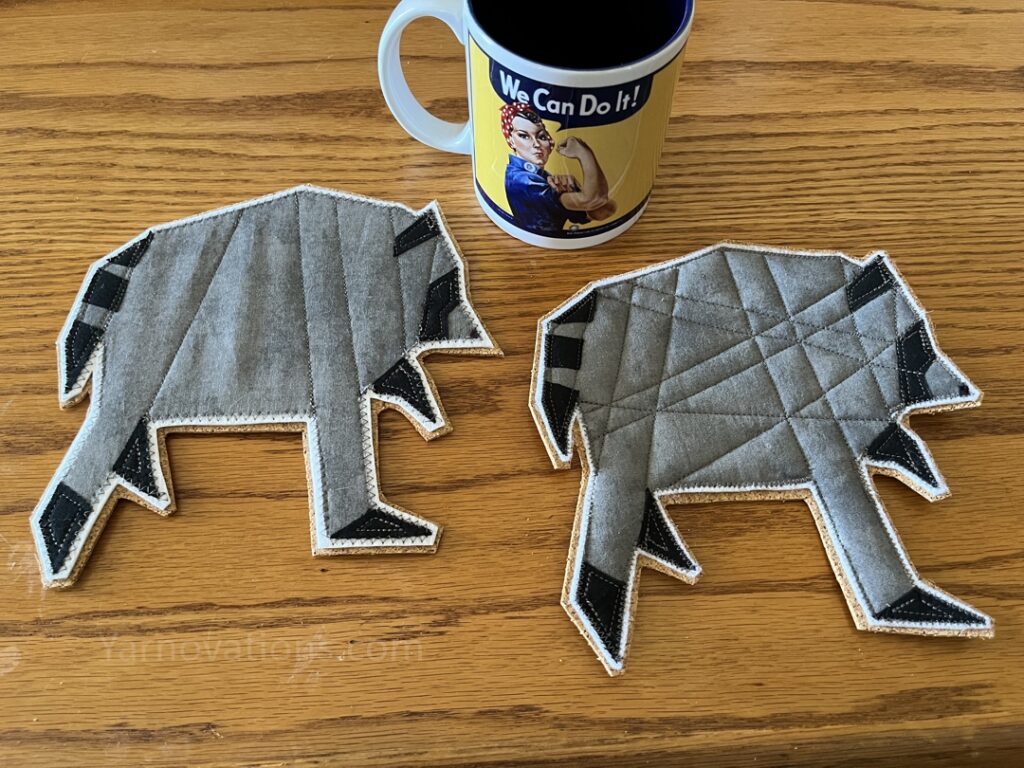
  • Step-by-Step Written Instructions for “Quilted” Coaster (shown with 2 options – Jimothy only)
  • Lots of photos

Sewists love to capture moments in time in fabric and thread. Commemorate and sew a fun Jimothy raccoon, bison / American buffalo, or tourist for your bag. Or tie ribbon on them and make Christmas ornaments. The bison reminds us of our brother who attended CU Boulder. CU Buffs have an American Buffalo as their mascot. If you’re a fan of professional football like us, then you probably know someone that’s a fan of Buffalo Bills. Whatever your reason, this pattern makes it easy to sew fun projects.

Sewing Pattern Now Available

The easy step-by-step sewing pattern for Jimothy, Bison / American Buffalo, Boy and Girl is now available in our Etsy shop. It includes tracing templates for Fimothy and Friends and 3 different step-by-step instructions for making a towel, keycahins and coaster.

Buy the pattern on etsy

Jimothy Sewing Pattern – Melting Our Hearts

When we saw Jimothy online, the first thing on our To-Sew List was the keychain. And we fell in love with it. The keychain is light weight and melts our hearts.

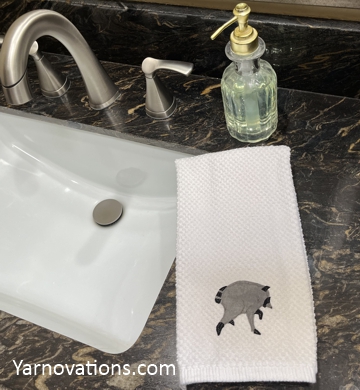
Second on our To-Sew List was the towel. We fell even more in love with Jimothy upon appliqueing him to a towel. It looks soo good next to the sink. Guests will get a real kick out of it.

Third and finally, we had to “quilt” a coaster. For this project we decided to go old school and sewed Jimothy with simple straight lines. Top stitching can be done with any technique like swirls or jagged “fur” scruff. But we opted for a geometric look.

Get the Jimothy & Friends Sewing Pattern Trio

Sew with us. Get your copy of Jimothy and Friends Sewing Pattern in our Etsy shop.

Make Jimothy as a coaster, keychain or applique for a towel or shirt – the pattern includes tracing templates for all three. But it also includes tracing templates to make a bison / American buffalo and a guy and gal tourist as a keychain or applique. Customize them with different fabrics to your hearts content.

Why Do You Need a Jimothy and Friends?

  • Bag charm
  • Luggage Tag
  • Christmas Ornament
  • Coaster
  • Towel Applique
  • Shirt Applique
  • Santa Gift Exchange
  • White Elephant Gift
  • Gift for Animal Lover
  • Fun Home Decor
  • Gift for Silent Auction
  • Quirky Coaster for Special Event

Jimothy & Friends Upcycle

If you want quick and easy projects to make with your stash, this is it! We upcycled and stash busted for all of these projects. The fabrics were all remnants and bed linens picked up at a second hand store. The cork on the back of the coasters is an old roll we inherited from our dad when he retired from woodworking. We used snippets of stabilizer and batting we had in a remnants pile. This is the ultimate upcycling and sewing project to make practical and whimsical gifts.

Get your copy of Jimothy and Friends Sewing Pattern, today.

Rag Quilt – Creating Squares

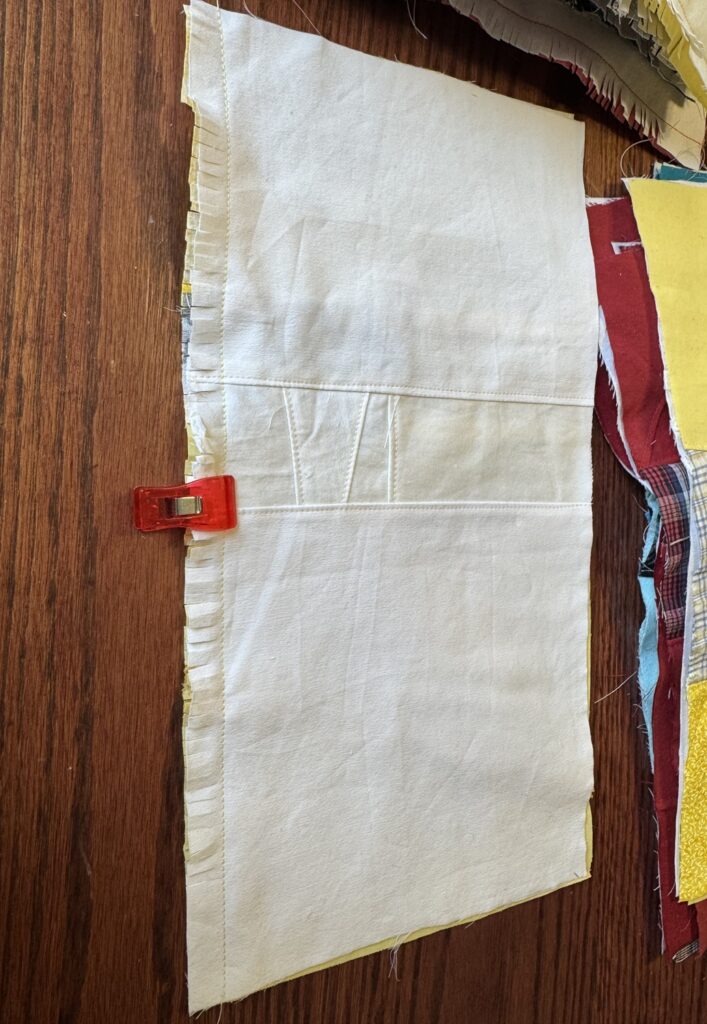
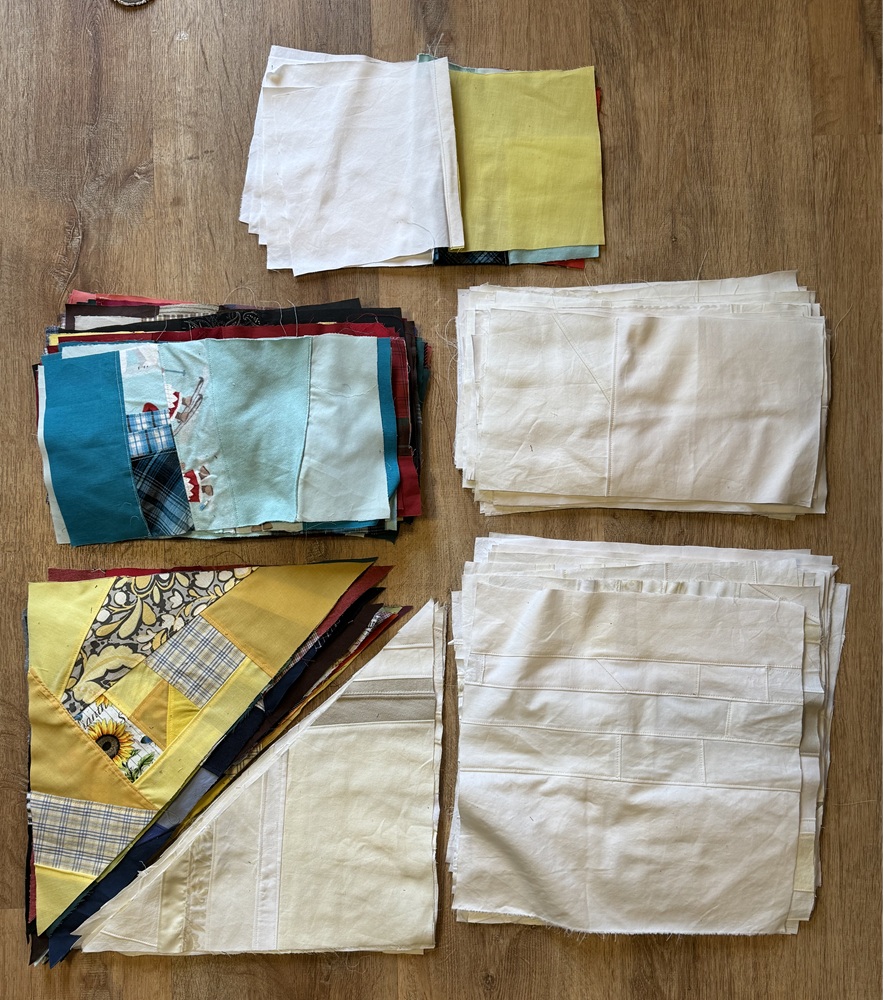
Part 2: After making a plan and creating colorful scrap triangles and rectangles, I sewed the triangles and rectangles together to make squares. The pieces were sewn together with the wrong side facing so the seam would be on the front to be ragged. I cut the seam with little slits about 1/8″ apart. I cut very close to the seam stitches. Once in awhile, I accidentally cut the stitches. I put a sewing clip on the cut section to remind myself to sew that area together as I sewed the large “X’s”.

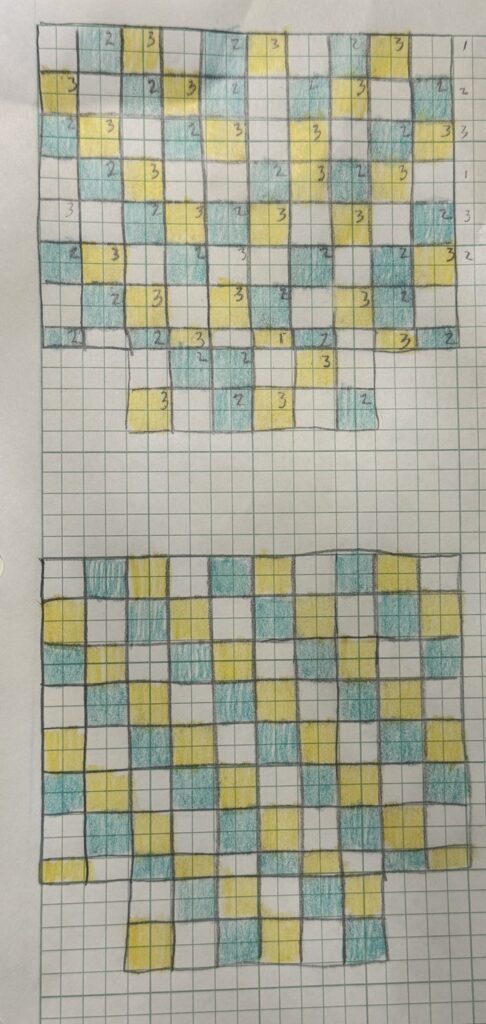
Next, I began working on the second major part of the scrap rag quilt, deciding on the bottom fabric and layout, and cutting the center layer. I chose three colors of cotton for the bottom layer, and a random pattern. I sketched it out so I could place the colors in the correct place.

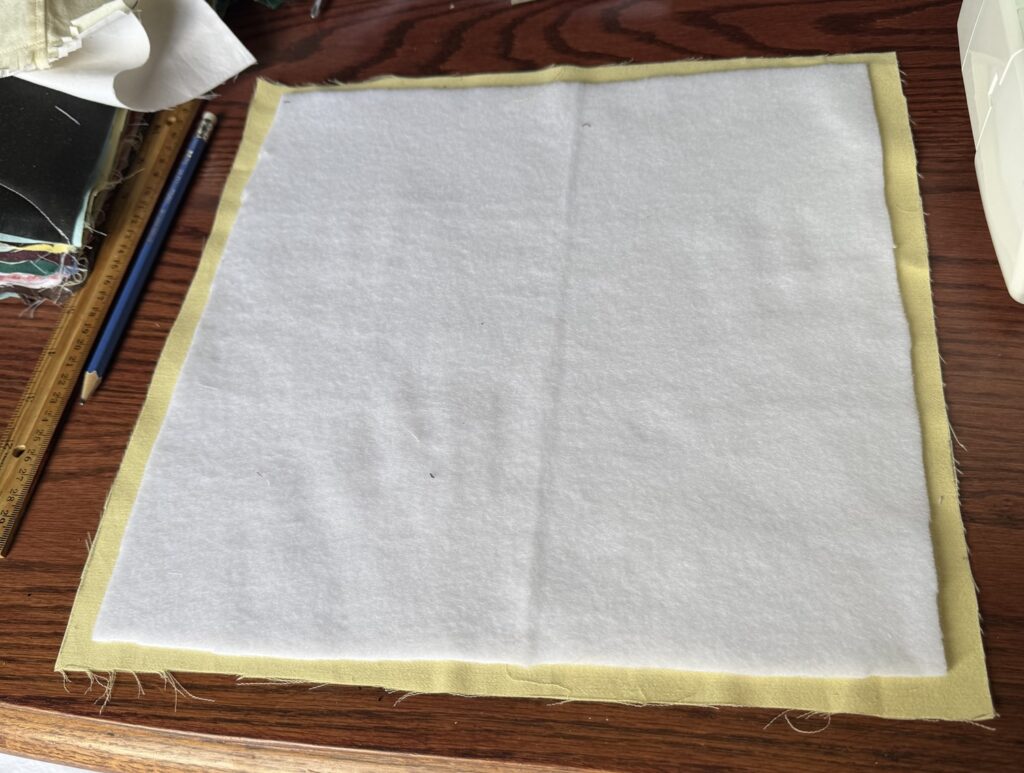
I decided on fleece for the center as an inlay. I cut the fleece squares to 12″. This meant there wouldn’t be fleece in the ragged seam.

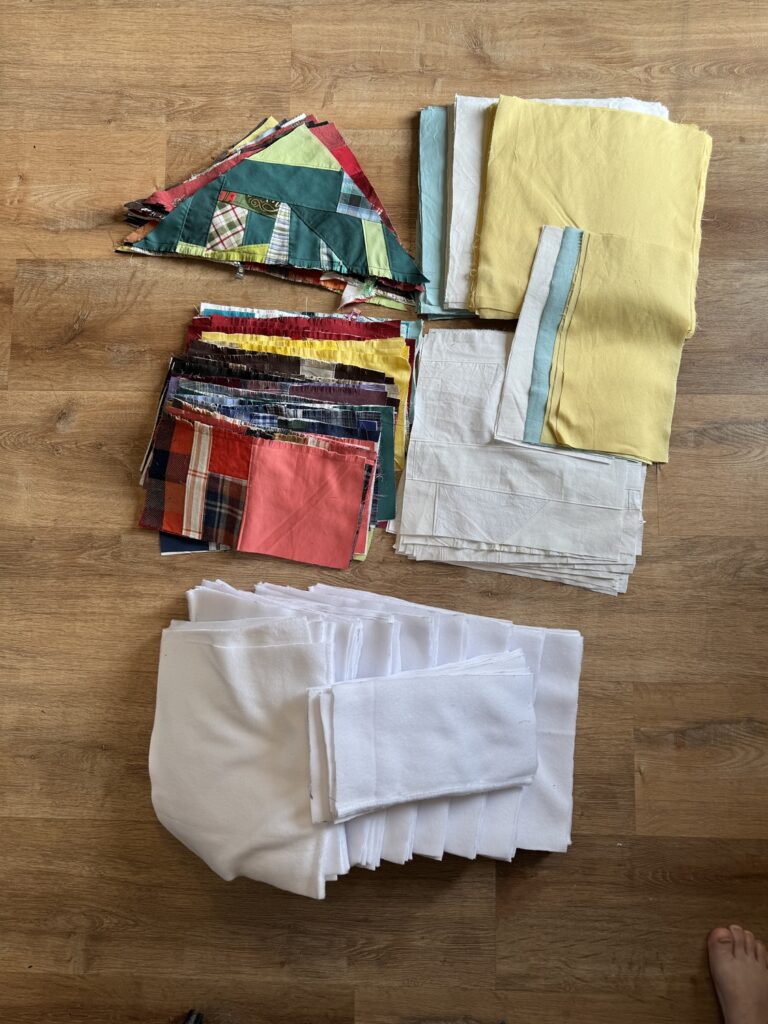
Once all the top squares, middle inlays, and bottom squares were cut, I decided to stack all the square layers together square by square. I laid the bottom layer down, centered a fleece on that, then the top piece on top.

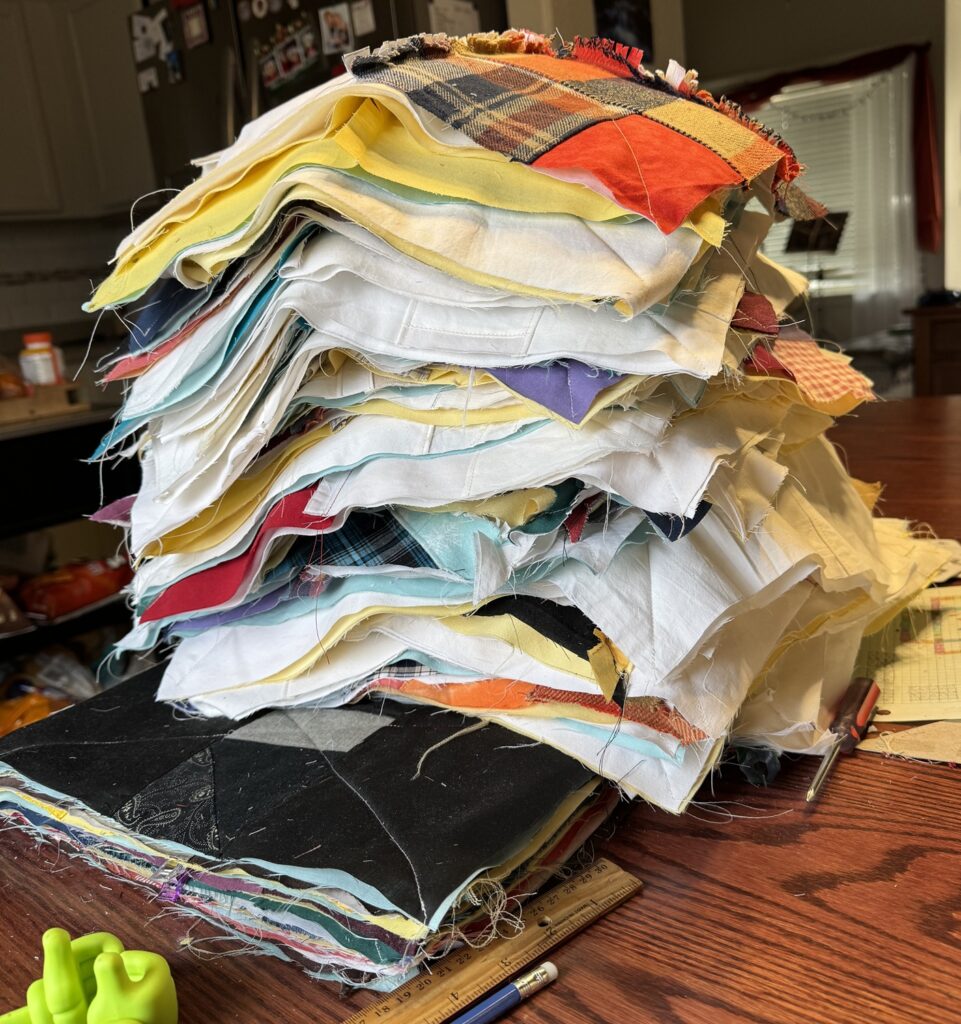
I made a nice tall pile of these layers to get them ready to sew “X’s” on them.

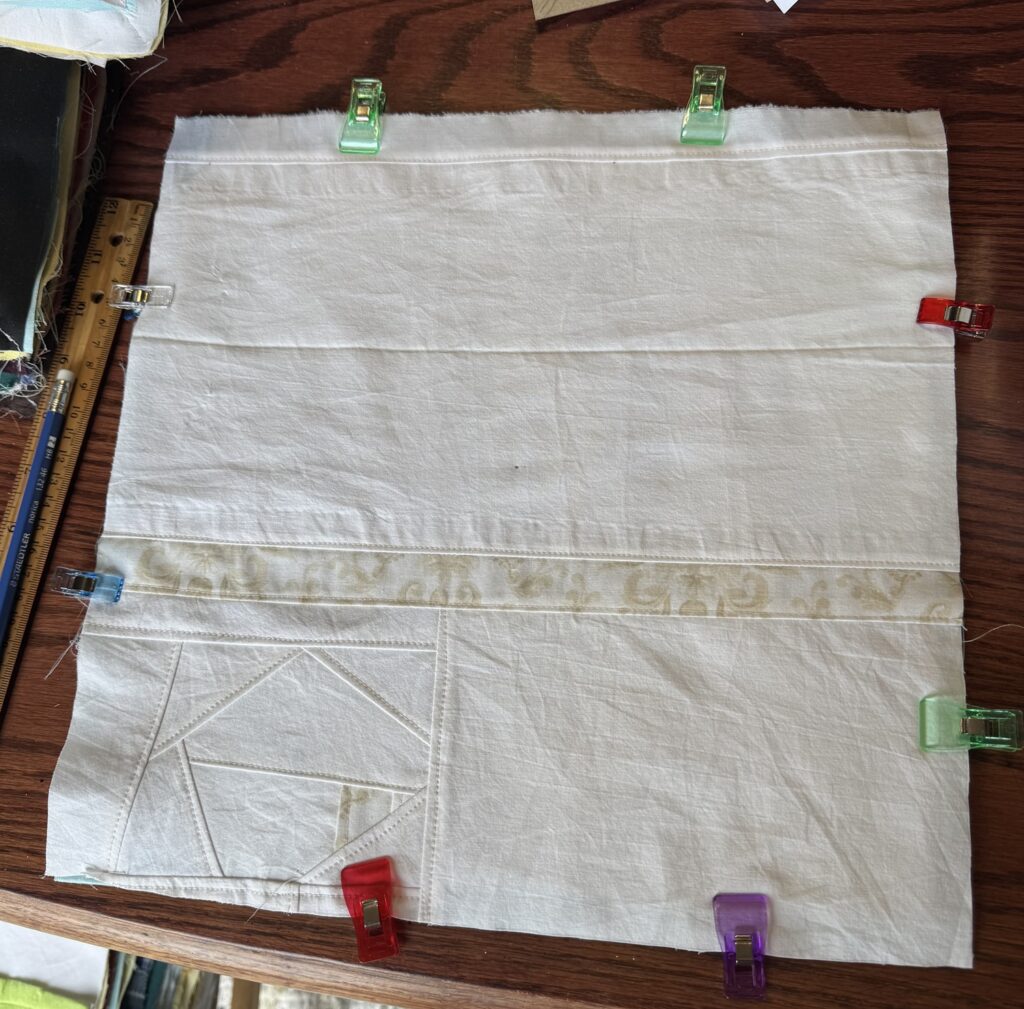
Before sewing the “X’s”, I made sure each layer was centered neatly. 2 Clips per side is a nice amount to keep the layers steady.

I kept the sewn layers in order so it would be easy to sew them into strips. Does this look like a CA king quilt?

The plan is to sew them into strips, rag them, then sew 2 strips together at a time so it isn’t hard to sew the whole blanket together. This step took about 2 weeks, bringing the total working time up to 8 weeks.

**Some people sew two straight stitches per square or strip for extra durability.

Beginning a Scrap Rag Quilt – CA King

I am embarking on a large task, sewing a California king sized rag quilt! Do I have lots of time for this? Not really. I anticipate this quilt will take several months working in 10-30 minute snippets at a time. First, I made a plan.

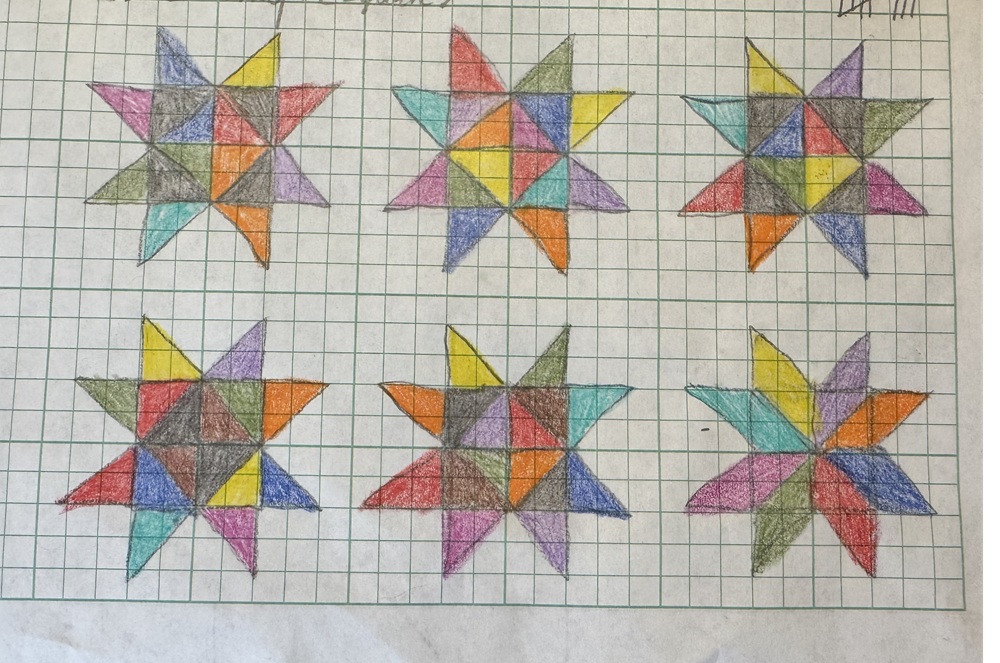
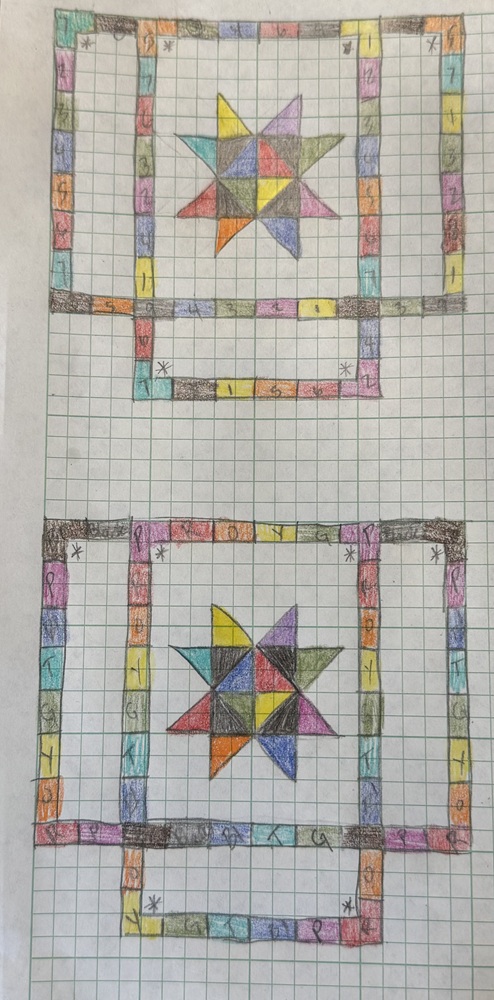
I decided on a star image with border sections. I sketched out several stars to try out different color placements. Next, I measured the bed (top and overhang desired) to determine what sized squares and triangles I would need. The top measured 72″ wide x 84″ long. The length of the sides could be 18-22″ long. I already know that I do not want the sides to touch the floor. With these dimension in mind, I decided on 12″ squares after being sewn together. I decided on 1/2″ seams on each side, so the squares need to be 13″.

Next, I sketched out a design. Many quilts used as bedspreads have a bunch of extra fabric in the corners. I don’t want all that fabric, so I decided to leave out the corner sections on the bottom of the blanket. If the quilt doesn’t close in the corners after being placed on the bed, I will come up with a creative solution for keeping the corners closed.

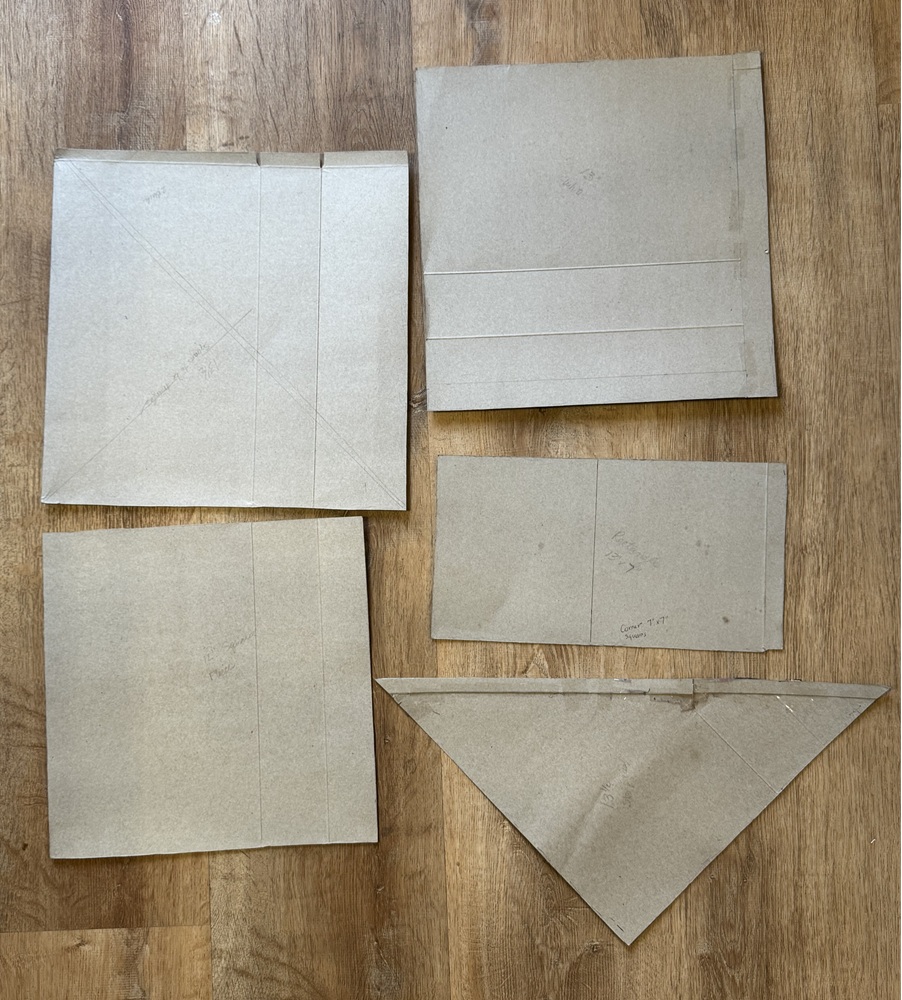
With this design in mind, I began tackling the shapes for the top. As drawn, I would need triangles, squares, and rectangles. Rag quilts often have 1/2″ (5/8″, 3/4″, or 1″) seams on the front/right side of the quilt that are clipped 1/8″ apart to create the rag look. Therefore, I cut the squares at 13″ to allow for a 1/2″ seam on each side. I cut the triangles to 13 1/2″ lengths (on the two sides that make the right angle, not the hypotenuse), but that ended up being just a tad short when I sewed the squares together. I recommend 14″ right triangles. The border is rectangles, and those were cut to 7″ x 13″ I don’t have special cutting equipment, so I decided to make cardboard templates from cereal boxes.

In addition to being a rag quilt, this is a scrap quilt. I decided to sew my remnant pieces together to create the star and border sections.

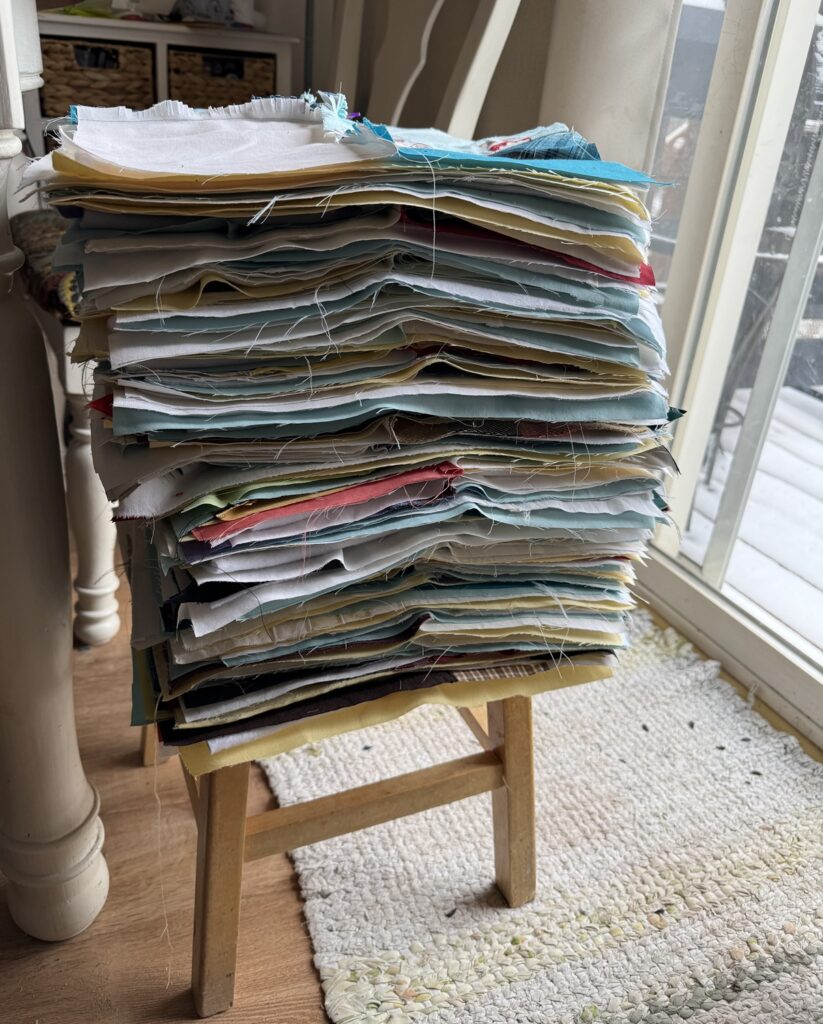
Because I couldn’t wait to see the star come together, I started my scrap quilt with the colorful triangles. I organized all my scraps by color and used the cardboard templates to make the triangles, squares, and rectangles.

Want to guess how long these steps took? Between homeschooling my two boys, driving my kids to appointments and activities, creating other sewing, weaving, and crocheted designs, the above steps took 6 1/2 weeks. Did I get frustrated? Normally I would have, but I decided that this project is allowed to take as long as it takes.

Next steps: Decide on the bottom fabric and colors, cut the bottom squares, cut middle fleece, then assemble the quilt.