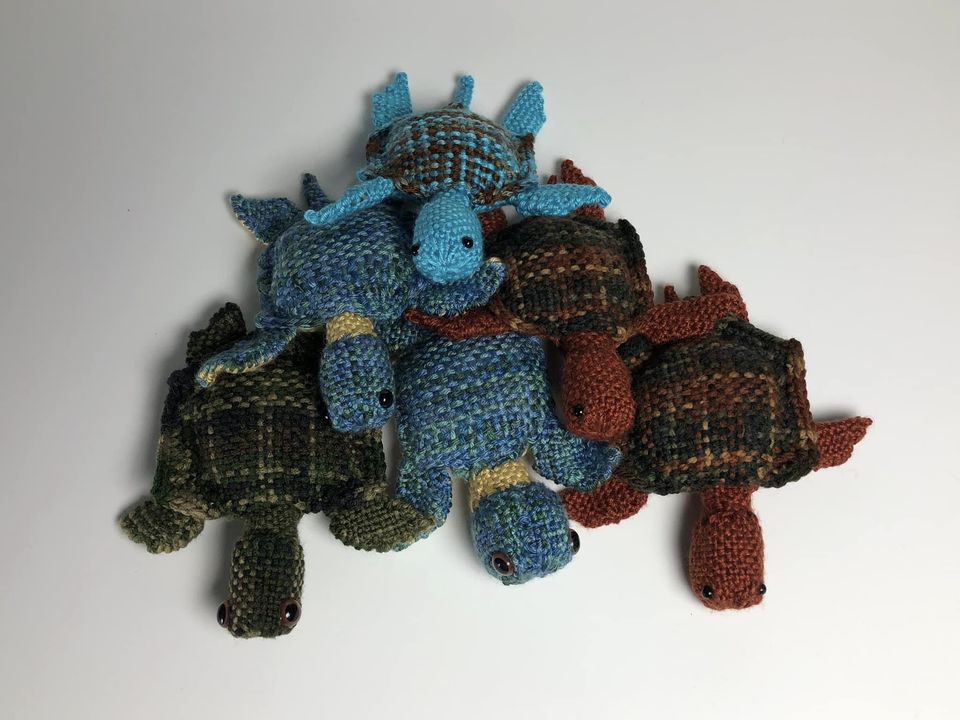
Great for Shark Week or any week! We have 3 fun and creative stuffed animals you can weave and sew. These include step-by-step instructions, so anyone can make them.
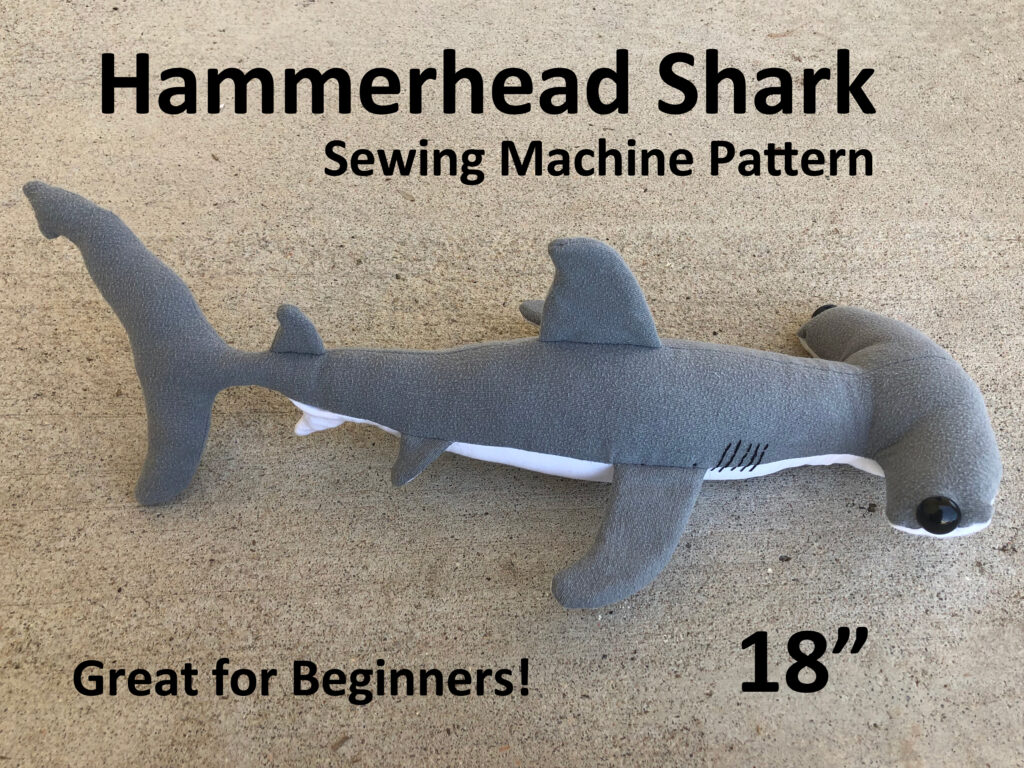
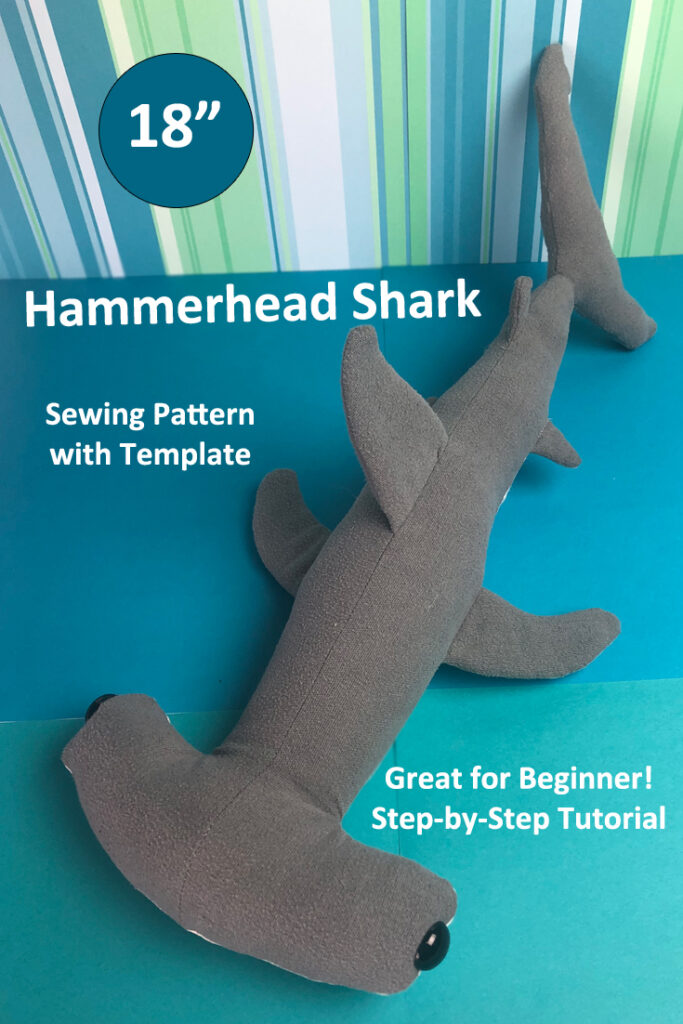
1. Get Hammered: Hammerhead Shark Sewing Pattern
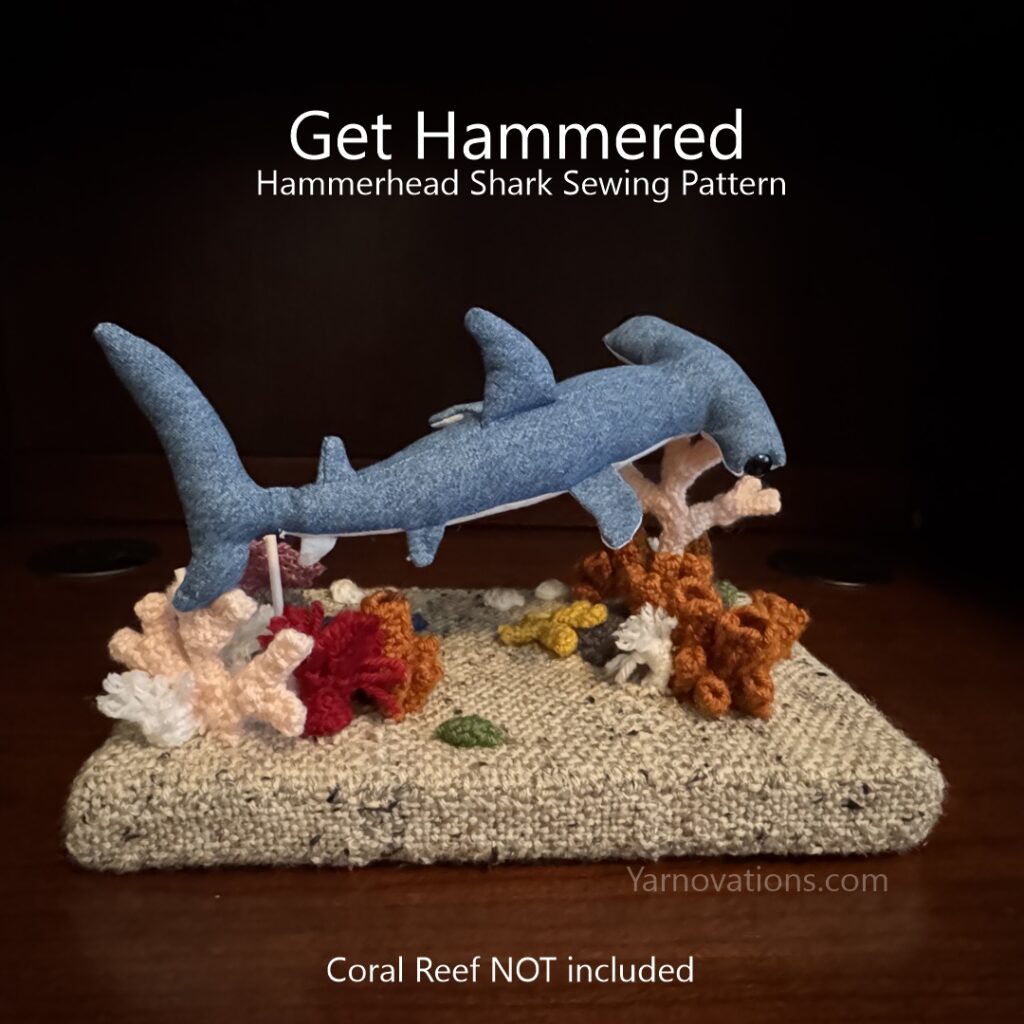
This Hammerhead Shark sewing pattern is a great pattern for new sewists. It includes step-by-step written instructions, lots of photos and tracing templates. The coral reef pictured is not included. It was woven on pin looms.
The sewn hammerhead shark measures approximately 18″ long. If you love upcycling, this is a great project for that. What makes this hammerhead shark sewing pattern so realistic is the inclusion of all 8 fins and the notch on the caudal (tail) fin.
Hammerhead Shark sewing pattern is now available on Etsy.
2. Nailed It: Hammerhead Shark Pin Loom Weaving Pattern
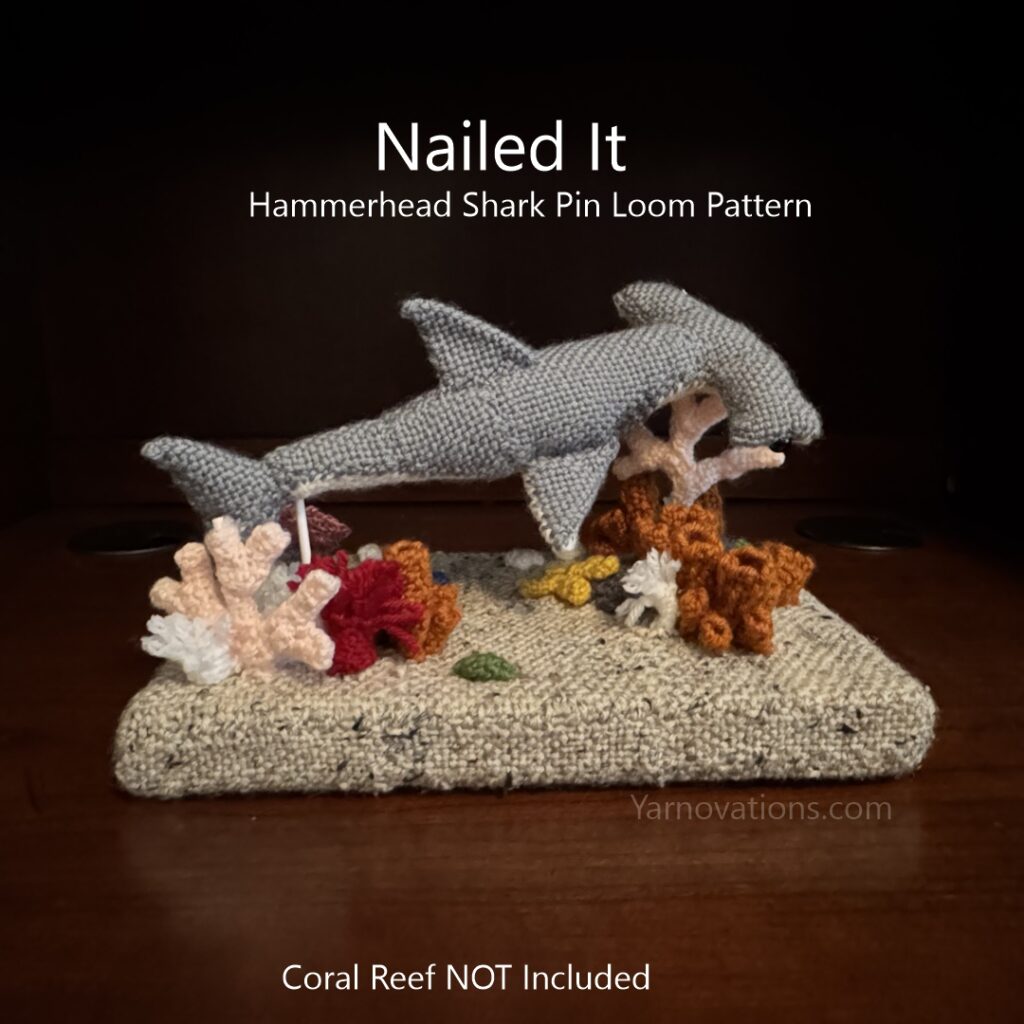
You’ll be saying, “Nailed It” after weaving your own hammerhead shark. This shark stuffed animal is created with pin loom shapes that are folded or tucked and sewn together. The hammerhead shark pin loom pattern includes step-by-step written instructions and lots of photos, so even the beginner weaver can make one.
The pin loom hammerhead shark measures approximately 10″ long. Each pin loom shape is woven in plain weave making it a very approachable project.
The Hammerhead Shark Pin Loom Pattern is now available on Etsy.
3. Shark Attack: Gnome Pin Loom Weaving Pattern
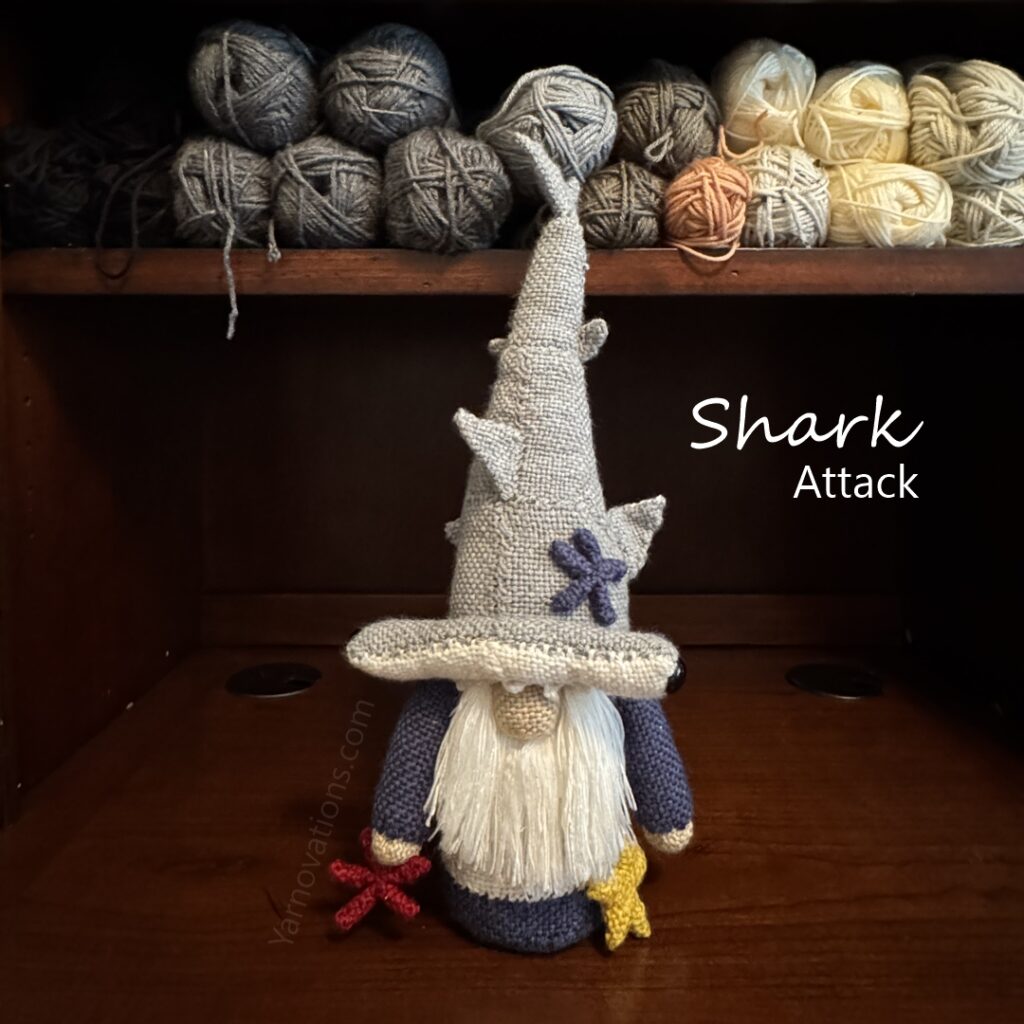
Ready for a day at the beach, this gnome’s hat looks like a Shark Attack! The gnome, shark and even the starfish are made from pin loom woven shapes. This pin loom pattern also includes step-by-step written instructions and lots of photos.
Shark Attack Gnome measures approximately 18″ tall from bottom of gnome to the end of the shark tail. The gnome, shark and starfish are all woven on pin looms in plain weave. The teeth are crocheted.
Shark Attack Pin Loom Pattern is now available on Etsy.
All three of these Hammerhead Shark patterns are a lot of fun to make and to play with.
Enjoy!