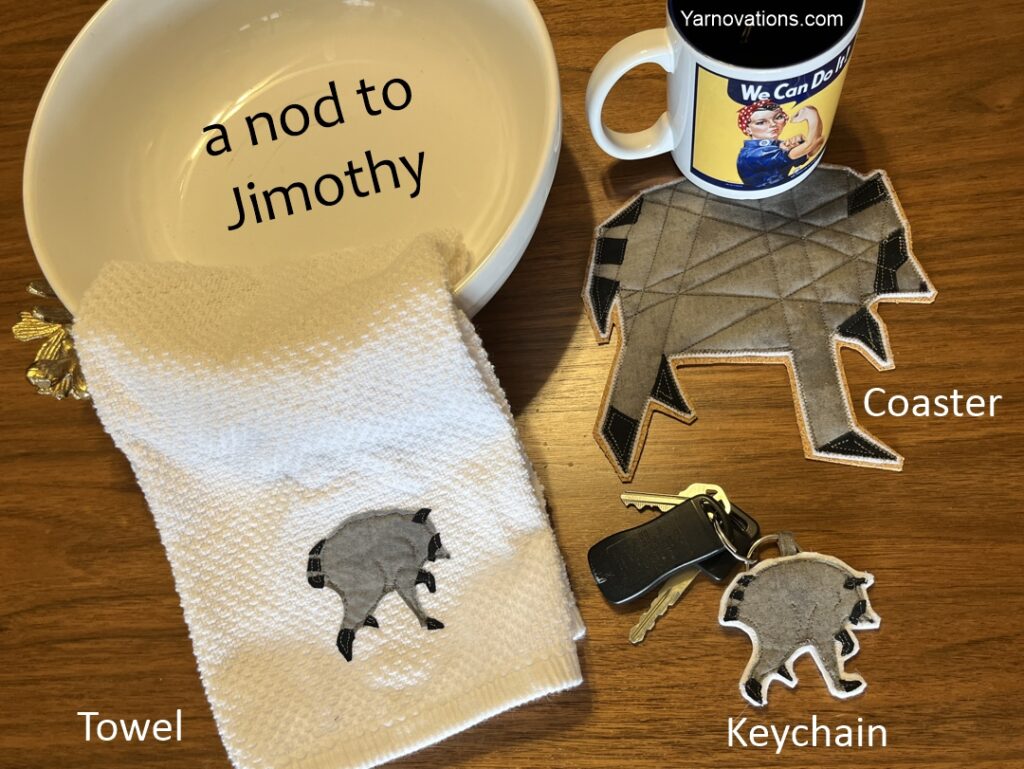
Love Jimothy the raccoon? Sew him with us. This trio sewing pattern is fun, easy and great for new sewists. Make a coaster, a keychain or an Christmas ornament … or applique a towel or shirt. This Jimothy sewing pattern has step-by-step instructions for 3 projects but once you learn how to make the applique, you can put Jimothy on a whole host of things.
Jimothy Sewing Pattern Includes
- Tracing Templates for Jimothy the Raccoon
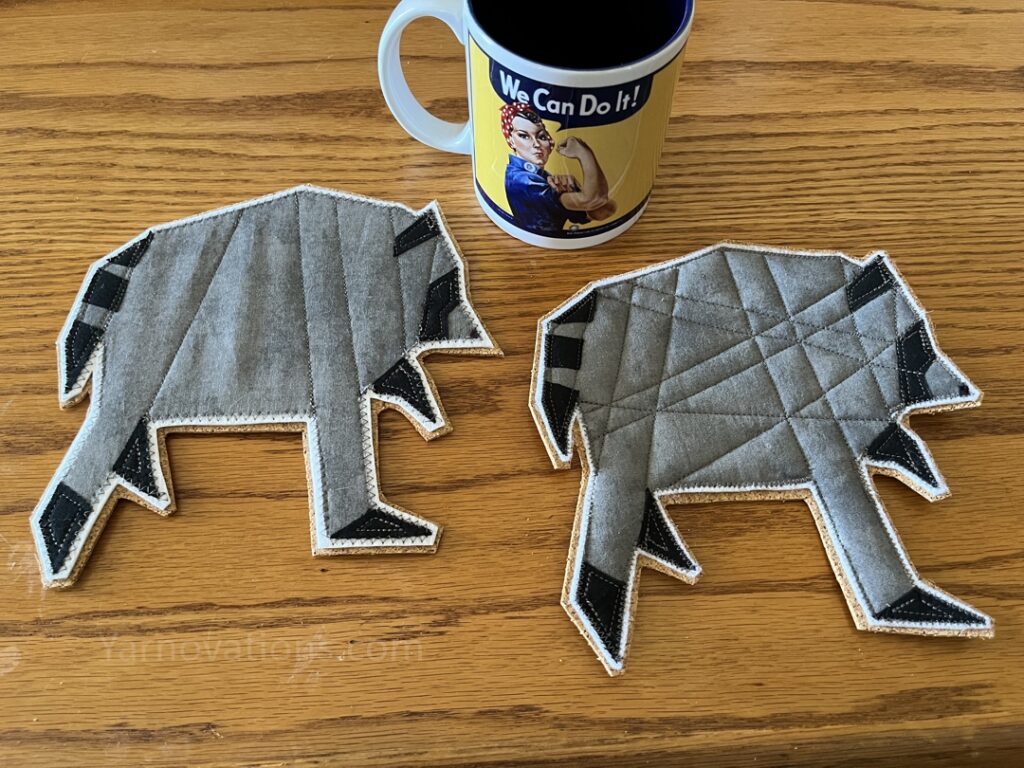
- Tracing Templates for a Bison / American Buffalo
- Tracing Templates for a Boy
- Tracing Templates for a Girl
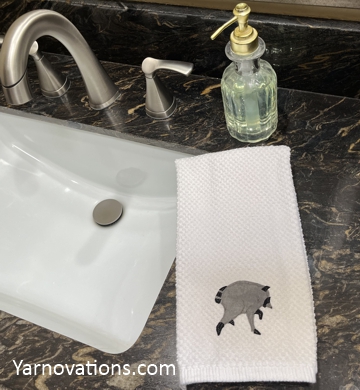
- Step-by-Step Written Instructions for an Applique (shown on towel)
- Step-by-Step Written Instructions for Keychain (or bag charm or Christmas Ornament)
- Step-by-Step Written Instructions for “Quilted” Coaster (shown with 2 options – Jimothy only)
- Lots of photos
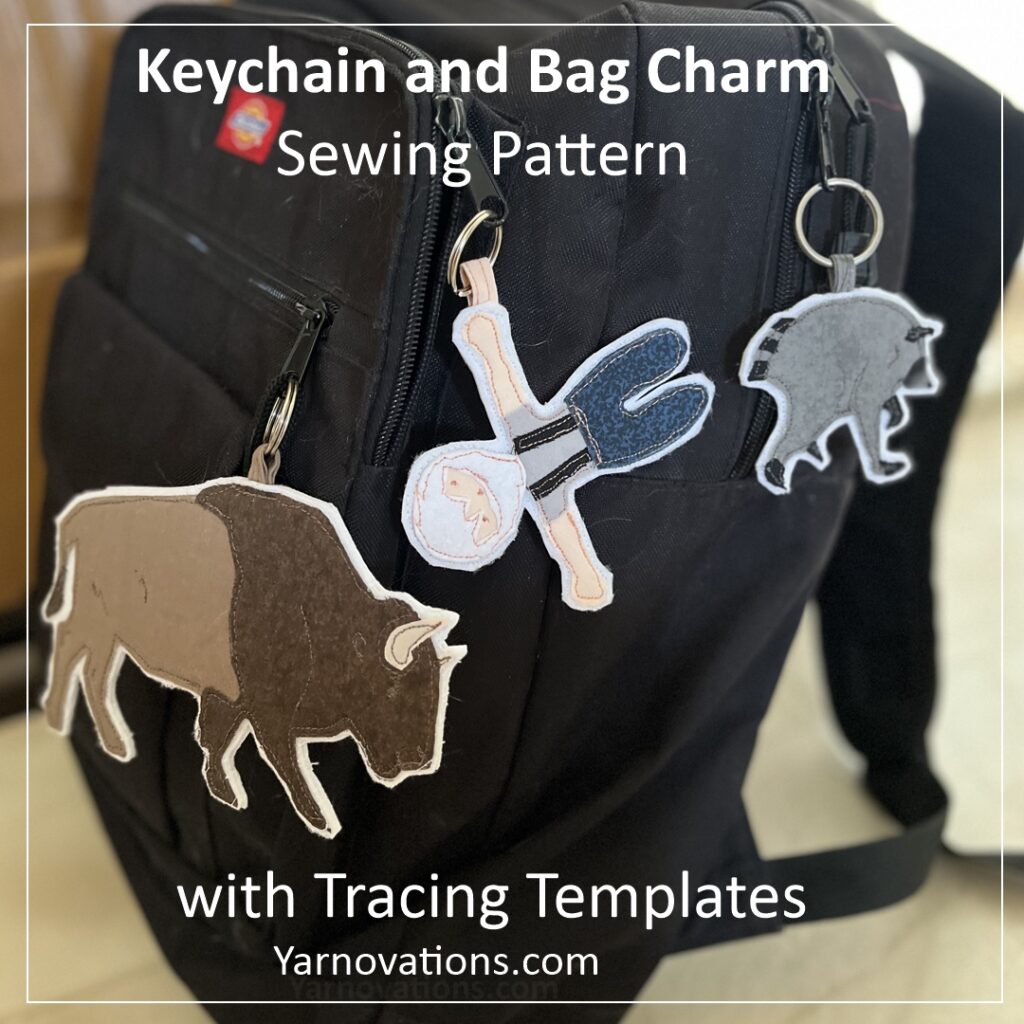
Sewists love to capture moments in time in fabric and thread. Commemorate and sew a fun Jimothy raccoon, bison / American buffalo, or tourist for your bag. Or tie ribbon on them and make Christmas ornaments. The bison reminds us of our brother who attended CU Boulder. CU Buffs have an American Buffalo as their mascot. If you’re a fan of professional football like us, then you probably know someone that’s a fan of Buffalo Bills. Whatever your reason, this pattern makes it easy to sew fun projects.
Sewing Pattern Now Available
The easy step-by-step sewing pattern for Jimothy, Bison / American Buffalo, Boy and Girl is now available in our Etsy shop. It includes tracing templates for Fimothy and Friends and 3 different step-by-step instructions for making a towel, keycahins and coaster.

Jimothy Sewing Pattern – Melting Our Hearts
When we saw Jimothy online, the first thing on our To-Sew List was the keychain. And we fell in love with it. The keychain is light weight and melts our hearts.
Second on our To-Sew List was the towel. We fell even more in love with Jimothy upon appliqueing him to a towel. It looks soo good next to the sink. Guests will get a real kick out of it.
Third and finally, we had to “quilt” a coaster. For this project we decided to go old school and sewed Jimothy with simple straight lines. Top stitching can be done with any technique like swirls or jagged “fur” scruff. But we opted for a geometric look.
Get the Jimothy & Friends Sewing Pattern Trio
Sew with us. Get your copy of Jimothy and Friends Sewing Pattern in our Etsy shop.
Make Jimothy as a coaster, keychain or applique for a towel or shirt – the pattern includes tracing templates for all three. But it also includes tracing templates to make a bison / American buffalo and a guy and gal tourist as a keychain or applique. Customize them with different fabrics to your hearts content.
Why Do You Need a Jimothy and Friends?
- Bag charm
- Luggage Tag
- Christmas Ornament
- Coaster
- Towel Applique
- Shirt Applique
- Santa Gift Exchange
- White Elephant Gift
- Gift for Animal Lover
- Fun Home Decor
- Gift for Silent Auction
- Quirky Coaster for Special Event
Jimothy & Friends Upcycle
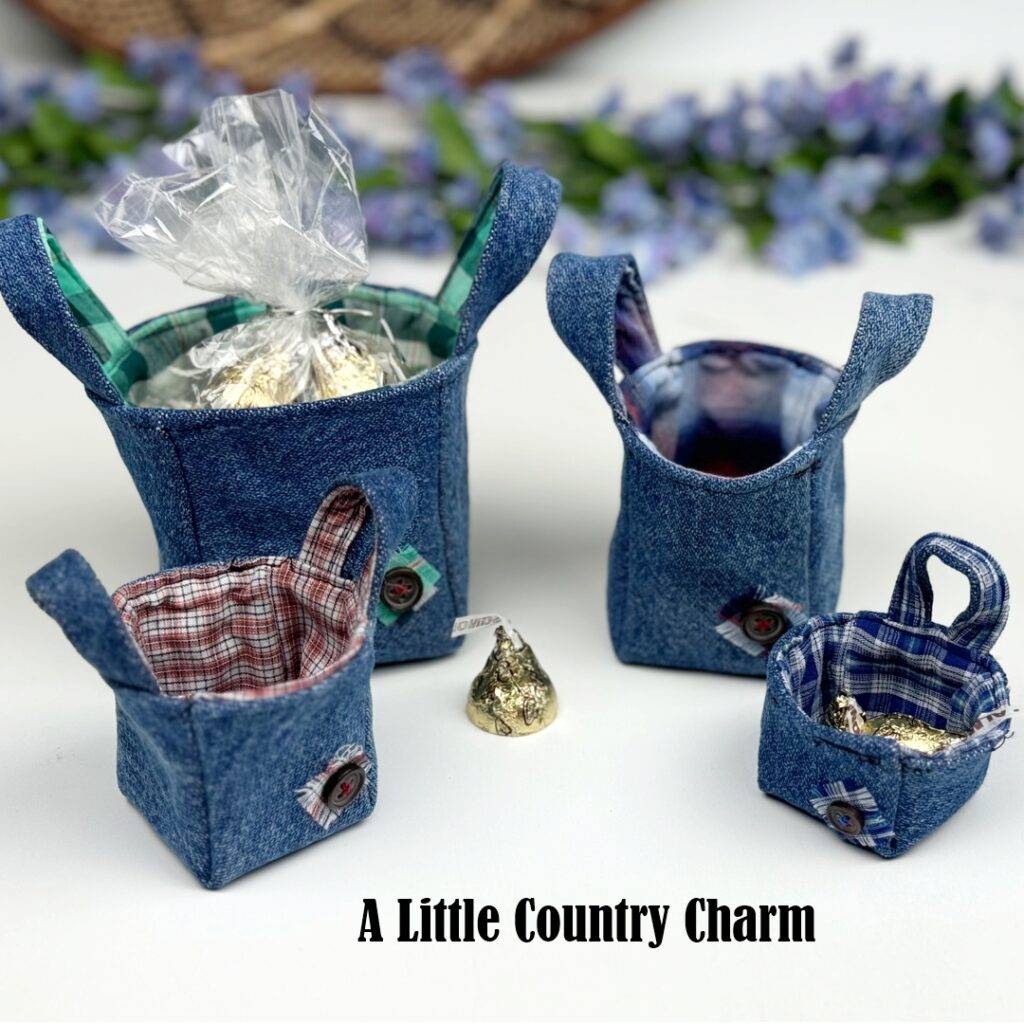
If you want quick and easy projects to make with your stash, this is it! We upcycled and stash busted for all of these projects. The fabrics were all remnants and bed linens picked up at a second hand store. The cork on the back of the coasters is an old roll we inherited from our dad when he retired from woodworking. We used snippets of stabilizer and batting we had in a remnants pile. This is the ultimate upcycling and sewing project to make practical and whimsical gifts.
Get your copy of Jimothy and Friends Sewing Pattern, today.