Tips and tricks are definitely needed if you plan to weave with scrubby yarn. It makes the BEST dishcloths for handwashing dishes but the yarn is definitely aggravating to work with. We’ve made lots of variations of an 8″ dishcloth and learned a thing or two…and maybe said a colorful word or two, as well.
How to weave scrubby yarn without pulling all your hair out!!
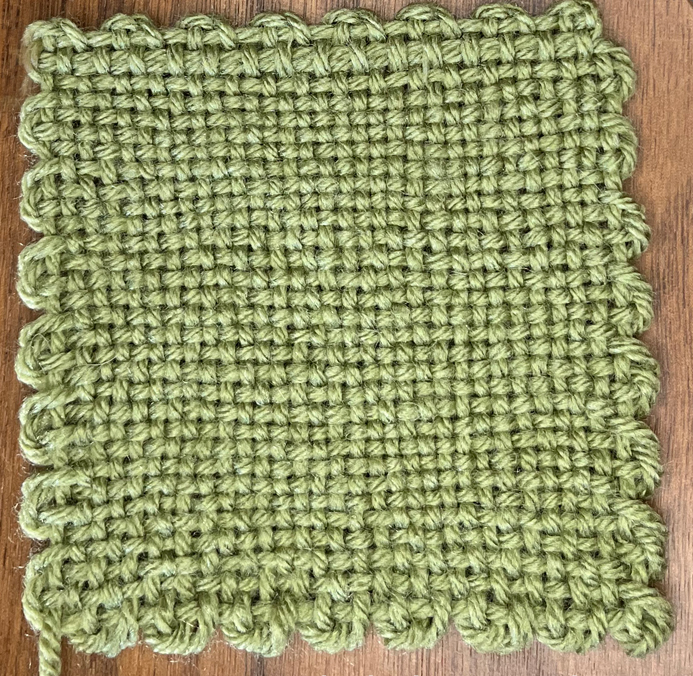
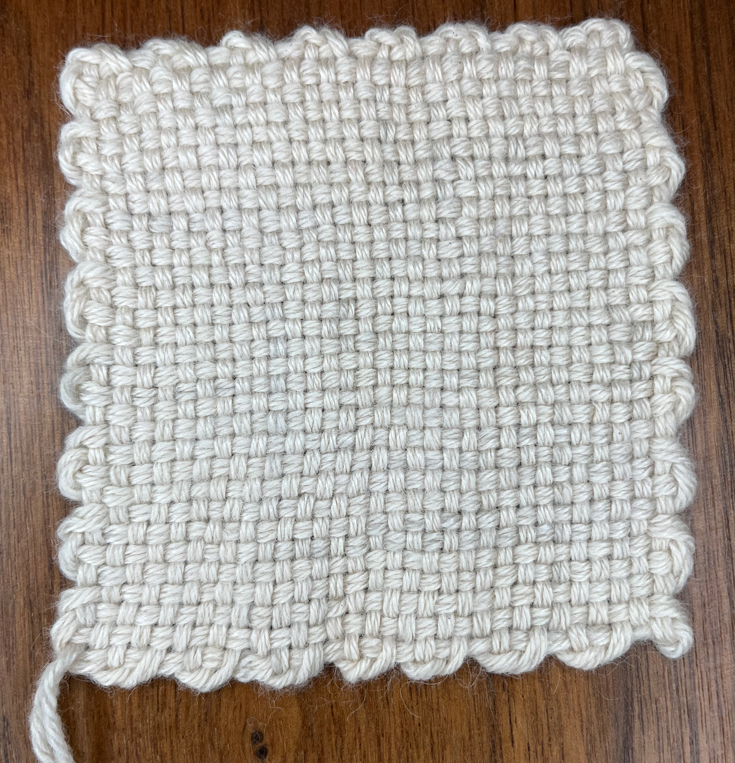
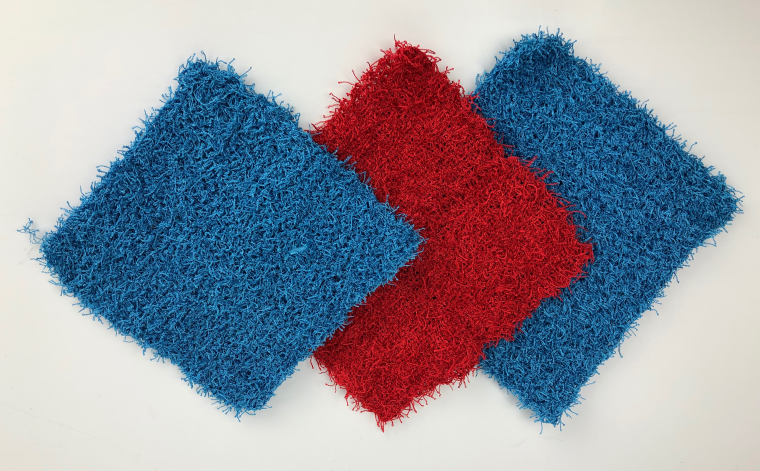
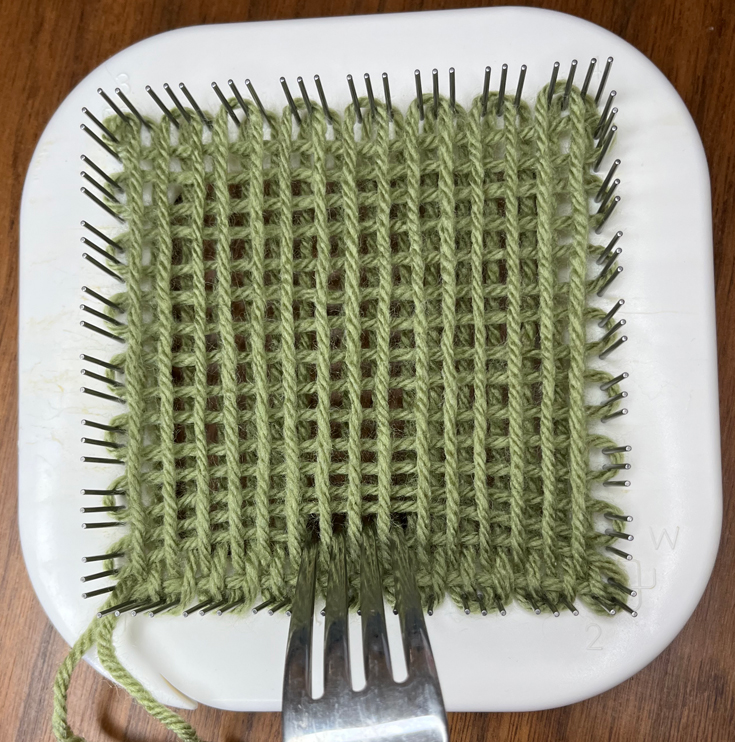
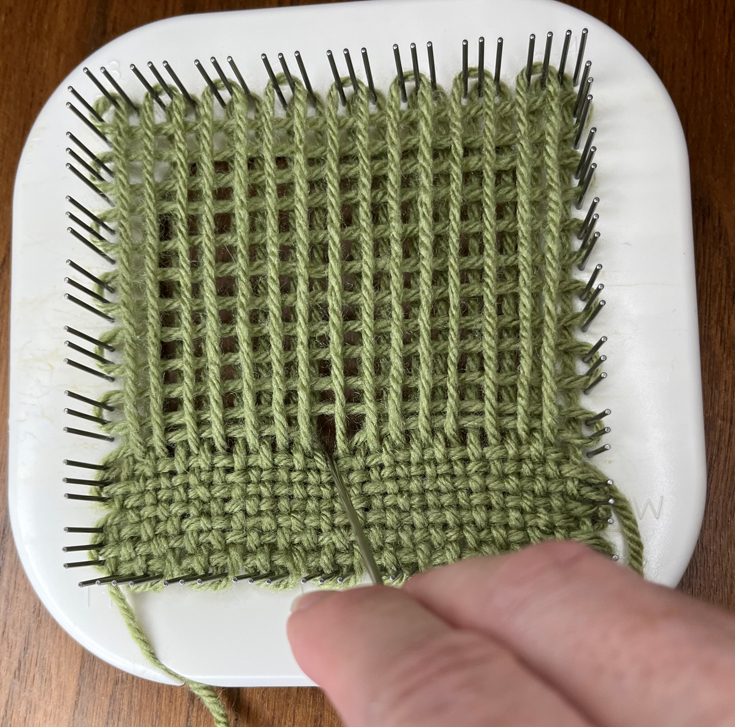
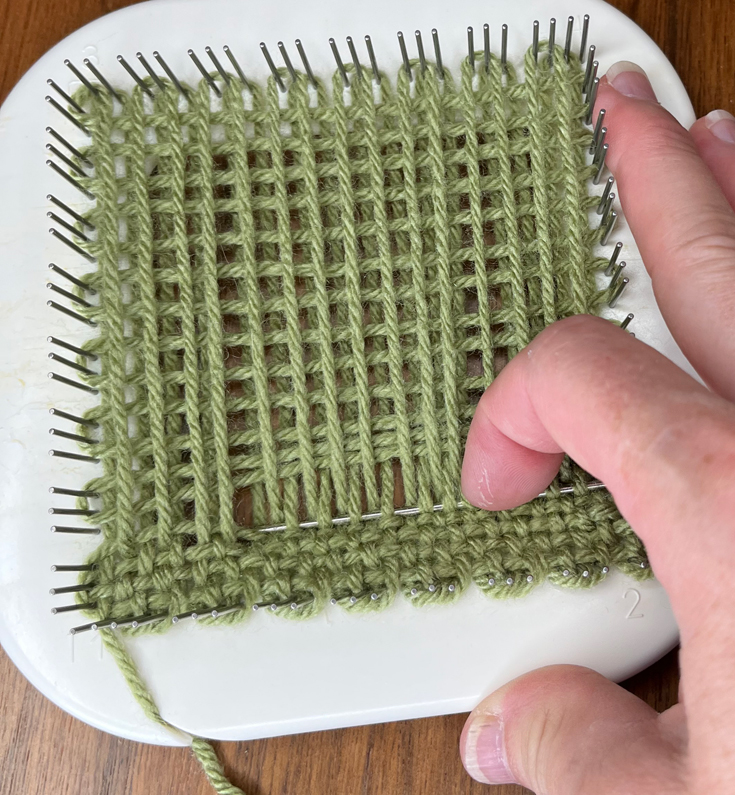
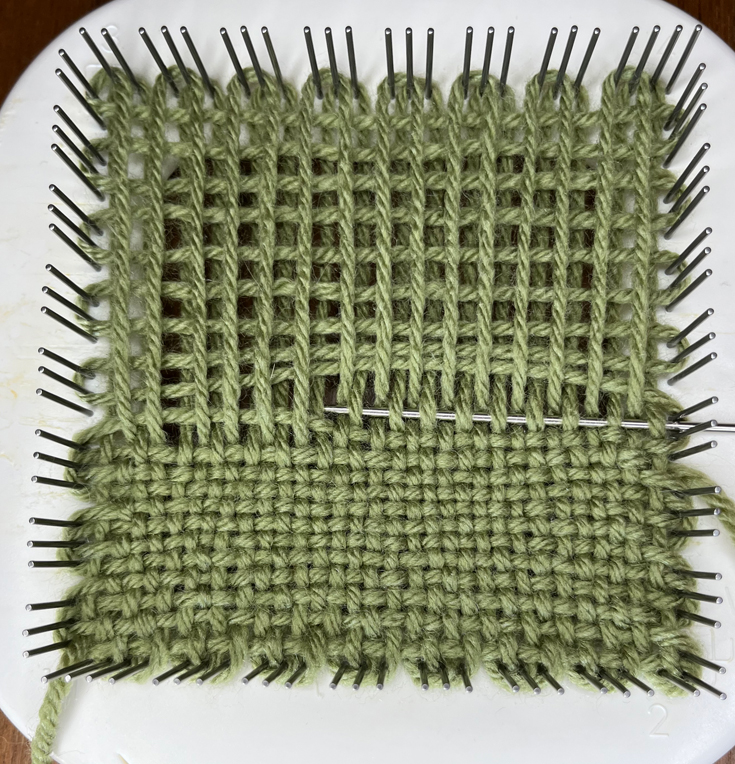
Scrubby yarn makes wonderful woven dishcloths that are pliable and durable. Made from polyester, this yarn has lots of little tendrils sticking out which give it an abrasive quality, without actually being abrasive. The rough texture makes it great for washing dishes, but a challenge for weaving on a pin loom using multiple warp layers, like the looms with a 3-pin configuration. Not only do all the little tendrils make it difficult to see each warp strand around which to weave, the needle invariably snags a tendril making it nearly impossible to pull the needle through each layer.
After weaving quite a few Scrubby squares, we found a few tricks to make weaving with this yarn a little less frustrating (though not completely fool-proof)!
Pin Loom Weaving with Scrubby Yarn Tip 1:
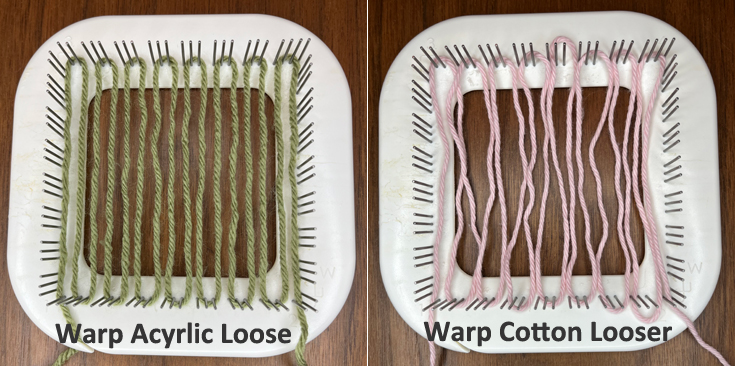
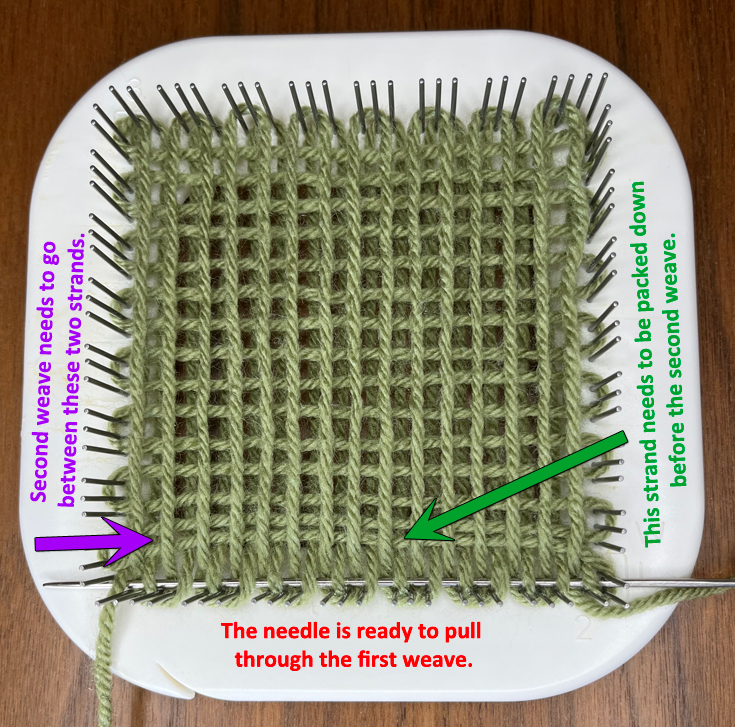
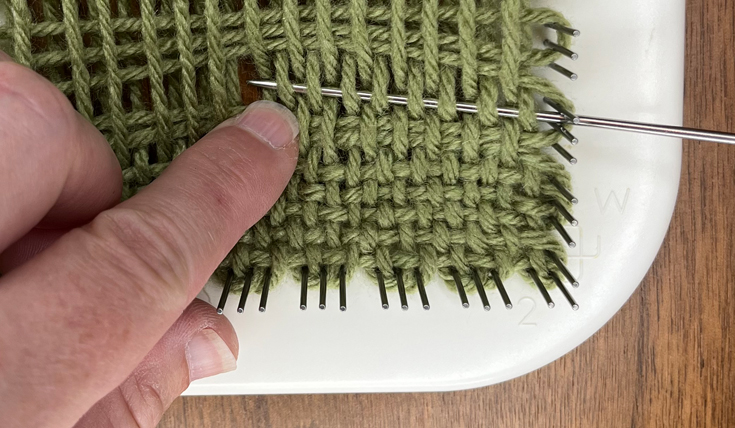
Push nearby warp strands out of the way as you weave to isolate the strand around which you are weaving. This helps you find the warp strands you want, as the tendrils often make it difficult to see the different strands. By pushing neighboring warp strands out of the way, you are also less likely to snag a stray tendril.
Pin Loom Weaving with Scrubby Yarn Tip 2:
Exaggerate the up and down of the needle. Make the needle go very high when weaving over, and very low when weaving under to try to go over the tendrils.
Pin Loom Weaving with Scrubby Yarn Tip 3:
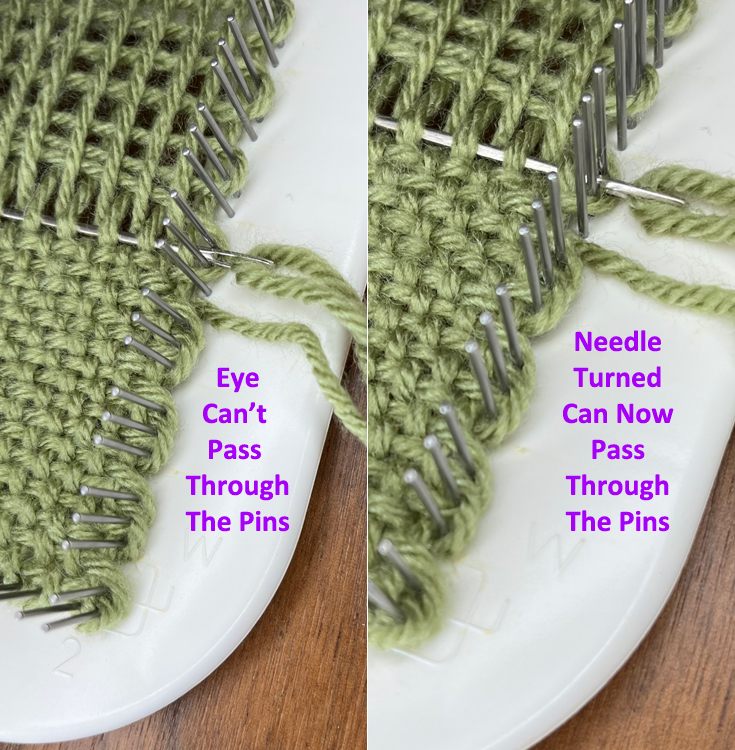
Pull out a weft row. Unfortunately, you won’t know that you have snagged a tendril or split a warp strand until you start to pull the needle through. And you won’t know where the problem is until the eye of the needle gets to the problem. With extreme care, you can attempt to pull the weft from the needle and pull the row out from the side, but this will be a tiresome task.
Pin Loom Weaving with Scrubby Yarn Tip 4:
Hulk out! More than one square was made with me losing my cool. After much careful but (quite) forceful tugging, I’ve managed to force the needle to pass through the row. More often than not, this has ended up in some tendril pulling and breaking. Surprisingly, the square holds up. It doesn’t unravel and can still be used.
Pin Loom Weaving with Scrubby Yarn Tip 5:
Use the continuous strand weaving method. This method uses a hook, and creates the warp and weft as you go. No more piercing or splitting a strand or tendril with a needle, unless the pin loom shape you are weaving also has a plain weave section, like a hexagon.
Pin Loom Weaving with Scrubby Yarn Tip 6:
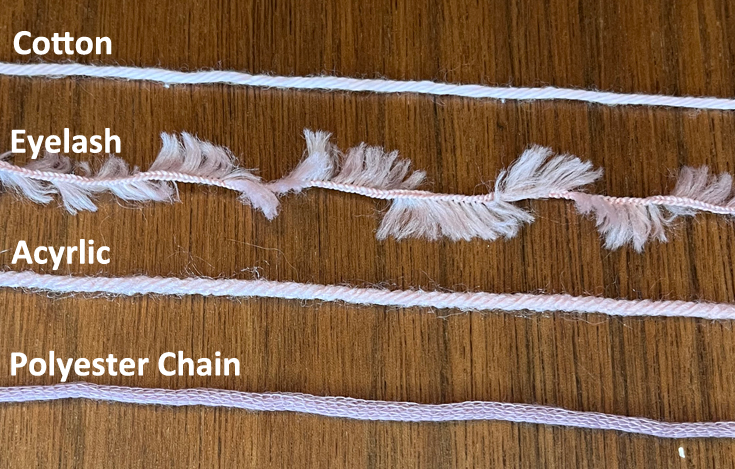
Weave with cotton and scrubby yarn in different layers. This is probably the best way to weave scrubby, or at least the least frustrating way!
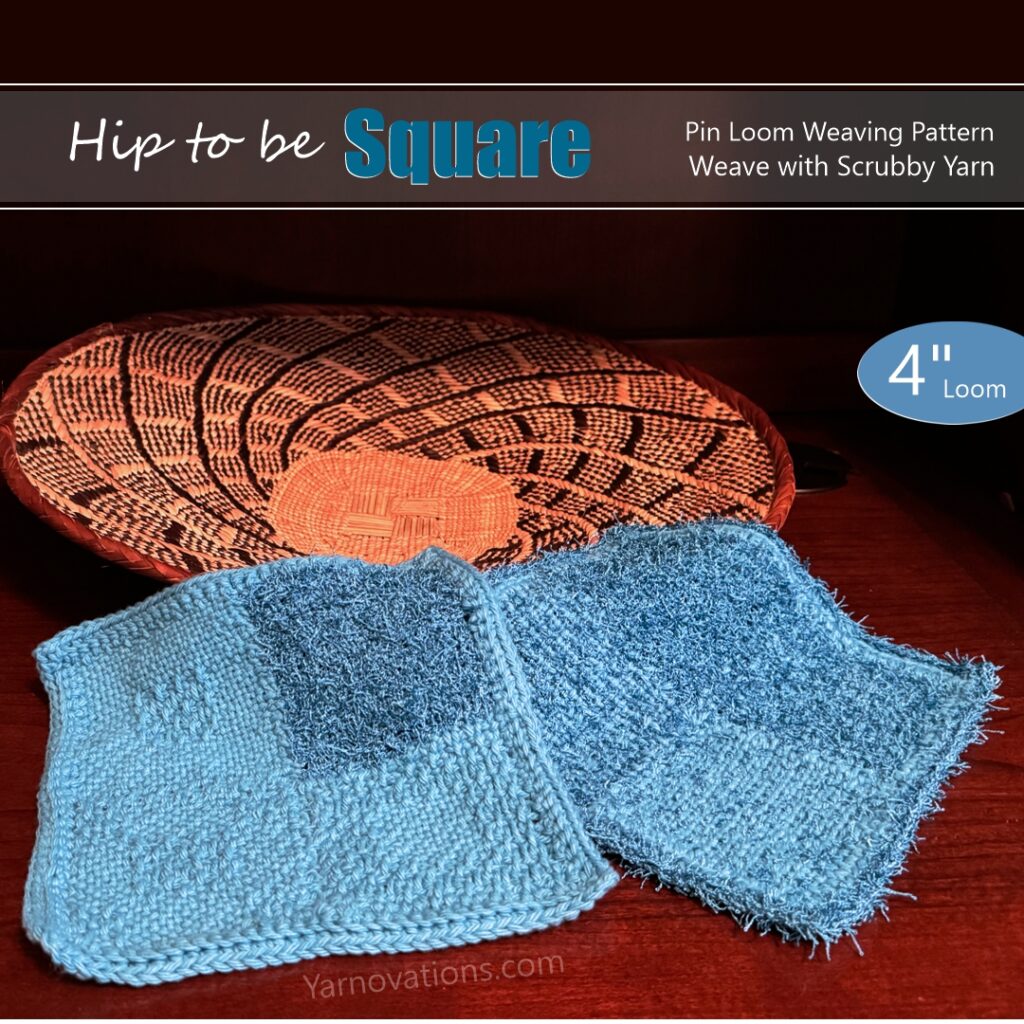
Hip to Be Square Pin Loom Pattern
We love gifting dishcloths woven in cotton and scrubby yarn and created a super fun design using a 4″ square pin loom. We call it, “Hip to be Square” because there are 3 embossed square weaving designs along with a scrubby square. This 4″ pin loom square pattern includes all the tips listed here and more!
Hip to be Square pattern includes:
- Hip to Be Square Dishcloth Pattern
- 3 Embossed Squares Weaving Patterns
- 6 Variations on cotton / scrubby dishcloths
- 6 Weaving Tips
- 3 Finishing Tips
- Comparison of crochet vs weaving with scrubby
Hip to Be Square on Etsy
The Hip to Be Square Dishcloth Pin Loom Pattern is available in our Etsy shop. It includes all the tips, tricks and weaving variations.
Available now on Etsy.
More about Hip to Be Square Pin Loom Dischloth
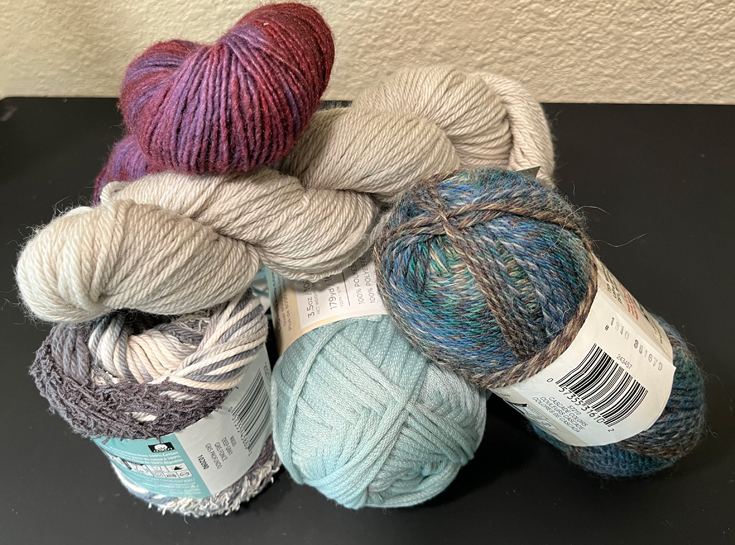
One of the great features of pin loom weaving dishcloths is that the supplies needed are minimal and with only 2 balls of you yarn, you can made several dishcloths! And even better than that…you only need one pin loom, a 4″ square. Here’s what you’ll need to make this giftable dishie:
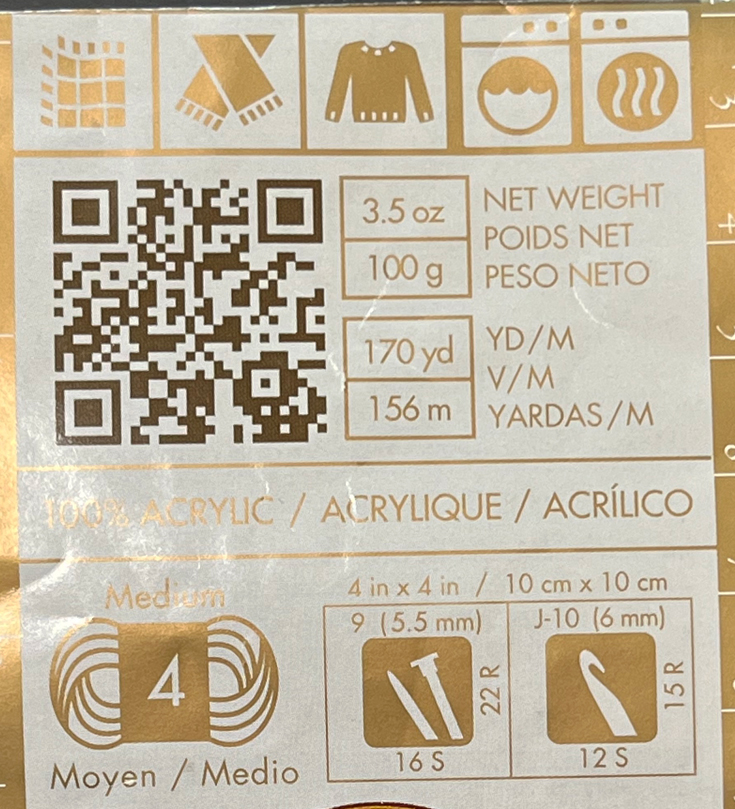
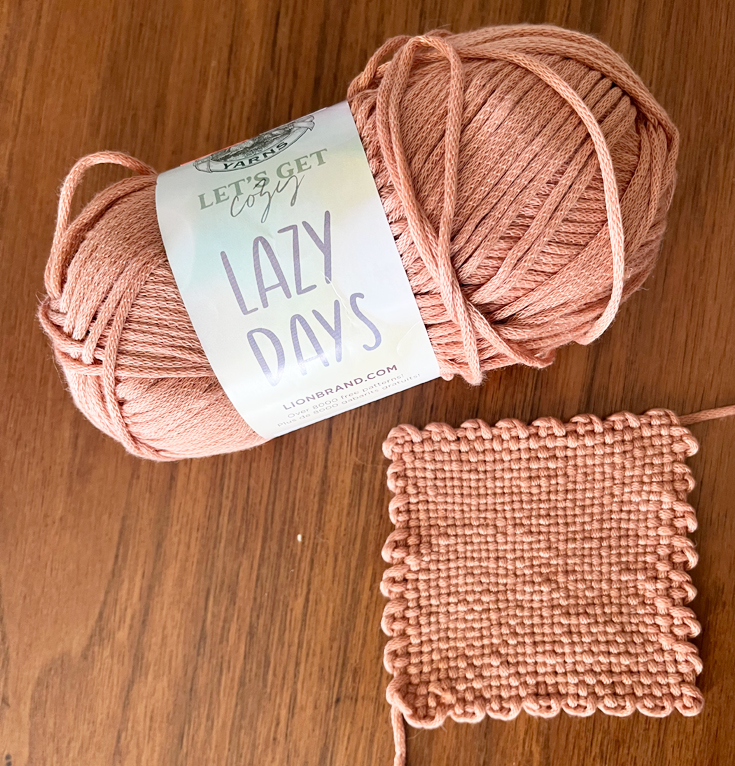
- Yarn: Lily: Sugar’n Cream – 100% cotton, Medium (4) – 1 skein
- Red Heart: Scrubby – 100% polyester, Medium (4) – 1 skein
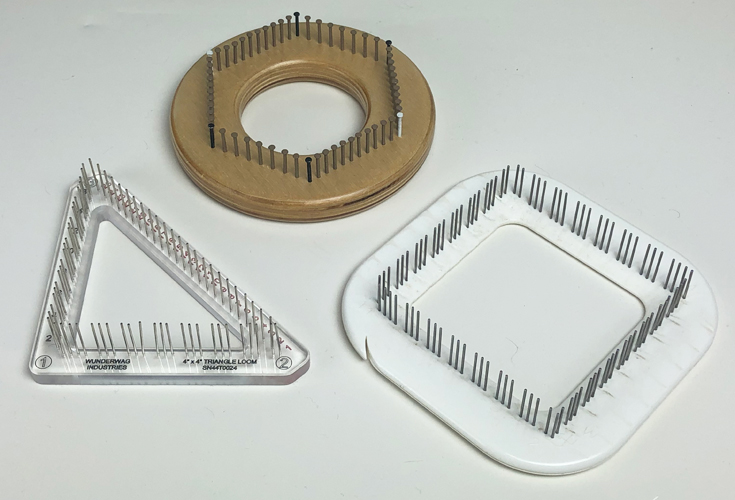
- Pin Loom: 4” square
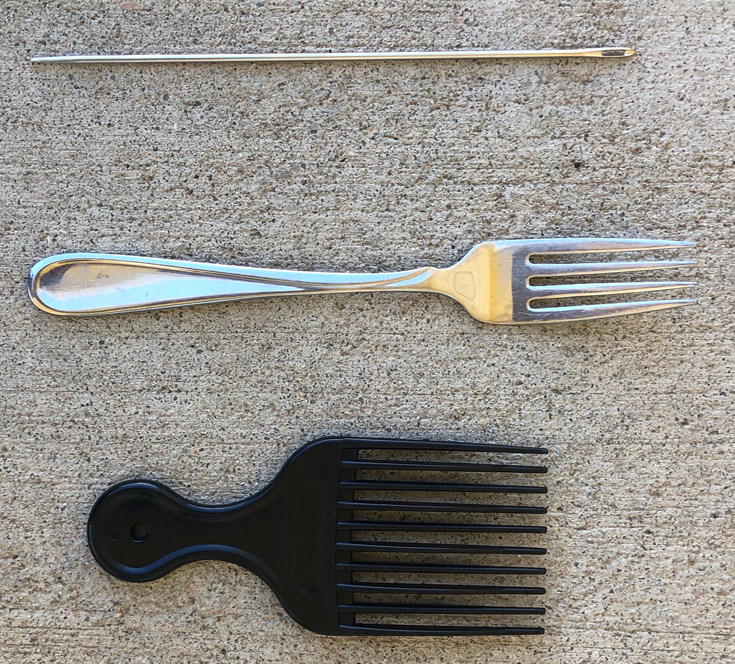
- Needle: 6” weaving needle, yarn needle for sewing
- Crochet Hook: G/6/4.00mm (optional)
This dishcloth first appeared in Little Looms magazine. We have the rights back to this project and have created a pattern packed full of more tips and tricks. Get your Hip to Be Square Pin Loom Pattern on Etsy.