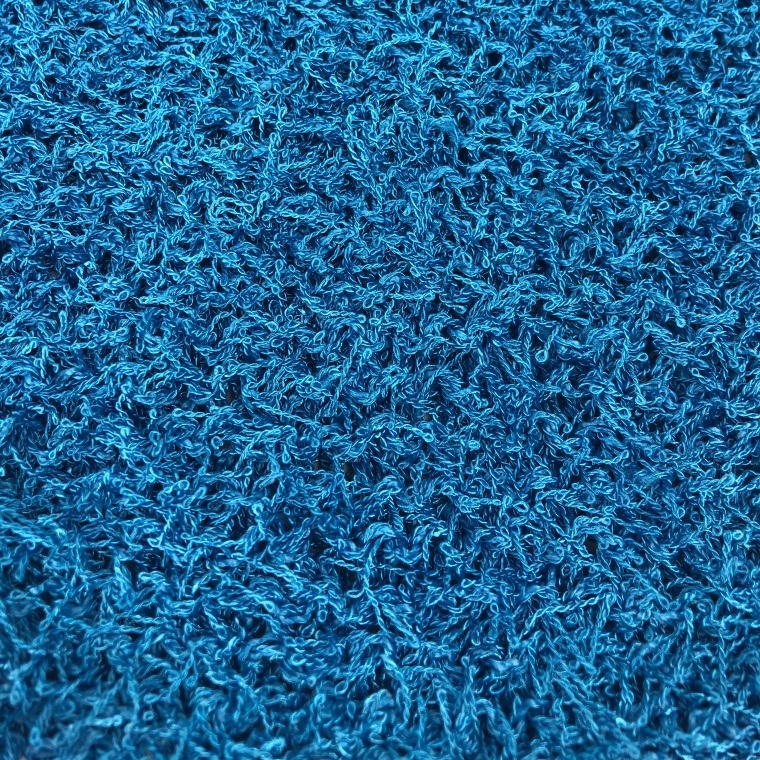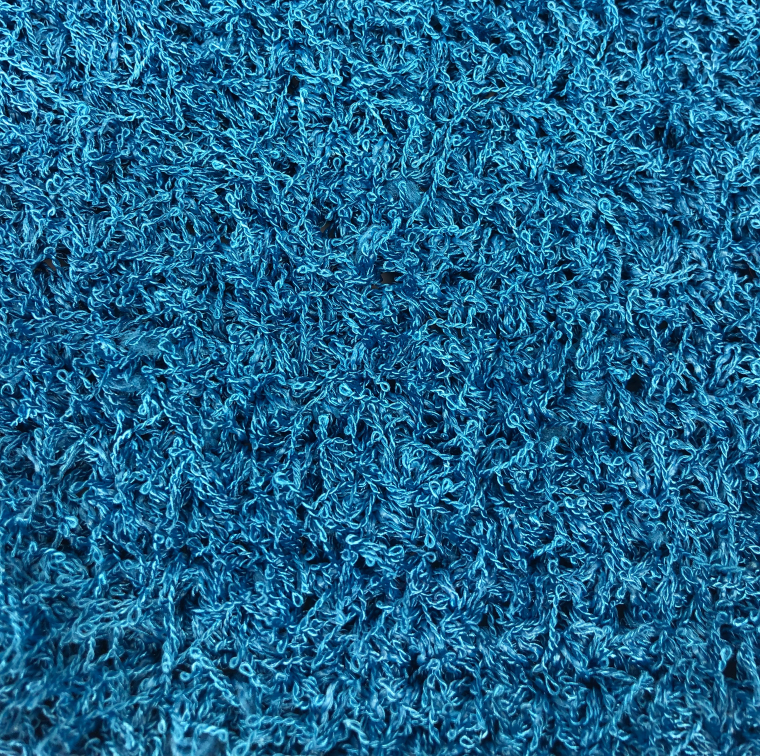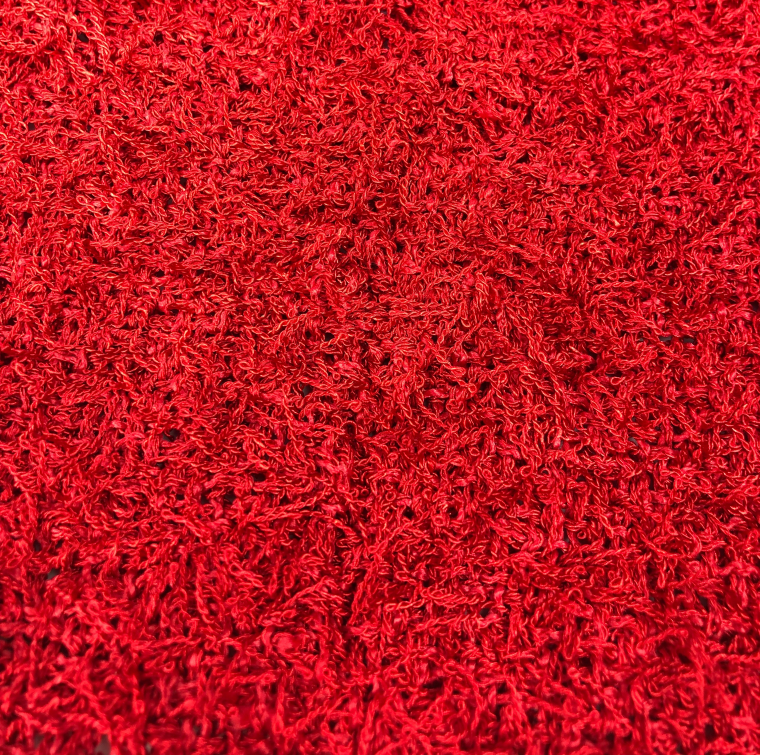
Large Plush Pin Loom Woven Pumpkin

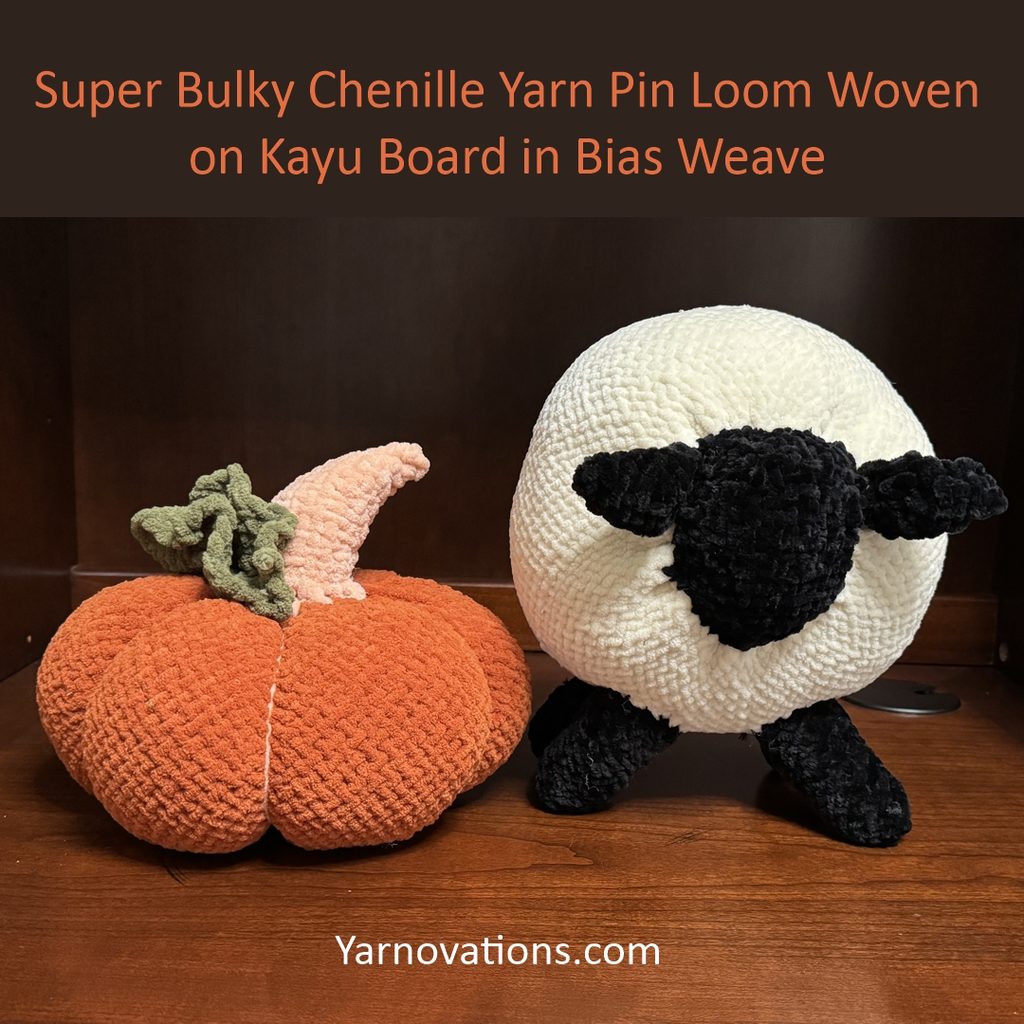
I might be a little obsessed with the Kayu board pin loom! I had so much fun weaving up the sheep, I decided to make a stuffed pumpkin. Again, weaving with bulky yarn on the Kayu board is quick, easy and fun. The yarn I chose is a super bulky size 6 soft chenille-like polyester yarn. It is incredibly soft and squishy on its own. It is even more squishy when it is woven up, sewn together, and stuffed!
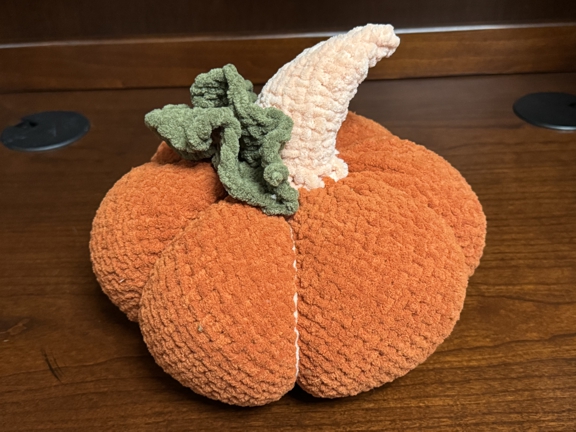
The Kayu pin loom / board is very convenient. I could get all the shapes I needed on this one board. For this project, I used it to make:

  • three 10″ orange squares for the pumpkin,
  • one 7″ triangle for the stem, and
  • one 5 1/2″ square for the leaf.

I used Loops & Threads Demi Purl from Michaels. It is a size 6. The super bulky yarn made it weave up very quickly. Because you can make many sizes on this one board, I plan on making more pumpkins in different sizes.
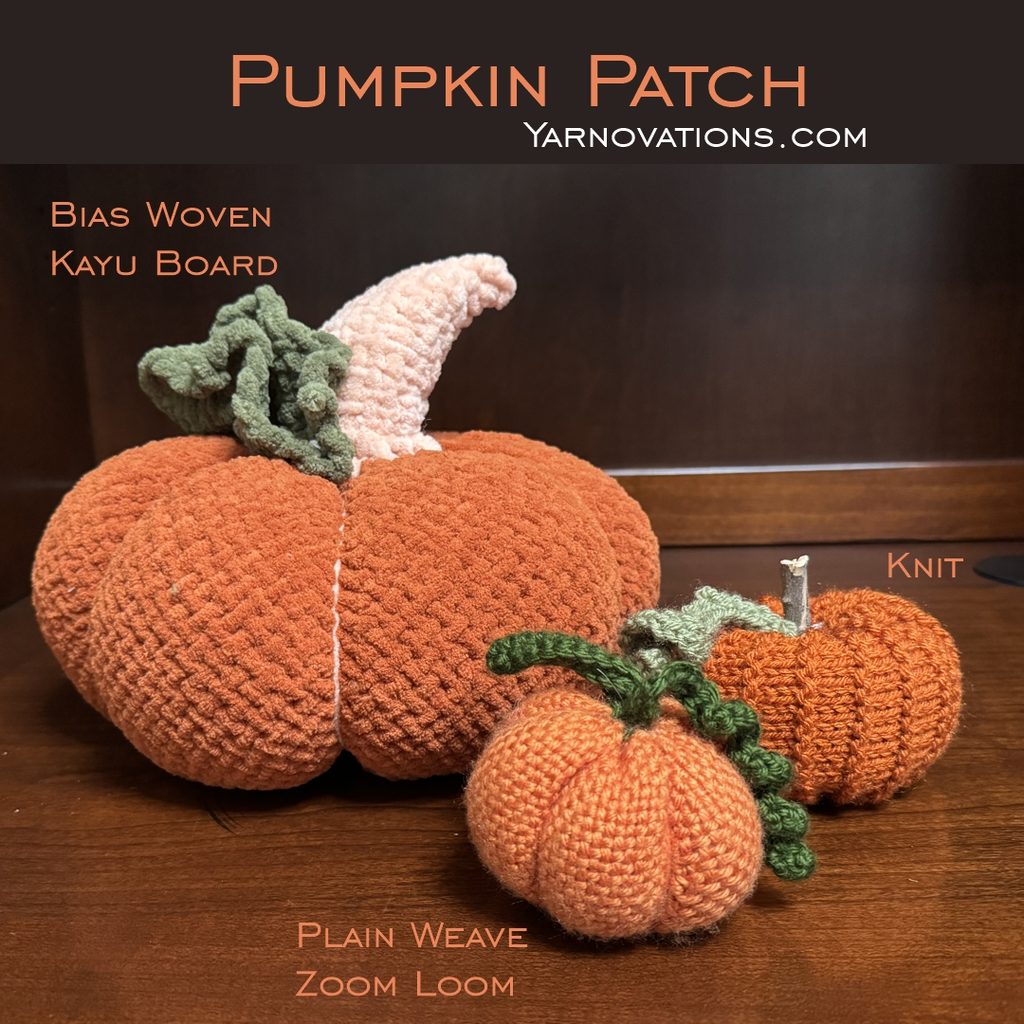
The construction is very similar to the pumpkin in the My First Pumpkin 4 in 1 Set (crochet, knit, pin loom weaving, sewing) in our Etsy shop. The Kayu board is available in the Ullvuna shop on Etsy. Keep in mind, weaving on a small pin loom like the Zoom Loom is done in a three warp fashion. The Kayu shapes are bias woven.

Learn more:

My First Pumpkin Pattern (sewing, crochet, knit, pin loom weaving)
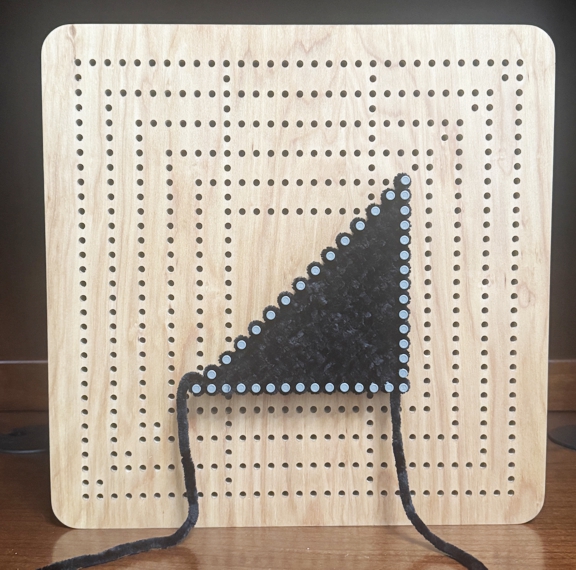
Kayu Board

Ullvuna.com

Kayu Board Pin Loom Weaving

There have been many times walking through the yarn department at a store where I wished I could weave with some of the beautiful bulky yarn. Until now, I’ve just looked away, and gone straight to the medium worsted weight yarn section…until now! I have been weaving almost nonstop since the Kayu loom arrived on my doorstep. For the first time, I’ve been able to weave with bulky yarn on a pin loom. At first I wanted to warp it like a traditional pin loom with a three-pin configuration, but the pin spacing is not set up for that. Instead, this loom was designed to be bias woven. I don’t bias weave often, so I had to refresh my memory. Thankfully there are written instructions on the ullvuna.com website. Once I got going, I couldn’t stop!

After getting the loom and seeing the pin spacing, I realized that I didn’t have any bulky yarn that would work on this loom. After a quick stop at the store, I picked up the equivalent of Bernat’s Blanket yarn, which is ultra soft and velvet-like. My first square was so plush and soft, my youngest son immediately declared he needed a blanket woven from this yarn! Unfortunately for him, I had another project in mind, and his blanket would have to wait!

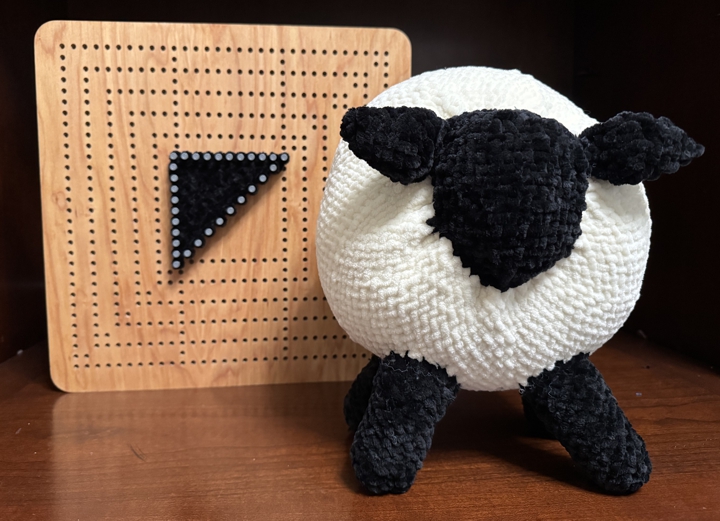
The Kayu loom, available in the Ullvuna shop on Etsy, is a beautiful weaving board that can make 3 shapes in multiple sizes, making it the equivalent of 15 looms. For my first project, I decided to make a plush sheep pillow. This took 2 shapes in two sizes. What is so great is, all the shapes I needed were on this one board/loom! Also, once you know how to weave a square or triangle, it weaves the same for the larger or smaller shapes. You really can just bias weave all kinds of shapes and sizes on one board/loom!

The size of the loom seemed large and bulky at first, but the first time I put it in my lap, it seemed just right. It also seems like it would feel large on the table, but when you are weaving, it just feels convenient! The loom arrived with a sweet carrying bag with a little sack of “pins” that my son enjoys setting and removing! All around, the Kayu loom is just a lot of fun.

If you’ve ever thought about pin loom weaving with bulky yarn, the Kayu Pin Loom is a great option.

Happy Weaving,

Deborah

Billy Bison Pin Loom Plushie

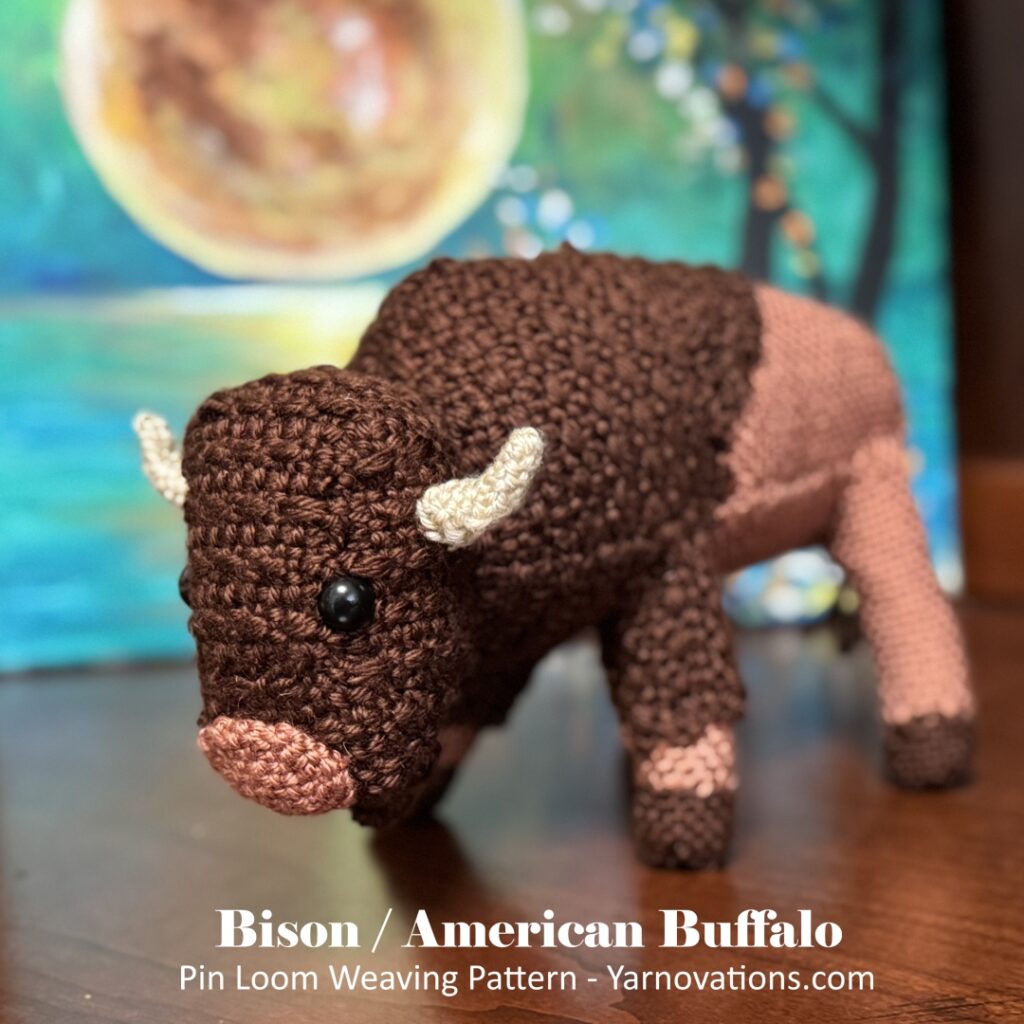
My love of bison (and an incident at Yellowstone) inspired me to create a pin loom bison stuffed animal. These impressively powerful mammals possess a quiet strength as they feed across the prairie. They are social creatures that seem unbothered by all the things around them.

For others in my family, the bison makes them recall their time at the University of Colorado. I imagine a blue bison could rile up a Buffalo’s fan or two!

I didn’t have any dark brown fur, so I decided to make the front of the bison with a textured stitch. The smocking stitch became especially prominent by warping the pin looms in a single strand of yarn, and weaving it double stranded. These two brown colors of Caron Simply Soft yarn really contrast nicely.

For me, determining the size of the head kind of dictates the size of the rest of the body. First, I imagined the different parts of the body in shapes, squares, rectangles, triangles, and cylinders. Then I determined the size of looms that would accomplish those the best.

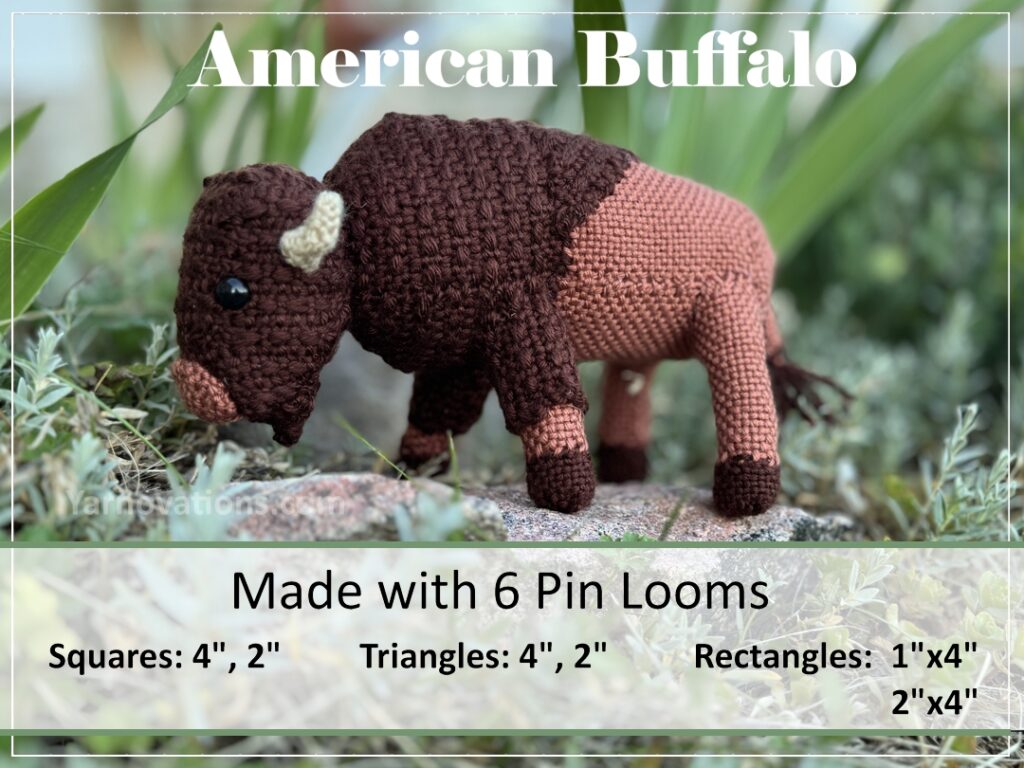
I ended up using 6 different pin looms: 1″ and 2″ right triangle looms, 2″ and 4″ square looms, and 1″ x 4″ and 2″ x 4″ rectangle looms.

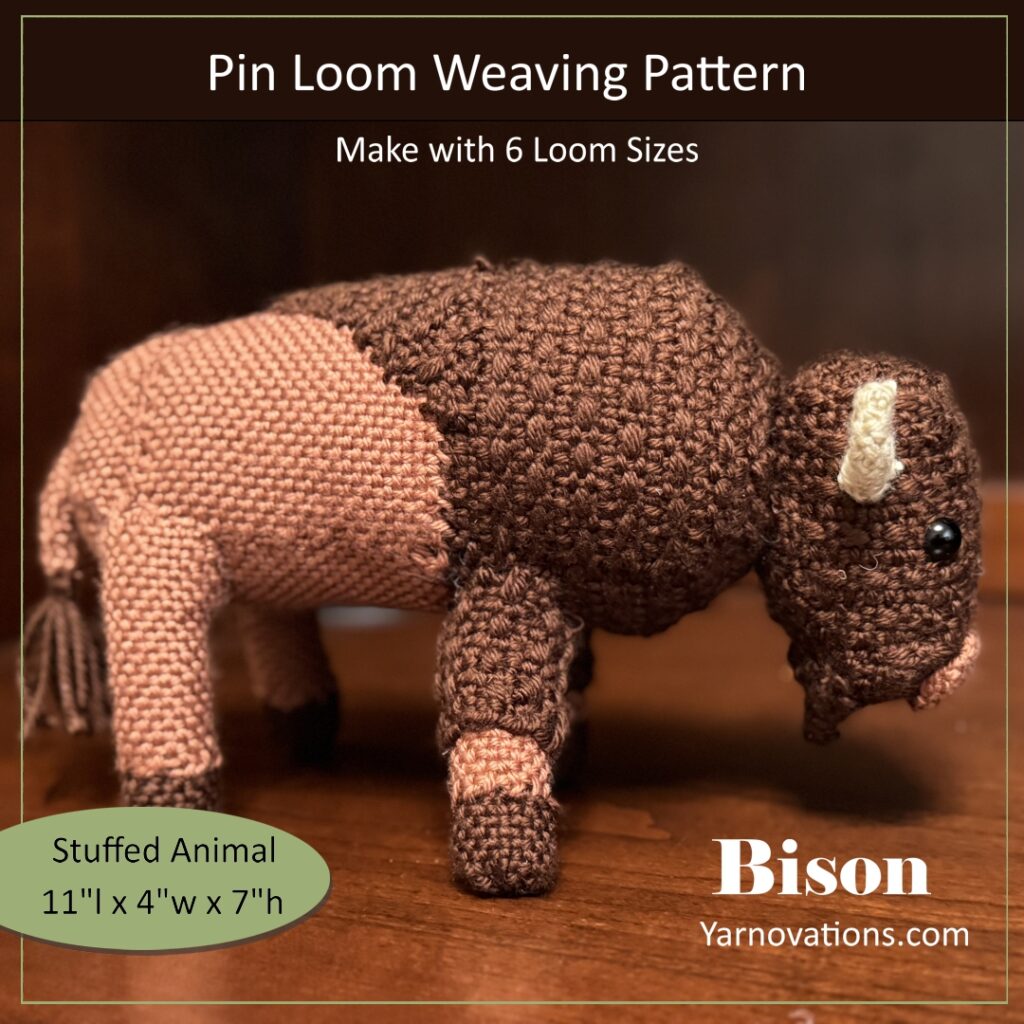
With a little folding, rolling, and tucking, this little bison quickly took shape. His finished size is 11″ long x 4″ wide x 7″ tall. For complete instructions, you can find the pattern in our Etsy shop. It includes step-by-step written instructions, charts, and photos.

Unlike those found in the wild, this one likes to cuddle!

Happy Weaving,

Deborah

Share the Love

Love pin loom weaving or Bison? Share one of our photos on social media.

Want to make one? The bison – American buffalo pin loom weaving pattern is available now in our Etsy shop.

Buy the pattern on etsy

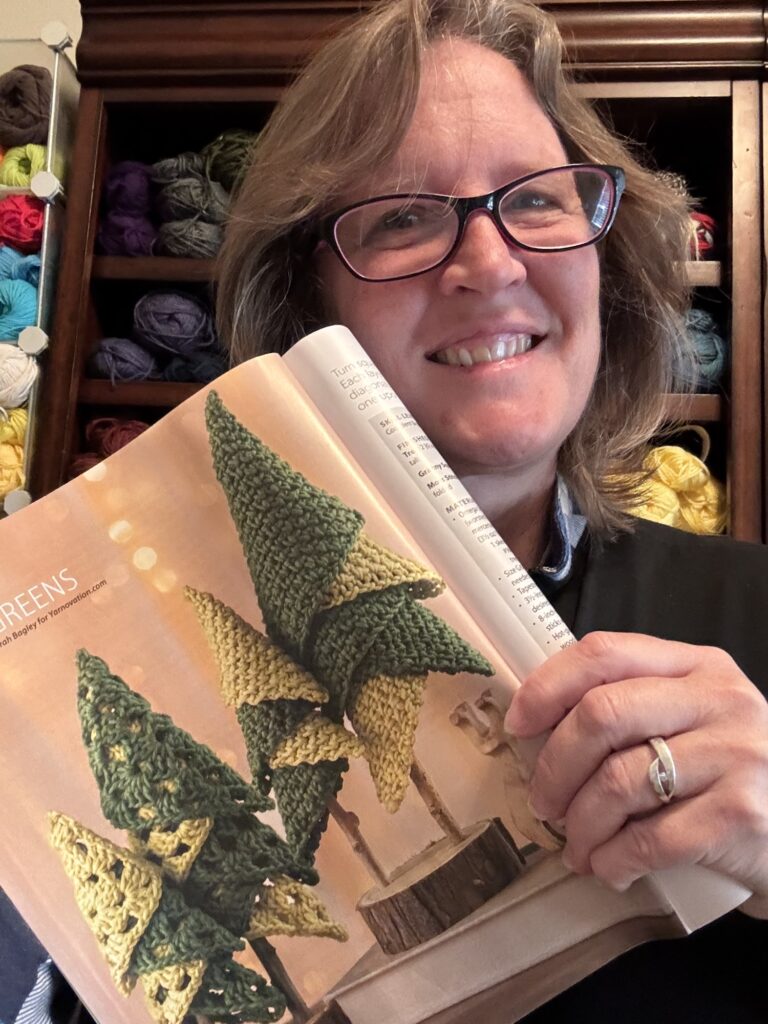
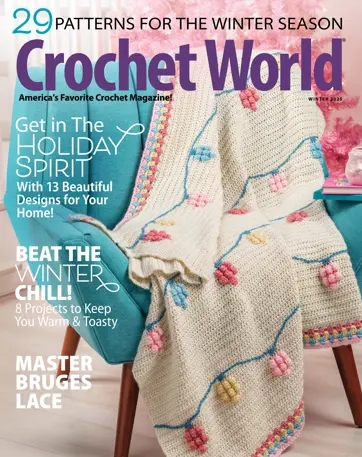
Evergreens, Crochet World Winter 2025

Evergreens often remind me of winter and Christmas time. Why is that? They are green all year long! These darling crocheted evergreen trees are easy to make and can be enjoyed all year. I often put them out at Christmas, and put them away well into the new year. Now you can crochet your own evergreens as well!

Available on newsstands now, Crochet World magazine’s Winter 2025 is full of fun winter and Christmas-time projects perfect for wearing, decorating and gifting. We have another adorable pattern in the issue…Evergreen Trees! We show the trees in two different crochet stitch patterns and the instructions walk you step by step how to assemble them.

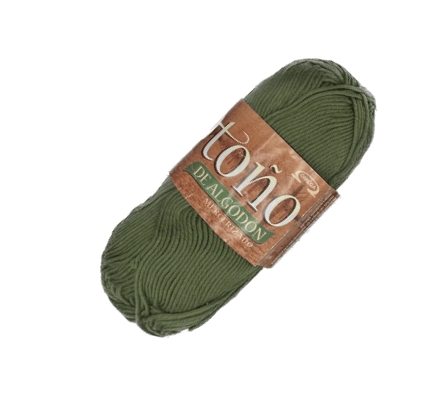
Each tree is crocheted with Omega Otono worsted weight yarn. They are crocheted with simple stitches and have simple construction making these fun and easy for beginner crocheters.

Just for added fun, I, Deborah, decided to create the little wooden reindeer as well! I saw a video of someone making one on a band saw, and cut one out myself using a scroll saw. I don’t do a lot of woodworking, but I was pleased with the result. It’s a cute little addition to my winter scene. Here’s the video of the reindeer using the band saw: https://www.youtube.com/watch?v=W335wRyLLiY&t=61s

Check out Crochet World Winter 2025 for the trees and 28 other fun and festive patterns to crochet.

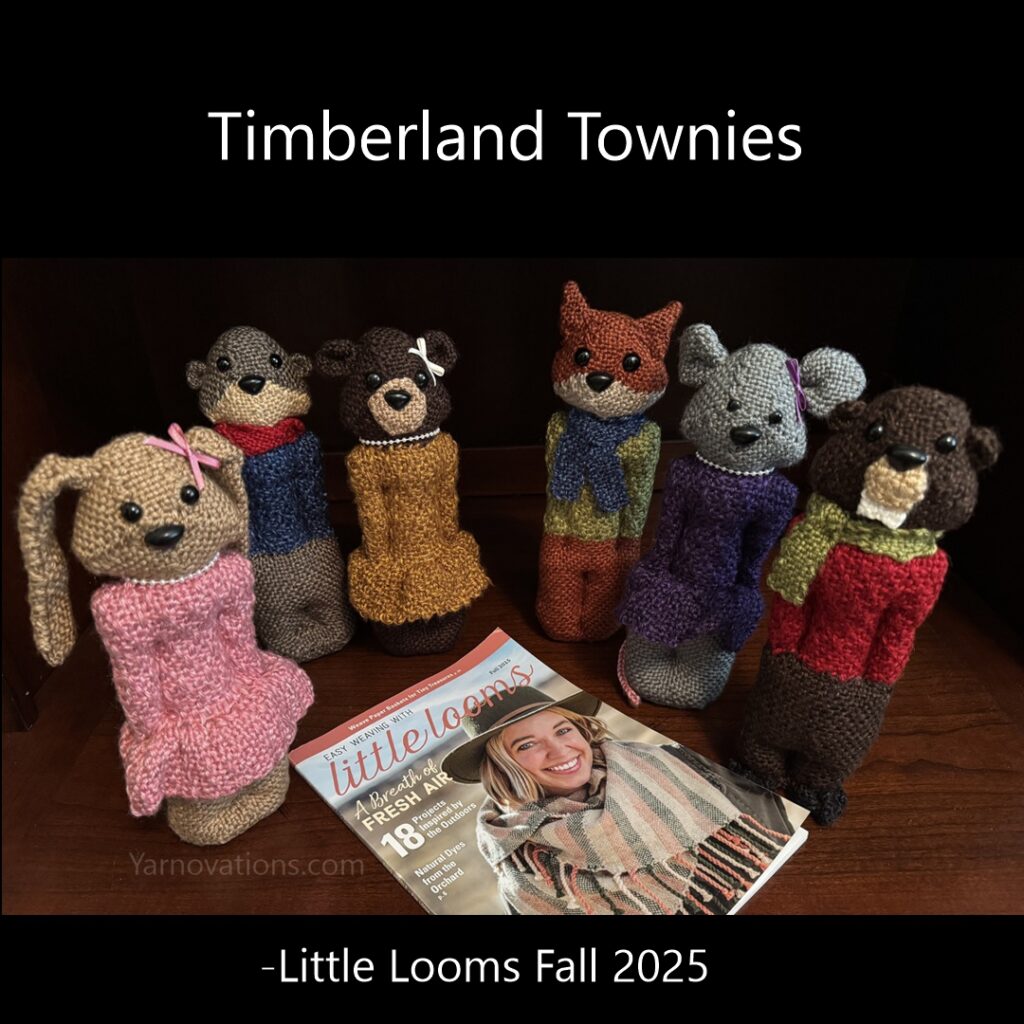
Timberland Townies

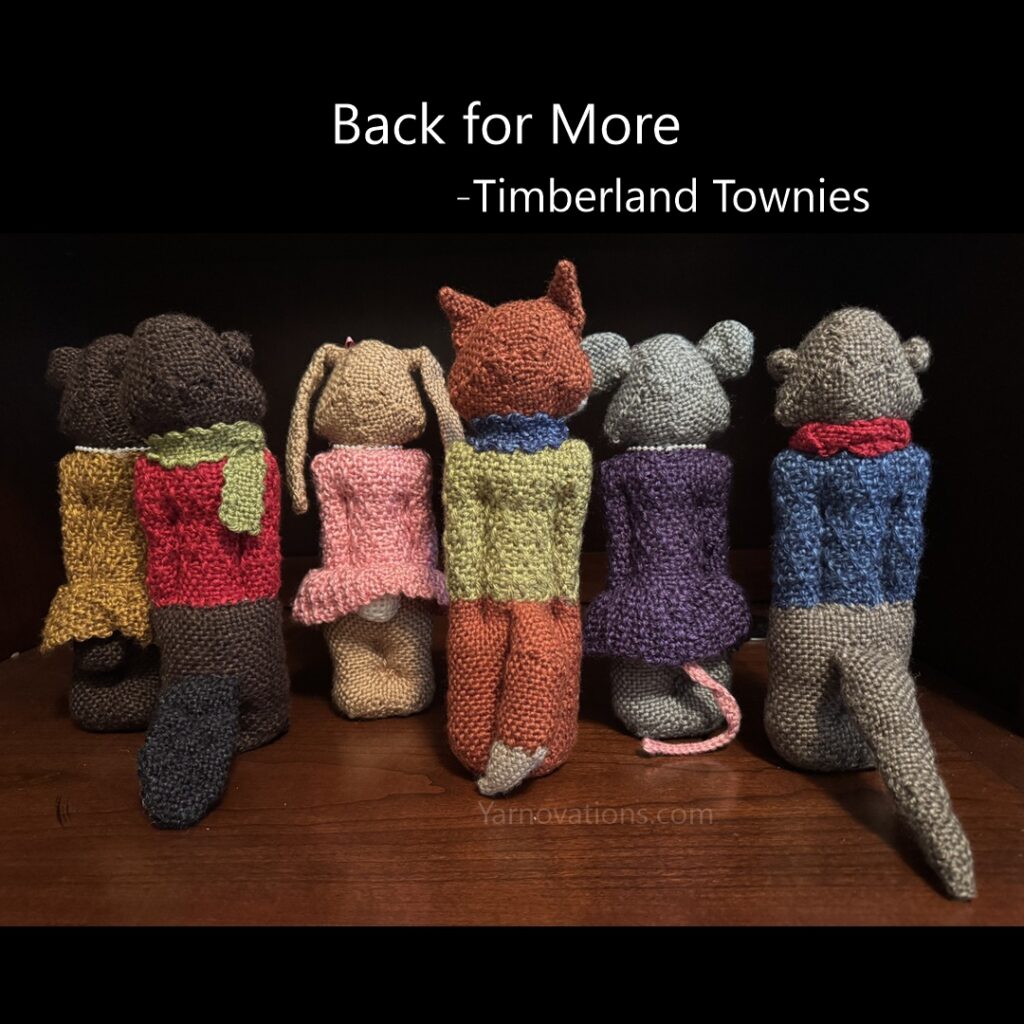
Introducing, the Timberland Townies, 6 classy pin loom woven woodland friends. These cute critters are featured in the Fall 2025 issue of Little Looms magazine.

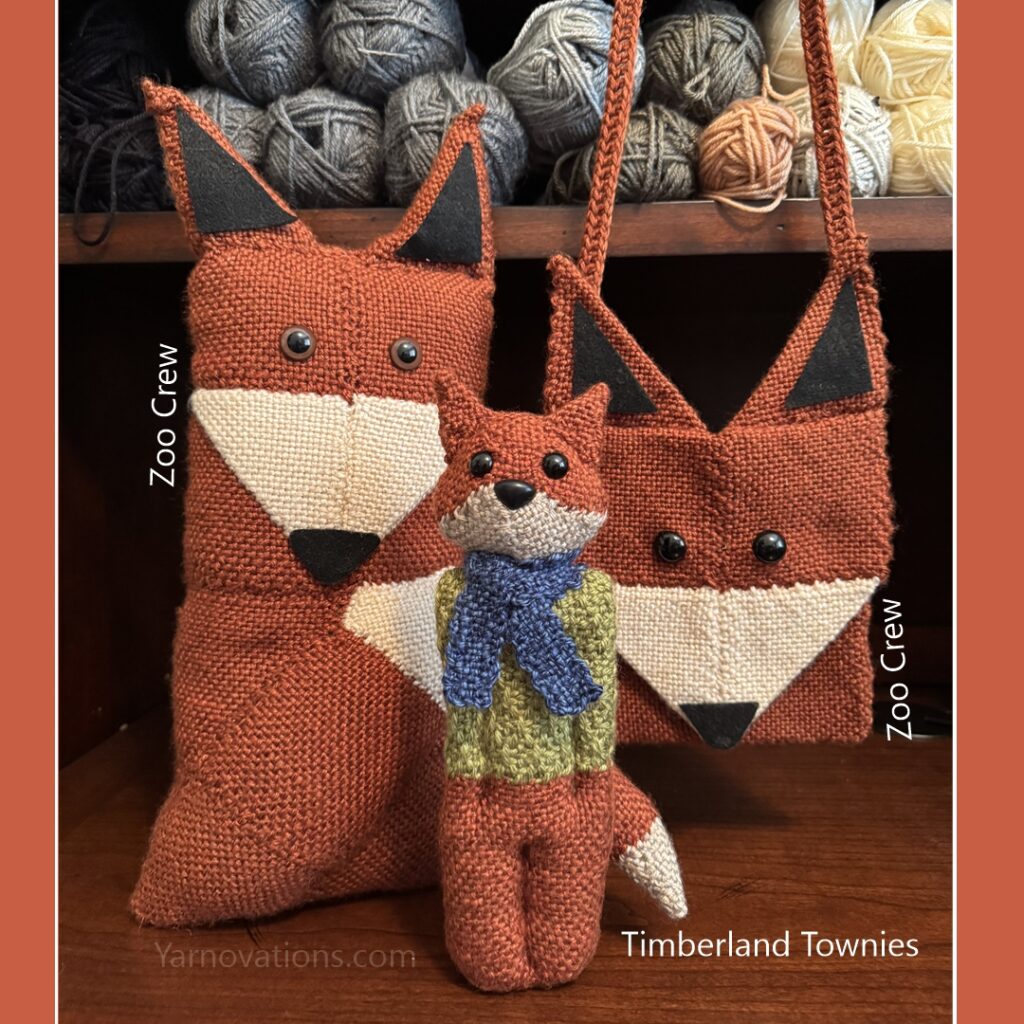
The call for submissions asked for forest themed items. The fox quickly came to mind. After making a fox stuffed pillow and fox purse using 4″ squares for the Zoo Crew ebook, I focused on the triangular shape of the face first. Unlike the pillow and purse, the little plush fox used a variety of looms, not just the 4″ square.

While assembling the fox, the form of the face reminded me of an otter, a beaver, and a bear. It wasn’t long before the bunny and mouse joined the party! What makes each animal seem different is just the minor placement differences in the ears, eyes, and nose. To make them more authentic, I paid close attention to the tails as well.

Each stuffed animal is about 10″ tall and a few inches wide, making them great toys for elementary aged children. Safety eyes are not recommended for children that put toys in their mouths.

Each animal took about 2 hours to weave, and couple more hours to assemble, making these great weekend projects!

Timberland Townies Made with Lion Brand Yarn

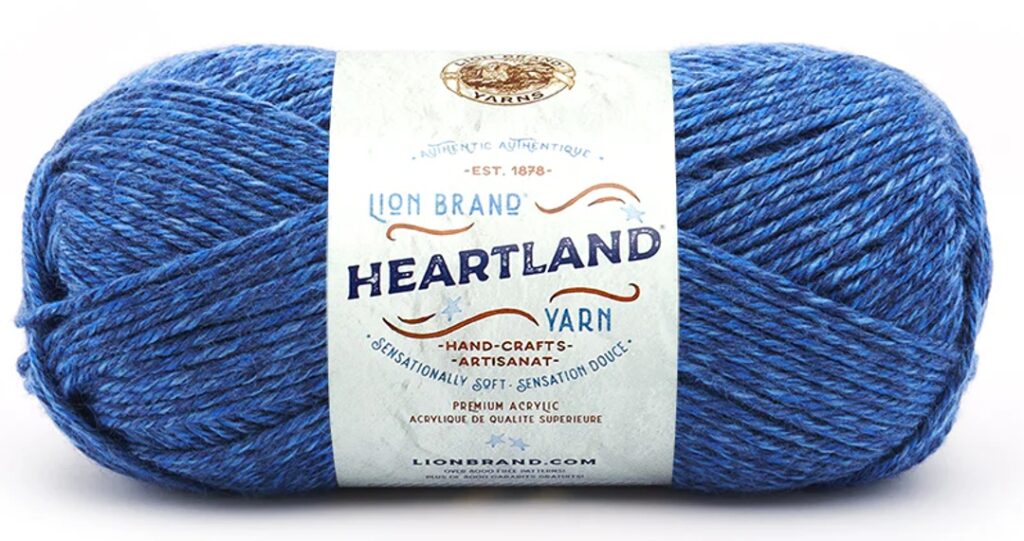
The heathered tones of Heartland yarn from Lion Brand really make the clothes and accessories pop. This yarn also weaves up very nicely on the pin loom. It’s one of our favorite go-to yarns when weaving.

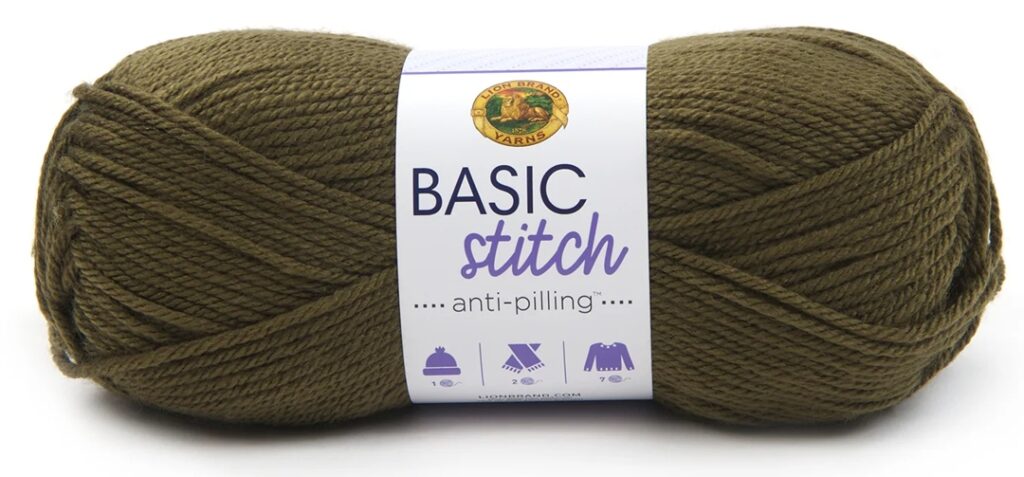
For those solid colored elements like fur, we used Basic Stitch from Lion Brand Yarn. We also love that this line has various shades of brown and beige under the label “Skein Tones”.

We love how the colors of these two yarn lines look together, like they were made for each other.

Rag Quilt – Creating Squares

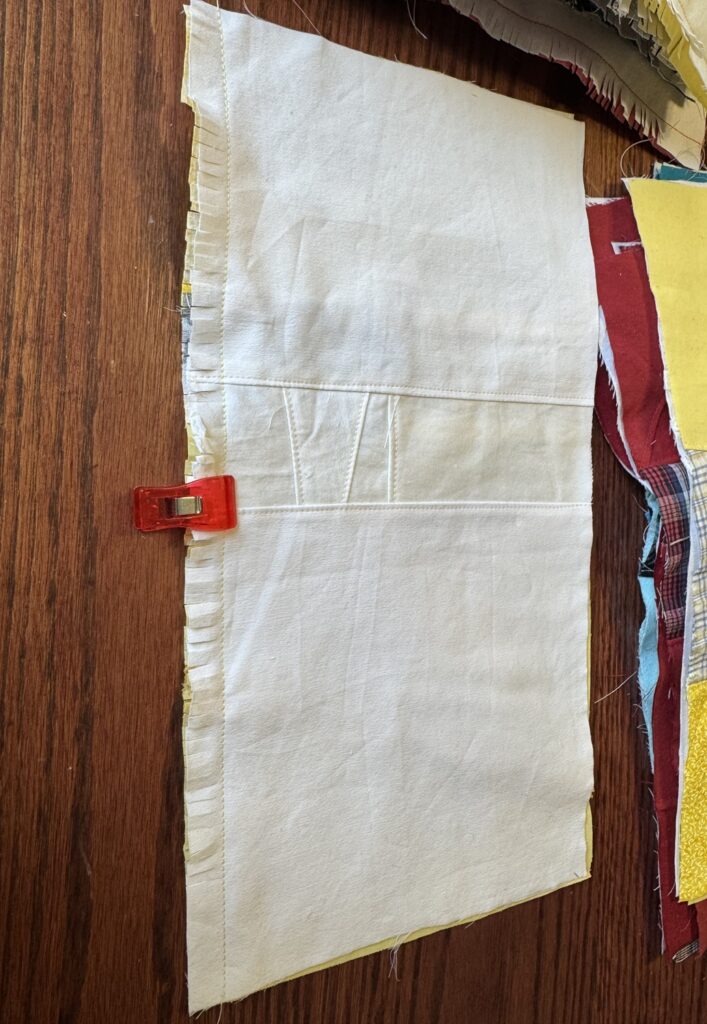
Part 2: After making a plan and creating colorful scrap triangles and rectangles, I sewed the triangles and rectangles together to make squares. The pieces were sewn together with the wrong side facing so the seam would be on the front to be ragged. I cut the seam with little slits about 1/8″ apart. I cut very close to the seam stitches. Once in awhile, I accidentally cut the stitches. I put a sewing clip on the cut section to remind myself to sew that area together as I sewed the large “X’s”.

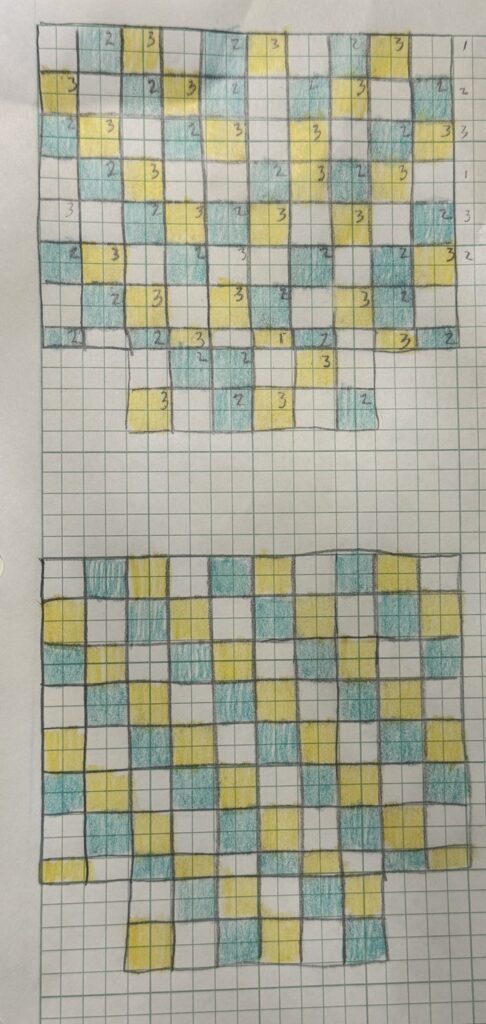
Next, I began working on the second major part of the scrap rag quilt, deciding on the bottom fabric and layout, and cutting the center layer. I chose three colors of cotton for the bottom layer, and a random pattern. I sketched it out so I could place the colors in the correct place.

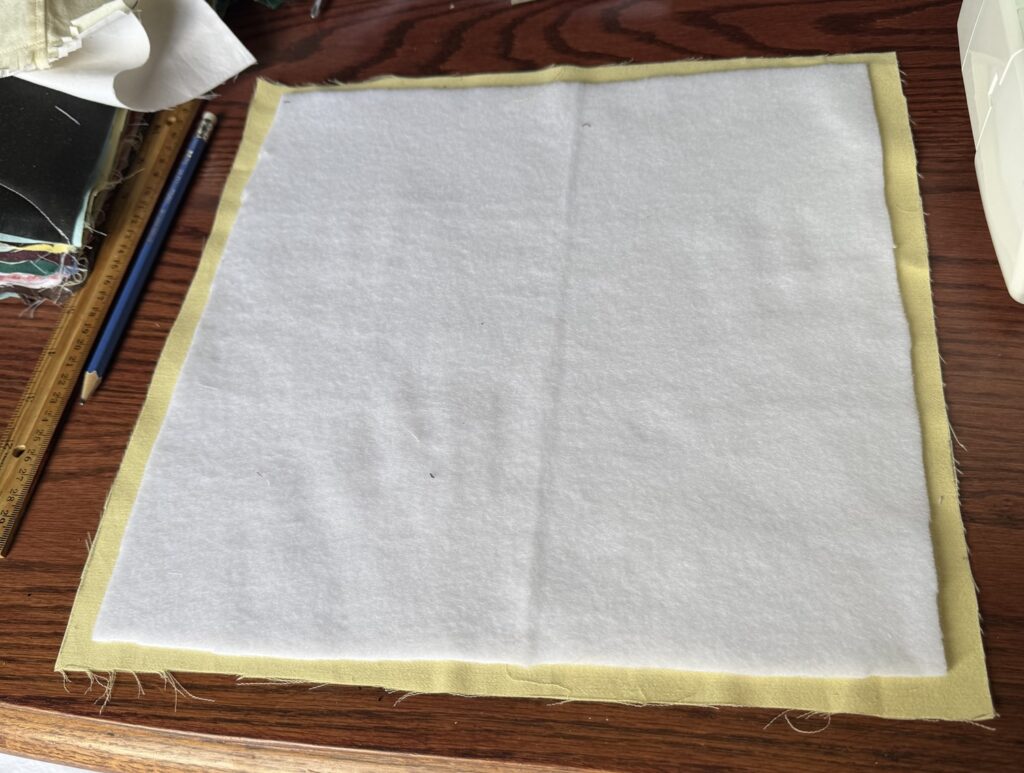
I decided on fleece for the center as an inlay. I cut the fleece squares to 12″. This meant there wouldn’t be fleece in the ragged seam.

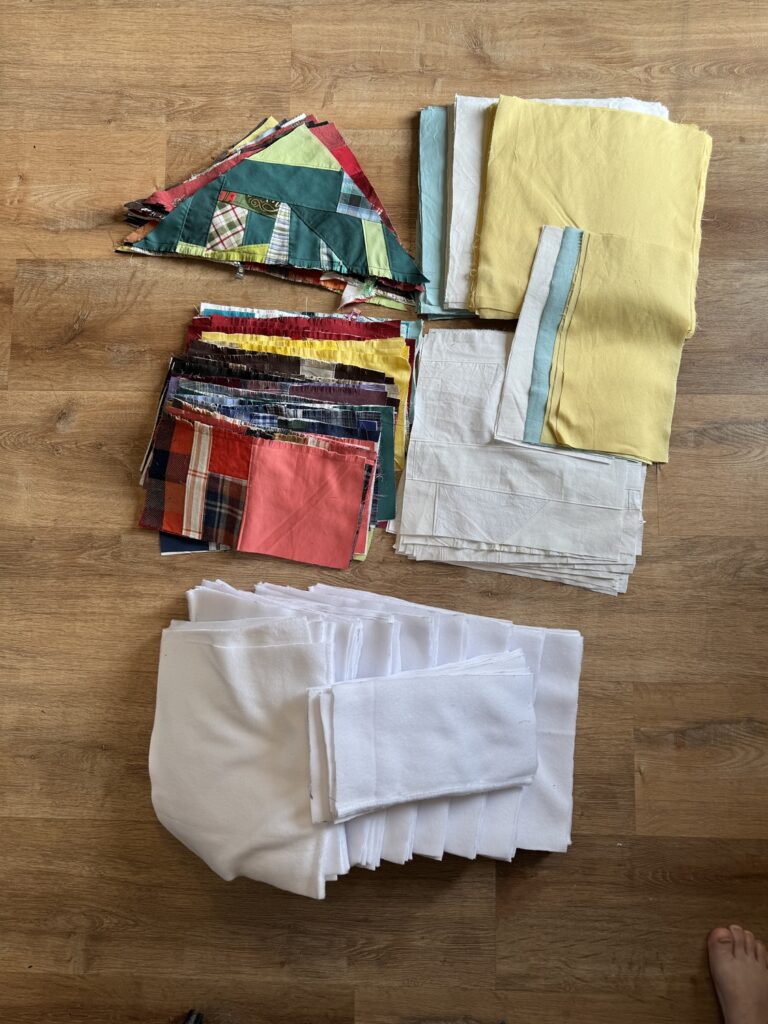
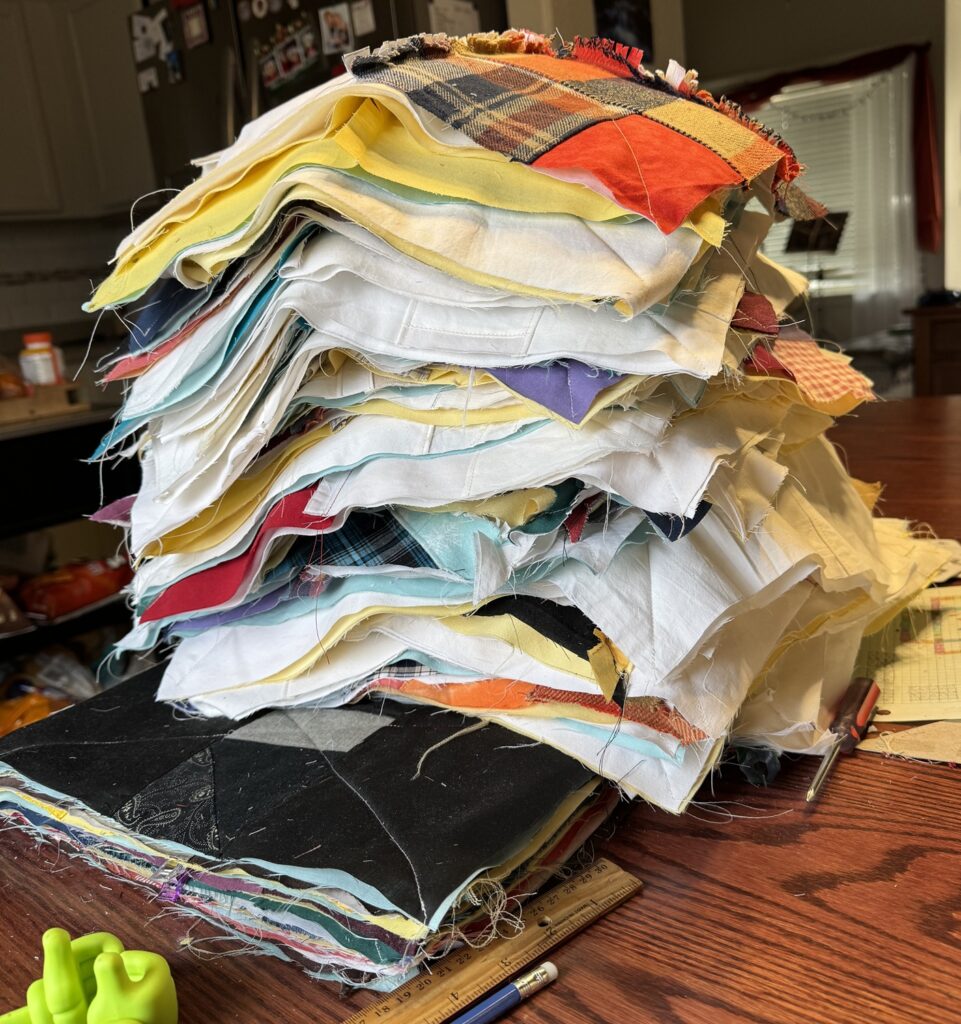
Once all the top squares, middle inlays, and bottom squares were cut, I decided to stack all the square layers together square by square. I laid the bottom layer down, centered a fleece on that, then the top piece on top.

I made a nice tall pile of these layers to get them ready to sew “X’s” on them.

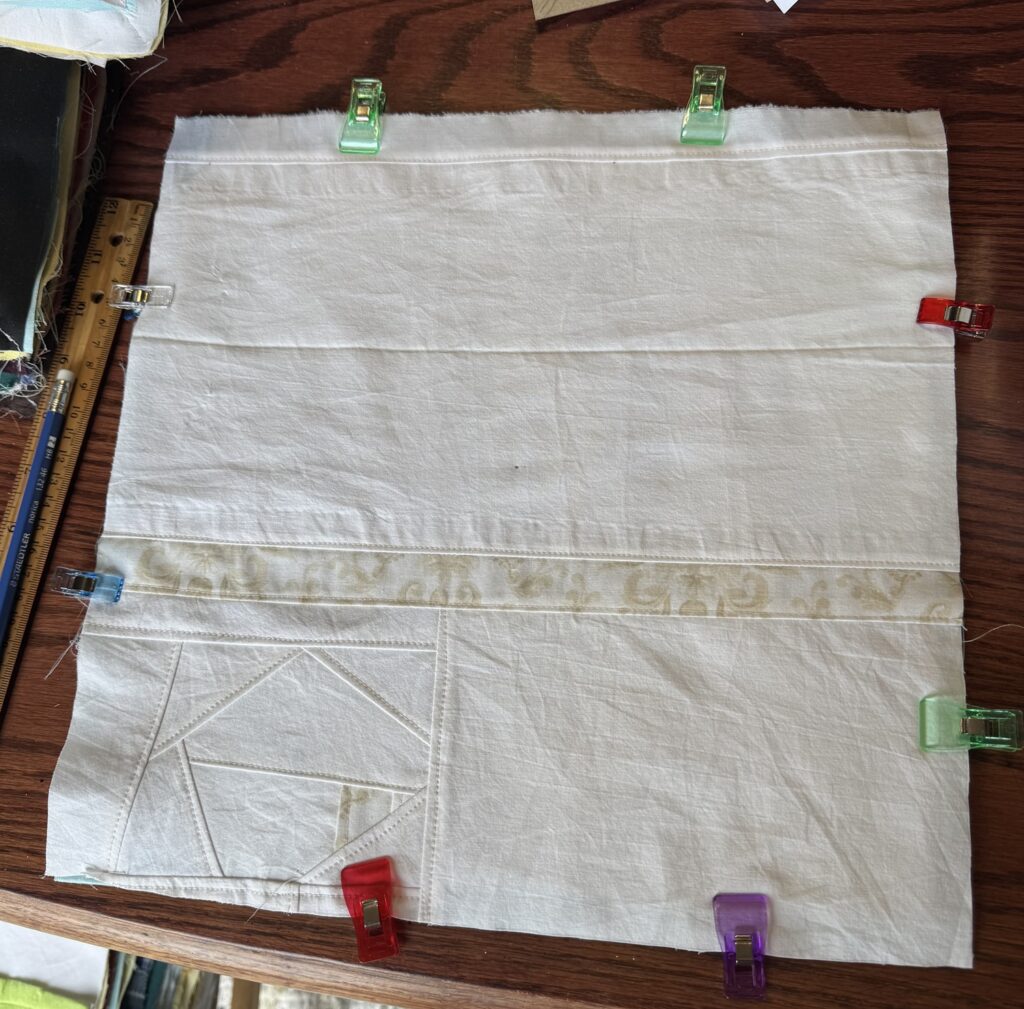
Before sewing the “X’s”, I made sure each layer was centered neatly. 2 Clips per side is a nice amount to keep the layers steady.

I kept the sewn layers in order so it would be easy to sew them into strips. Does this look like a CA king quilt?

The plan is to sew them into strips, rag them, then sew 2 strips together at a time so it isn’t hard to sew the whole blanket together. This step took about 2 weeks, bringing the total working time up to 8 weeks.

**Some people sew two straight stitches per square or strip for extra durability.

Beginning a Scrap Rag Quilt – CA King

I am embarking on a large task, sewing a California king sized rag quilt! Do I have lots of time for this? Not really. I anticipate this quilt will take several months working in 10-30 minute snippets at a time. First, I made a plan.

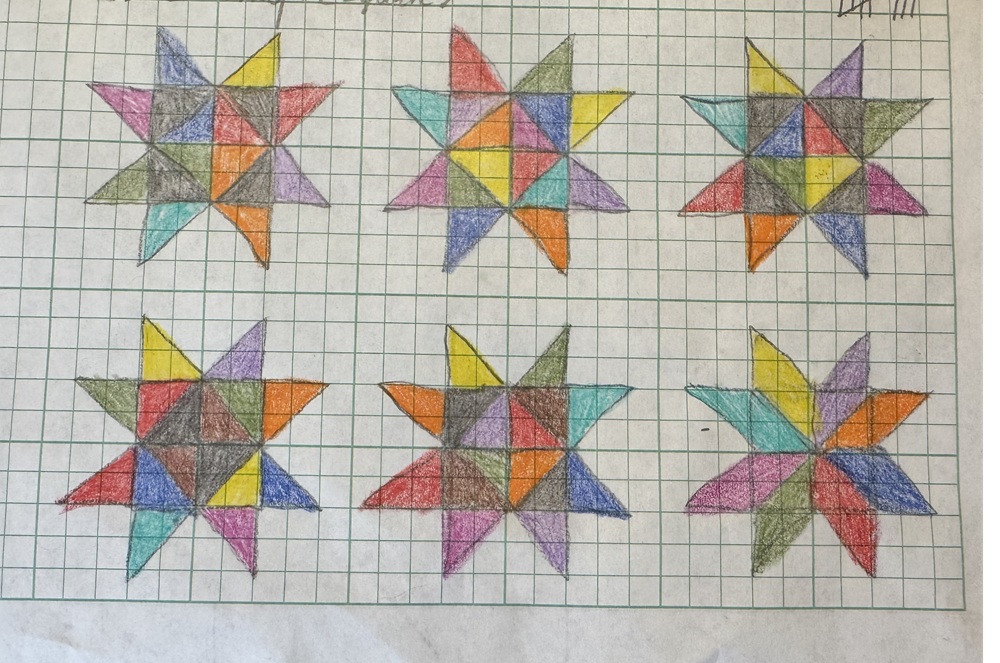
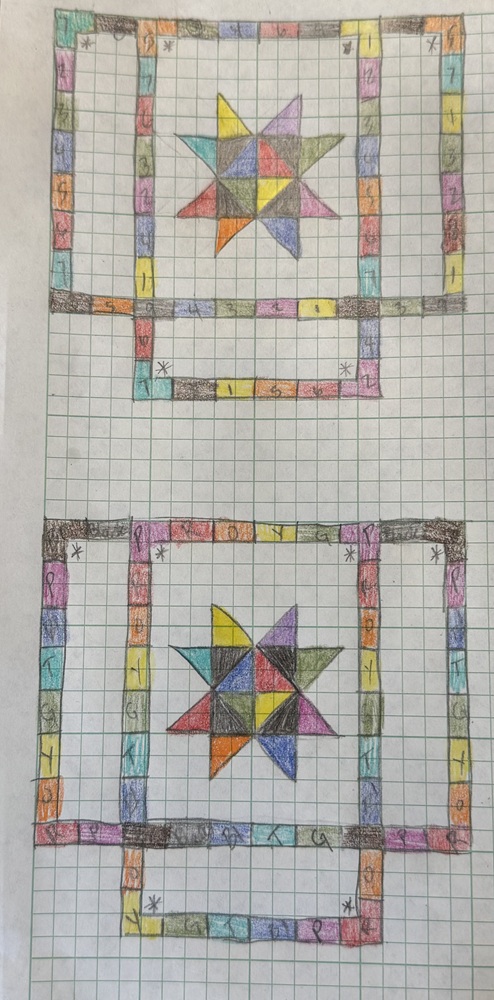
I decided on a star image with border sections. I sketched out several stars to try out different color placements. Next, I measured the bed (top and overhang desired) to determine what sized squares and triangles I would need. The top measured 72″ wide x 84″ long. The length of the sides could be 18-22″ long. I already know that I do not want the sides to touch the floor. With these dimension in mind, I decided on 12″ squares after being sewn together. I decided on 1/2″ seams on each side, so the squares need to be 13″.

Next, I sketched out a design. Many quilts used as bedspreads have a bunch of extra fabric in the corners. I don’t want all that fabric, so I decided to leave out the corner sections on the bottom of the blanket. If the quilt doesn’t close in the corners after being placed on the bed, I will come up with a creative solution for keeping the corners closed.

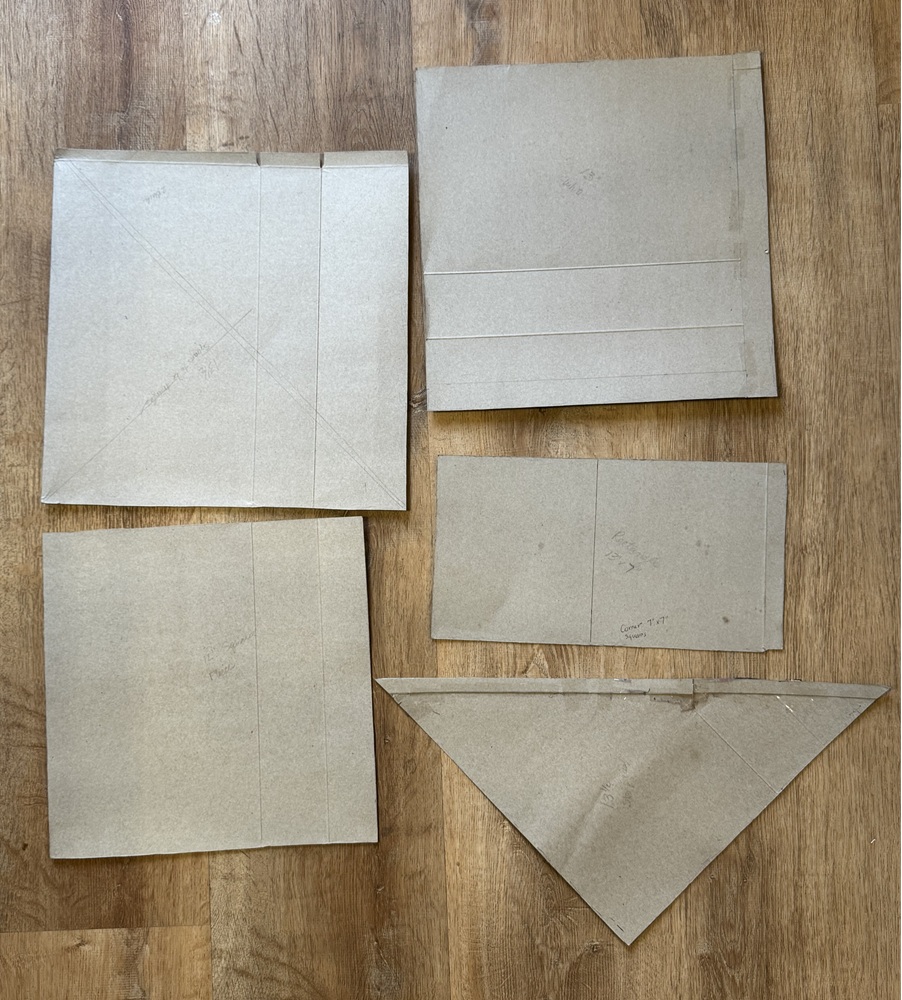
With this design in mind, I began tackling the shapes for the top. As drawn, I would need triangles, squares, and rectangles. Rag quilts often have 1/2″ (5/8″, 3/4″, or 1″) seams on the front/right side of the quilt that are clipped 1/8″ apart to create the rag look. Therefore, I cut the squares at 13″ to allow for a 1/2″ seam on each side. I cut the triangles to 13 1/2″ lengths (on the two sides that make the right angle, not the hypotenuse), but that ended up being just a tad short when I sewed the squares together. I recommend 14″ right triangles. The border is rectangles, and those were cut to 7″ x 13″ I don’t have special cutting equipment, so I decided to make cardboard templates from cereal boxes.

In addition to being a rag quilt, this is a scrap quilt. I decided to sew my remnant pieces together to create the star and border sections.

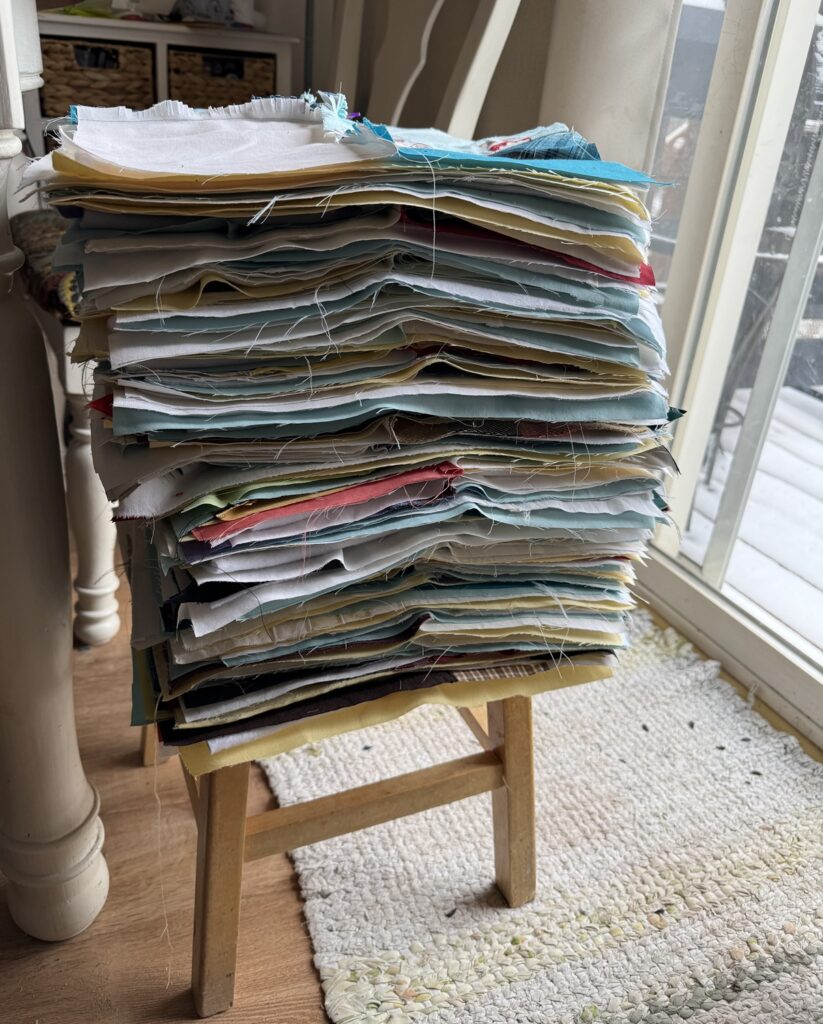
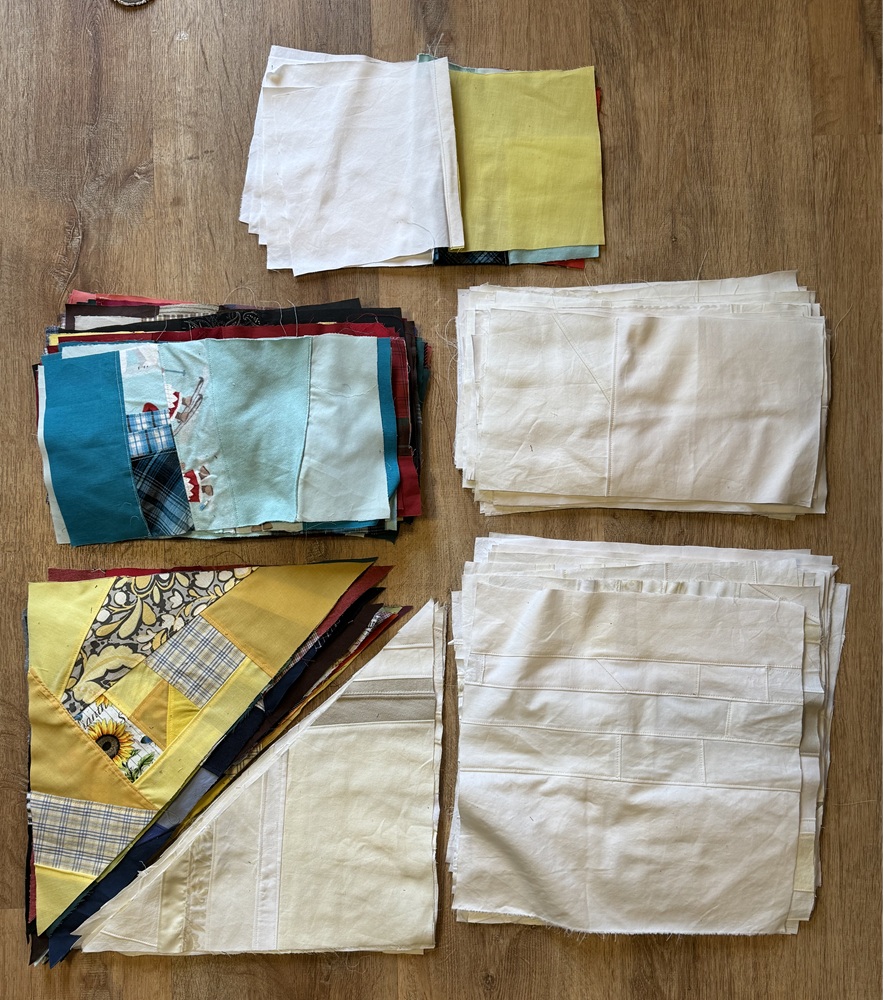
Because I couldn’t wait to see the star come together, I started my scrap quilt with the colorful triangles. I organized all my scraps by color and used the cardboard templates to make the triangles, squares, and rectangles.

Want to guess how long these steps took? Between homeschooling my two boys, driving my kids to appointments and activities, creating other sewing, weaving, and crocheted designs, the above steps took 6 1/2 weeks. Did I get frustrated? Normally I would have, but I decided that this project is allowed to take as long as it takes.

Next steps: Decide on the bottom fabric and colors, cut the bottom squares, cut middle fleece, then assemble the quilt.

Scrubby Dishcloths

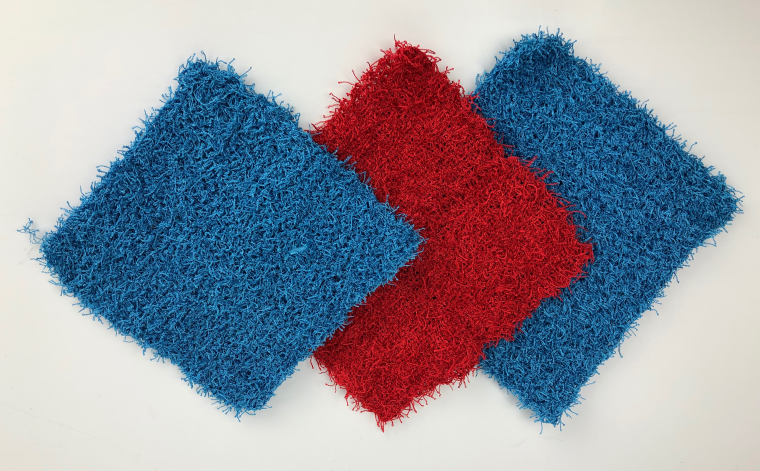
Pros and Cons of Knit, Crocheted and Woven Dishcloths using Scrubby Yarn.

Though I enjoy using any of the scrubby dishcloths, there are definitely some pros and cons to each type. Let’s take a look at each one separately.

Knit

The Knit dishcloth was the easiest one to make. It was easiest on which to find the stitches. I made mine 25 stitches wide using the garter stitch with size H needles. I did not count the rows, so I’m really not sure how many there are, and it’s nearly impossible to count! It has the nicest drape and is stretchy. It is fairly thin and fits nicely in glasses and pots.

Crochet

The crocheted one was the fastest to work up. I also worked it 25 stitches across and the number of rows needed to make it a square using an H hook. It was very difficult to find the stitches, so I had to count my stitches every row. It was surprisingly not too difficult to pull out stitches if I missed a loop. It is the thickest dishcloth and has a moderate amount of drape. It feels bulky in comparison, but feels very sturdy for washing.

Pin Loom Woven

The pin loom woven dishcloth was the most difficult to make. I sewed four 4″ squares together. I wove the squares on the Zoom Loom, a 3-pin arrangement with 3 warp layers. The weaving needle often caught in the middle of a warp strand and was very difficult to pull through. I tried exaggerating the weaving motion, but that only helped a little. It was also very difficult to sew the squares together as it was hard to see the loops on the edges. The sewing needle often went through the strands and were difficult to pull through. It is the thinnest dishcloth and most static. It does not stretch. Because it is the thinnest, it fits into cups and bottles the easiest. And despite the frustrations to weave, it is fun to use.

*It might be easier to weave a 2-warp square, as there will be fewer layers around which to maneuver, though I’ve not tried this. Some weavers have found it much easier to warp the loom in cotton, and only weave with the Scrubby yarn. That would most certainly take away almost all of the difficulties I mentioned before. Continuous weaving would also be much easier, like on the Turtle Loom or other continuous weaving looms. Speaking of which, now I want to see how a hexagonal dishcloth works up!

All of the dishcloths were made using Red Heart Scrubby yarn. The woven one used the least amount of yarn and will make 11 squares, enough for 2.75 dischloths. The knit dishcloth used slightly more yarn and will easily make two dishcloths. The crocheted dishcloth used the most yarn, but you should still get two scrubbies of 25 stitches wide using an H hook.

Pin Loom Corn

Corn

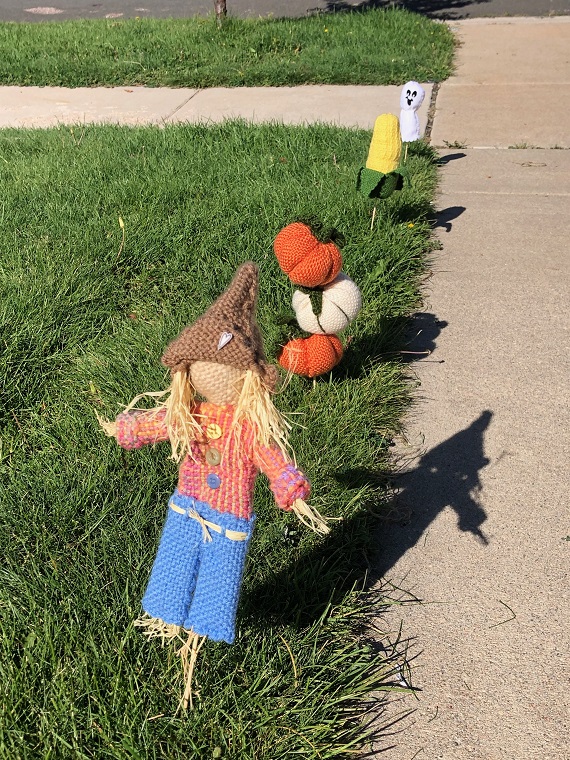
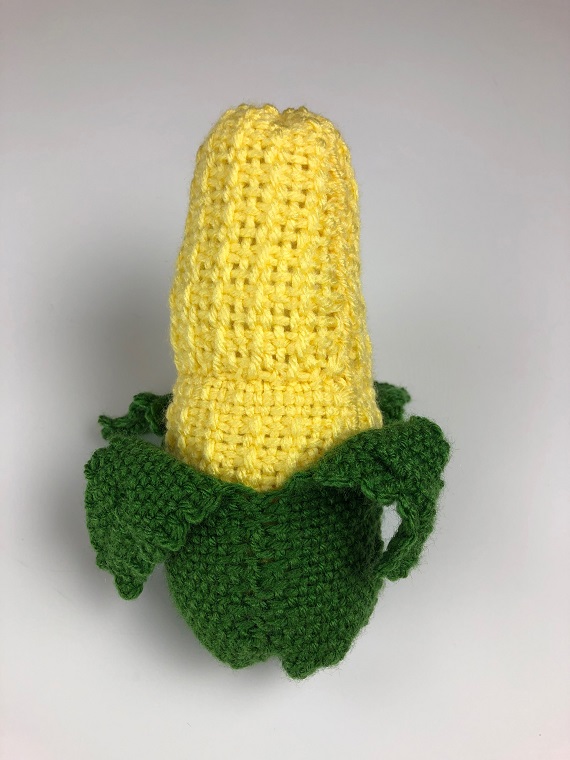
The scarecrow may have a hard time keeping the birds away with this delicious corn ready for the picking!  The corn itself is made from texture 4” squares, while the husk is made from 2” x 6” rectangles (which could easily be substituted with 4” squares folded in half.)   

SUPPLIES:

Loom: Schacht Zoom Loom – 4″ pin loom, Wunderwag 2” x 6” rectangle pin loom

Yarn: Red Heart Super Saver: Lemon; Lion Brand Vanna’s Choice: Kelly Green

Yarn Needle

Scissors

Stuffing

Chopstick

Textured Weave:

All odd rows: Plain weave

All even rows: *Under 3, over one* across ending with under 3

CORN

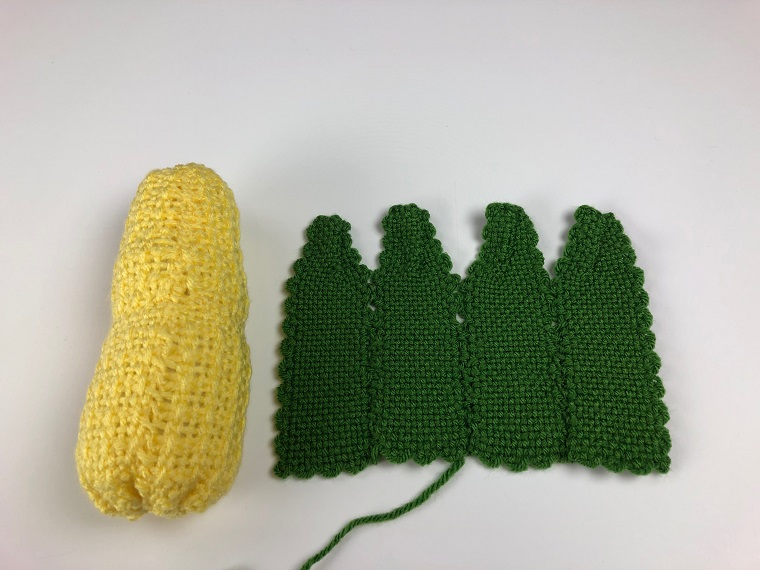
  1. Plain weave four 2” x 6” rectangles in Kelly Green.
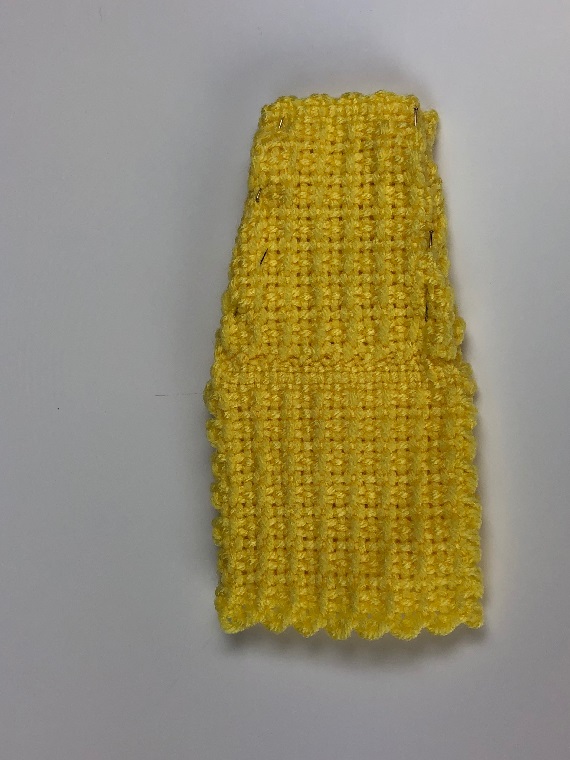
  2. Texture weave four 4” squares in Lemon using the texture weave.
  3. Sew the 4 textured Lemon squares together to make a 2 x 2 square.
  4. Fold the square in half with the wrong side facing and sew along 8” side to make a cylinder.
  5. With Lemon, cinch the top of the corn by passing the needle and yarn through each loop along the top, then pulling tightly to close.
  6. Turn right side out. Tuck the top right and top left corners in about 1 cm and use whip stitches to create a tapered top. See photo.
  7. Stuff. (I add a foam ball in the middle so I can stick the chopstick/skewer into it to make a yard pick.)
  8. With Lemon, cinch the bottom of the corn by passing the needle and yarn through each loop along the bottom, then pulling tightly to close. Weave in ends.
  9. For each husk/leaf, tri-fold just the top 2”. Use Kelly Green and make small stitches to sew the folded area down to the husk/leaf on both sides. This is just to create a more tapered end of the husk/leaves. Make 4.
  10. Sew all four husks/leaves together along the bottom half to make a 1 x 4 rectangle.
  11. Fold in half so that the unsewn ends are all in the same direction. Sew along the bottom 3”.
  12. With Kelly Green, cinch the bottom of the husks together by passing the needle and yarn through each loop on the bottom of each leaf, then pull tightly to close.
  13. Place the corn in the husk as far as it will go and tack into place with Kelly Green.
  14. To make a yard pick, insert a chopstick/skewer/wire approximately 2/3 the way up.

Patterns for the Scarecrow, Pumpkins, and Ghost are available in the Shop here. They are also available in my Etsy shop here.

Crochet Stars!

Seeing (Crocheted) Stars!

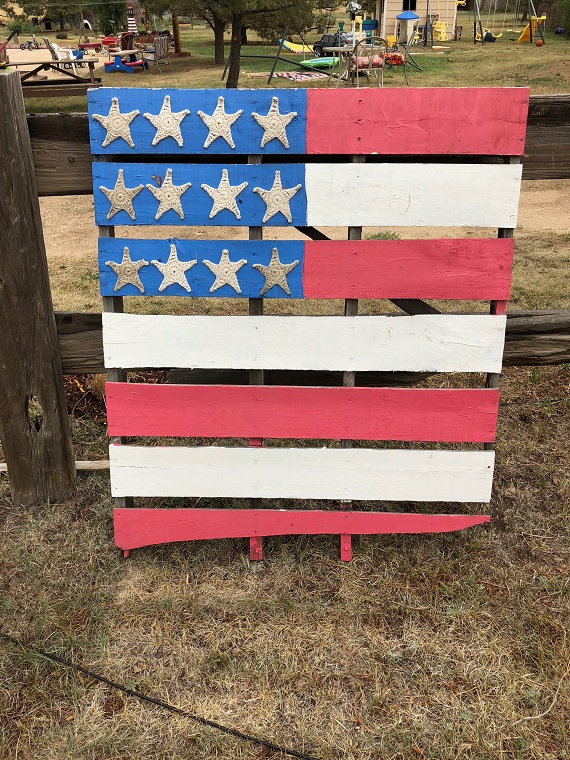
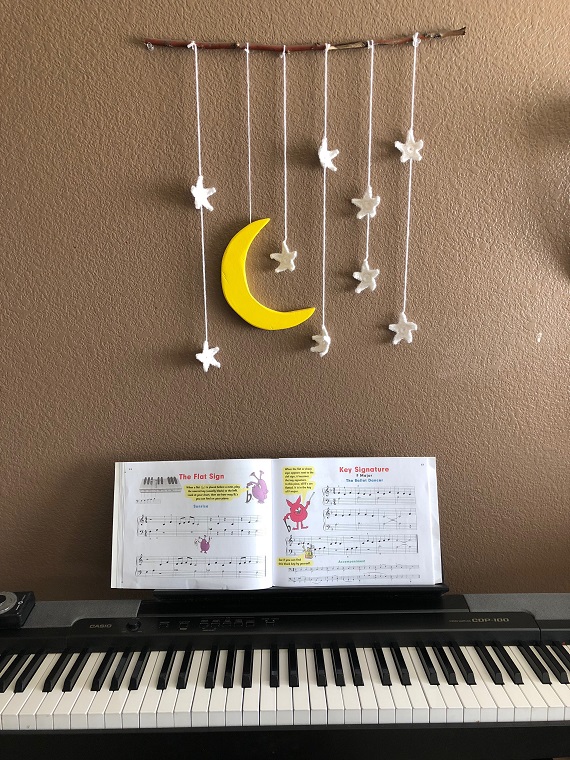
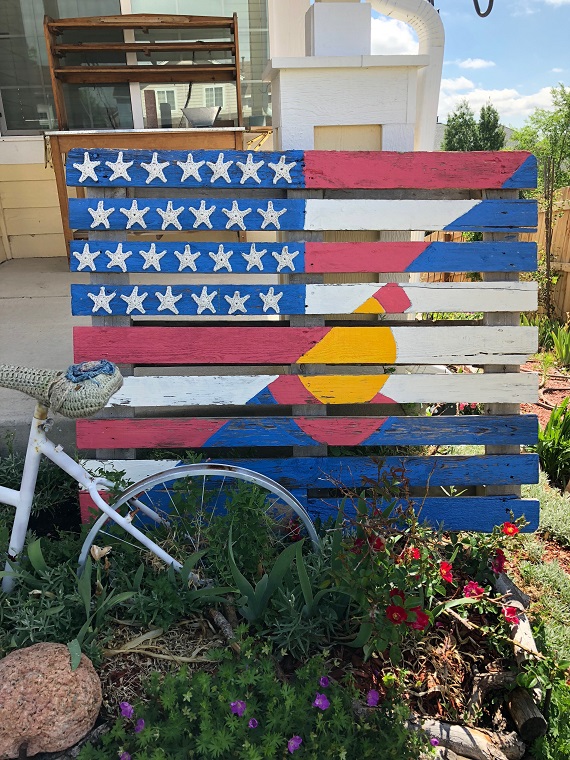
You are a star! And now your projects can light up like them too, with these quick, fun and beautiful crocheted stars. They are so fun to make, you will want to put them everywhere! They are great for greeting cards, wall hangings, pallet art, and so much more! Add sparkle to your stars by using glittery or sequined yarn.

I’ve written the instructions for multiple sizes, so you can add stars to any project. No yarn size or hook size is listed as you should use the yarn and hook size that most fits the size project you are making. For the smallest stars, I recommend using crochet thread and size 2 hooks. Otherwise, I use size 3 or 4 yarn with a C-E hook. Medium stars are great for size 4 yarn with size F-J hooks. The large star looks great in size 4-6 yarn using hooks sized G and up. The size of yarn and hook really will depend on the project you are making.

These are 5 pointed stars, though you can make more points if desired. Because the stars are individual points, (as opposed to connected points), the points tend to curl. Pin and spray starch them to lay flat, unless you are sewing, gluing or stapling them to a project!

The large star uses a special linked stitch so there is not a big gap between the center circle and the bottom of the point. Linking the point is not necessary. I only linked it on projects where I didn’t want what appeared to be a hole.

Special Abbreviation

Linked double treble crochet (Ldtrc): YO 3 times, insert hook in stitch indicated, YO and pull through, YO and pull through 2 loops on hook, skip a stitch on Rnd 2, insert hook in next st of Rnd 2, YO and pull through and pull through 2 loops on hook, YO and pull through 2 loops on hook, YO and pull through 2 loops on hook.

SMALL STAR

Ch 2 or use magic circle/magic ring
Rnd 1: Work 10 sc in second ch from hook or in magic ring. Join with a sl st. (10)
Rnd 2: Make 5 points as follows: *Ch 4, work in back bump of ch sts, sc in second ch from hook, hdc in next ch, dc in next ch, skip a st on Rnd 1, sl st in next st* (on point made), repeat 4 more times. Fasten off. Cut yarn leaving a tail if sewing on a project.


MEDIUM STAR

Ch 2 or use magic circle/magic ring
Rnd 1: Work 7 sc in second ch from hook or in magic ring. Join with a sl st. (7)
Rnd 2: Work 3 sc in first st, work 2 sc in each st around. (15)
Rnd 3: Make 5 points as follows: *Ch 5, work in the back bump of the ch sts, sc in second ch from hook, hdc in next ch, dc in next ch, trc in next ch, skip two sts on Rnd 2, sl st in next st* (one point made), repeat four more times. Fasten off. Cut yarn leaving a tail if sewing on a project.


LARGE STAR

Ch 4, join with a sl st.
Rnd 1: Ch 1, 10 dc in ring. Join with a sl st. (10)
Rnd 2: Ch 1, 2 dc in each st around. Join with a sl st. (20)
Rnd 3: Make 5 points as follows: *Ch 7, work in the back bump of the ch sts, sl st in second ch from hook, sc in next, hdc in next, dc in next, trc in next, ldtrc in last st, skip a st on Rnd 2, sl st* (one point made), repeat four more times. Fasten off. Cut yarn leaving a tail if sewing it on a project.