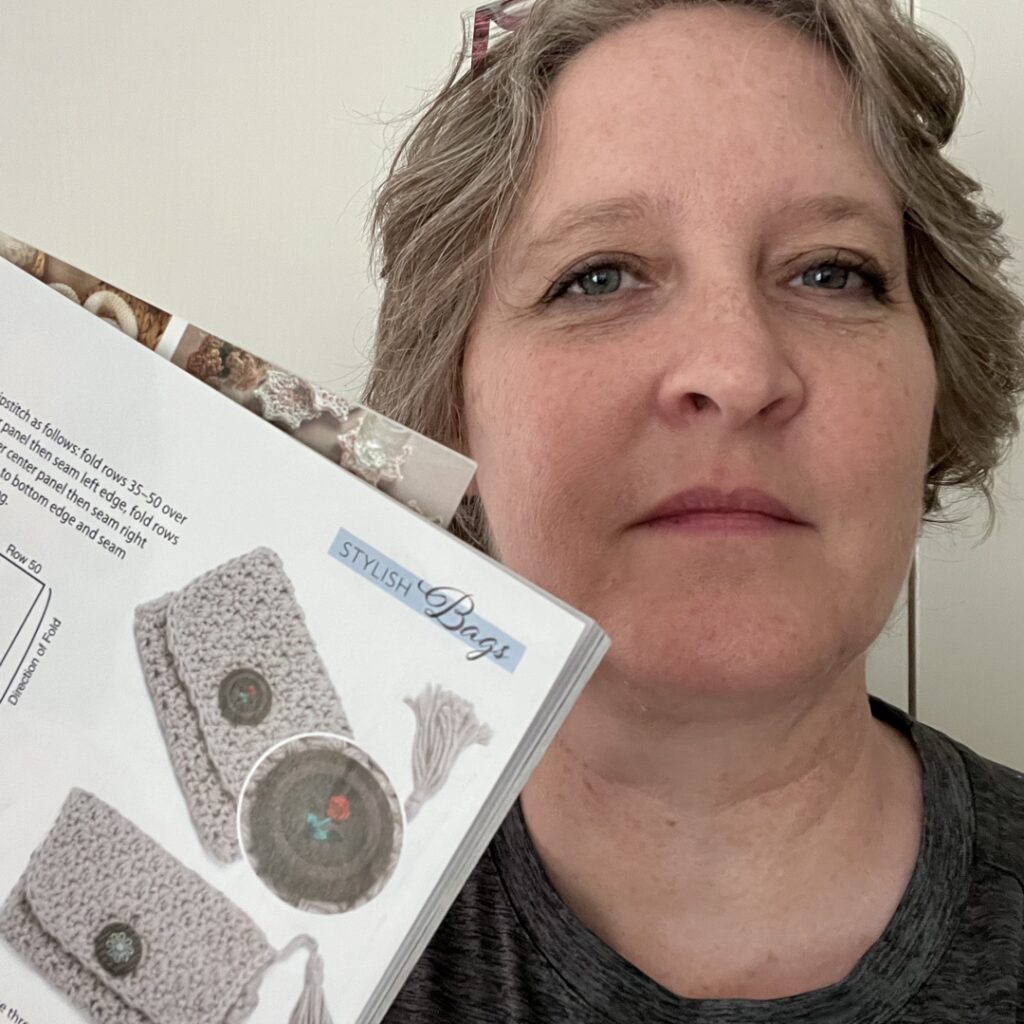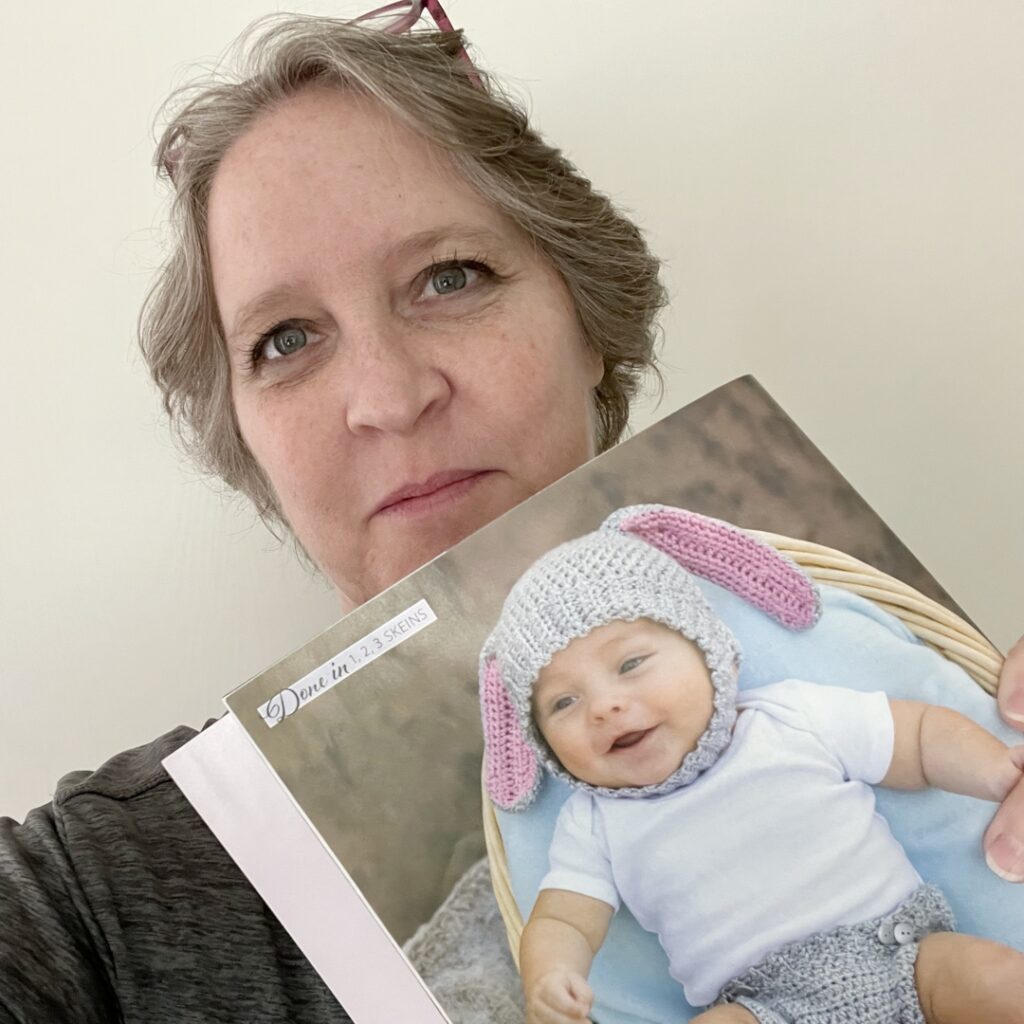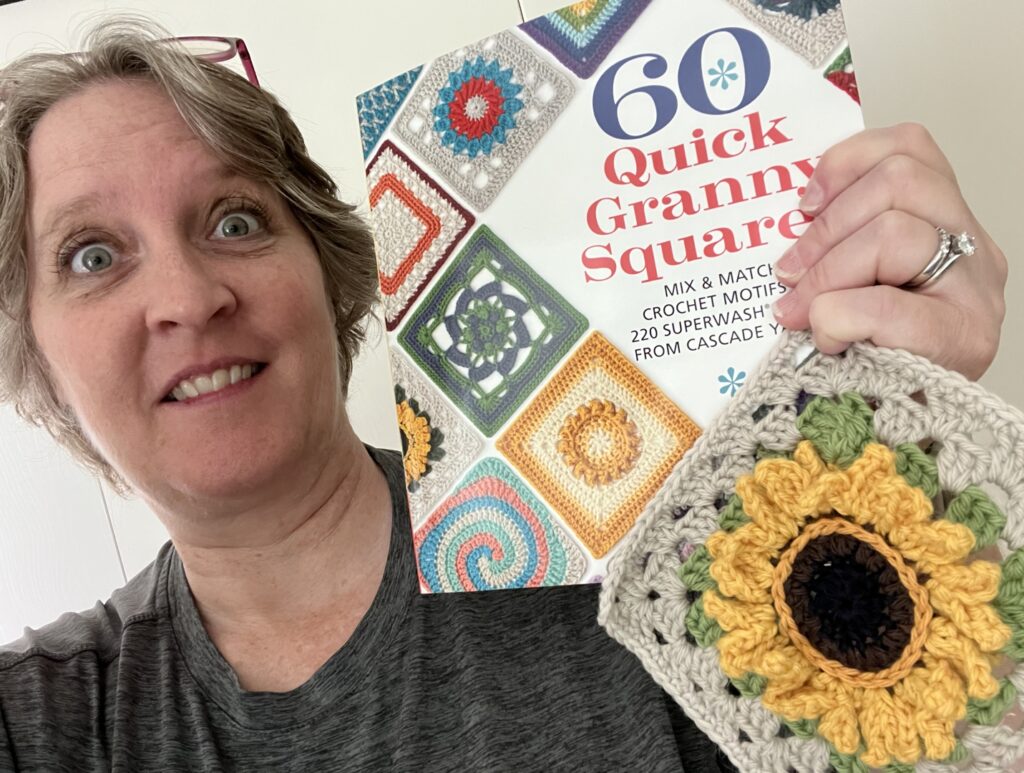
We are thrilled to have 6 granny squares published in this new book: 60 Quick Granny Squares. In addition to the squares, we’ve written a pattern for a Dickie to wear under a shirt or jacket. 2 of our squares kind of made it on the cover…at the bottom left corner…how fun.
The 6 granny squares we’ve written include:
- Spike Stitch Mosaic Tile – project 8
- Sunflower – project 26
- Daisy – project 27
- Flower Patch – project 28
- Butterfly – project 29
- Swirl – project 58
- Comfort Swirl – granny square project
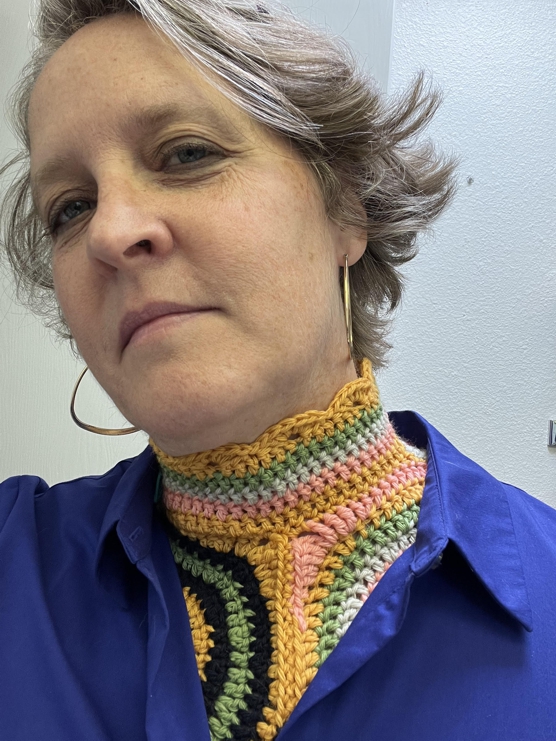
Above, I’m wearing the prototype of the Comfort Swirl Dickie made from 4 Swirl granny squares.
All of the projects are crocheted using 220 Superwash Sport by Cascade Yarn. I, Dana, am a big fan of this yarn. There are tons of colors and the thinner weight is great for getting lots of detail in smaller projects.
All the granny squares in the book measure 6″ x 6″ so you can mix and match designs to make larger projects like bags, clothes, blankets and more.
The first section of the book includes helpful tips on changing color, joining, etc.
The squares were designed by a handful of crochet designers, their names are listed with their square. Each square also includes charts…for those that like to stitch with those visuals.
60 Quick Granny Squares is published by Get Creative 6, an imprint of Mixed Media Resources. You can buy your copy of 60 Quick Granny Squares in your favorite yarn store or Amazon.