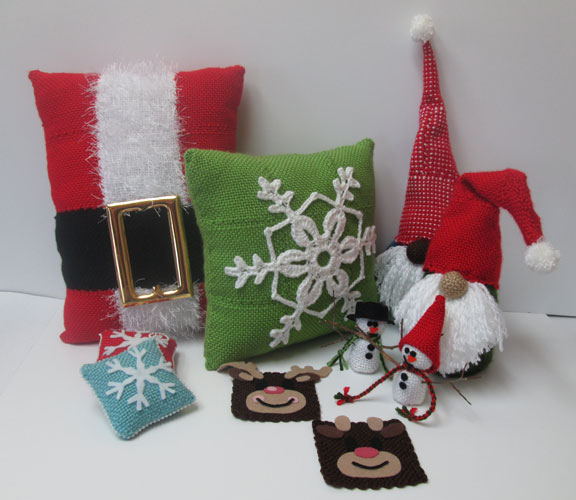
Weave your own gift bags!
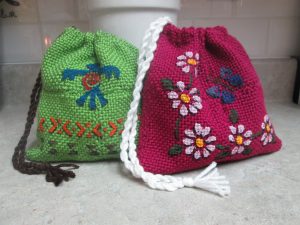
Christmas is four days away and I decided today that I just had to weave 8 little drawstring gift bags for family members! Shouldn’t be too hard with a toddler and preschooler around. Not to mention that there is paint involved. What could go wrong?
I love these bags because they can be personalized to match the recipient and can be made for any season or reason. The color of yarn and stencil do all the work!
What you need:
Yarn
4 inch pin loom (I use the Zoom Loom)
Stencil and paint brush
Paint and some form of paint tray
Scissors, yarn needle
How-to Make a Drawstring Gift Bag
Plain weave 8 four inch squares per gift bag. I sewed the squares together so they were 2 x 4, then folded it in half so it was 2 x 2 with the top open. I always sew on the inside and use the double overcast method. It seems to make the nicest looking join on the front (in my humble opinion) and is sturdy for holding things in the bag.
Next I made a twisted cord. (I started with about 16 feet of yarn, twisted it, folded it in half and let it twist on itself.) Then I turned the bag inside out, folded the top of the bag over the cord, and sewed it to the bag making sure not to sew through the cord. I centered the cord in the bag and tied a knot about eight inches from the bag and trimmed off the rest.
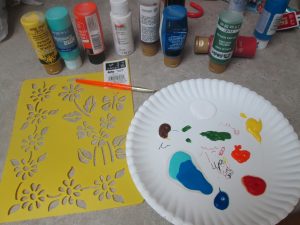
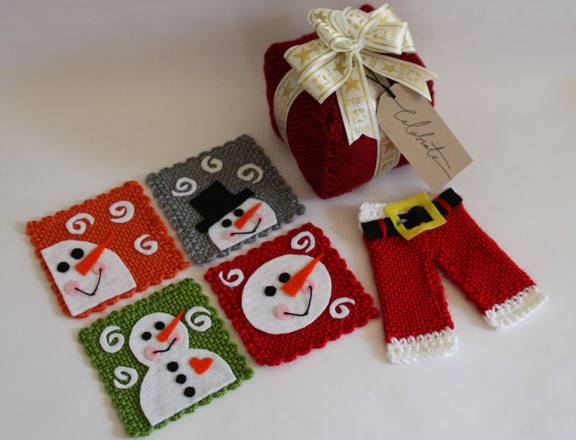
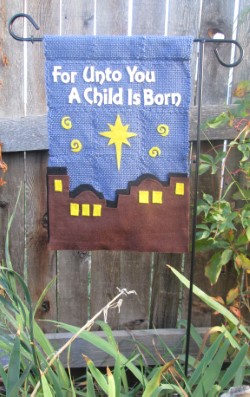
I bought several stencils at the store making sure they were small enough to fit on a project 8 inches square. I turned the bag right side out, inserted a piece of paper in the bag (so the paint wouldn’t soak through to the other side), and painted the desired scene. To give it extra pizzazz, I used a Sharpie marker to add shading.

And voila, I was on my way to making the gift bags I needed. Excuse me now, I need to weave more squares for the rest of the gift bags!