Archives for May 2023

Making Animals for VBS

Sewing Bug

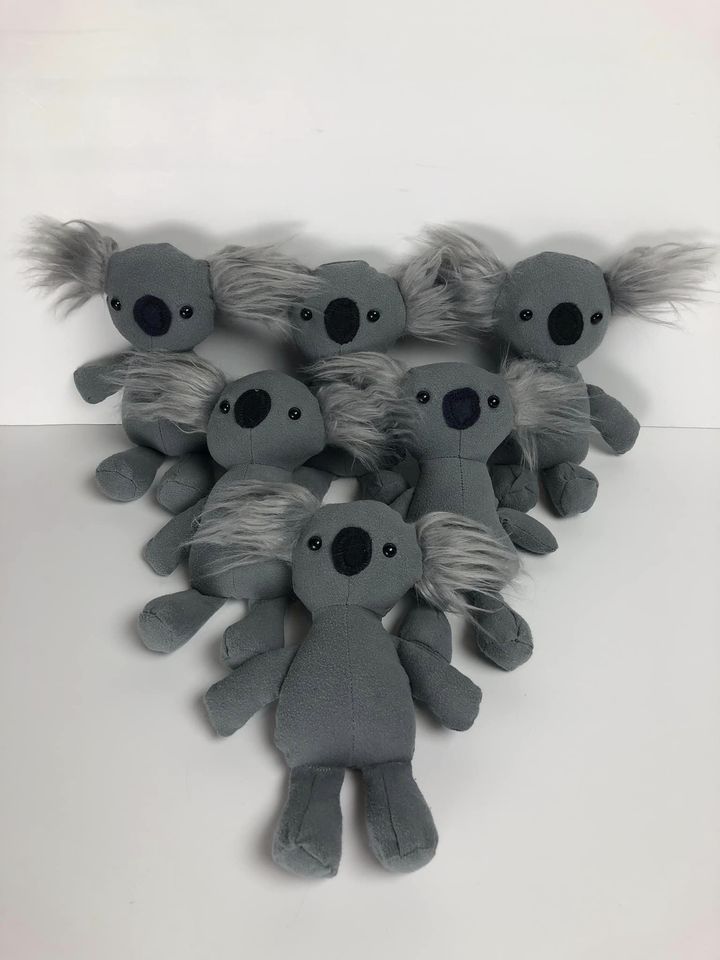
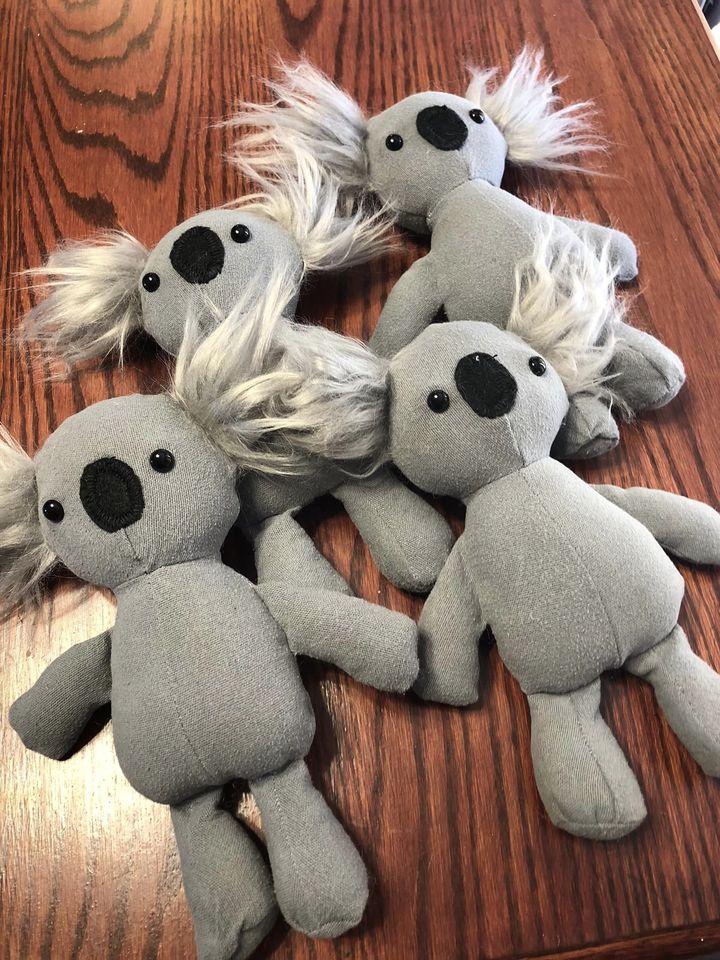
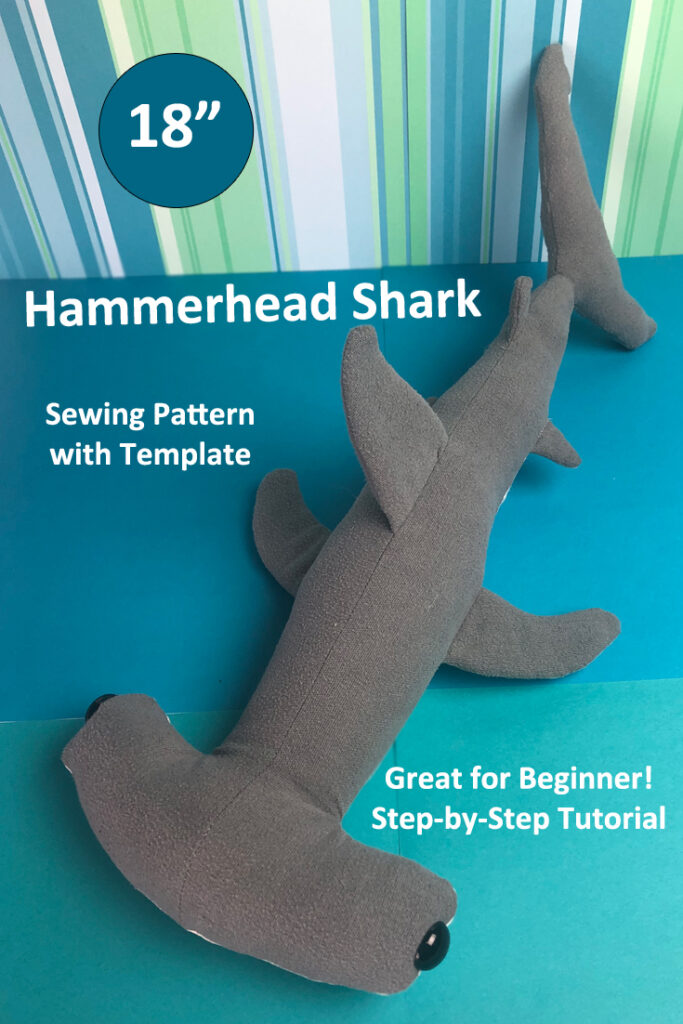
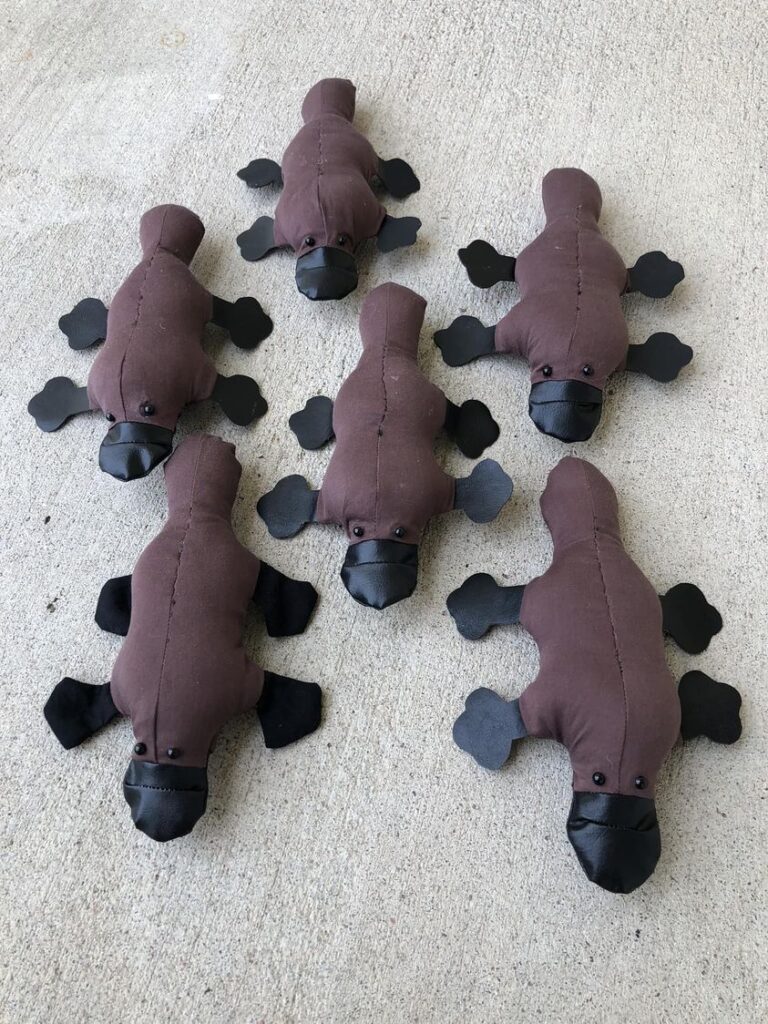
Got the sewing bug this year as preparations were made for vacation Bible school. The theme is Australia and team names are various animals found down under. Down the rabbit hole we went sewing animals to give away to the kids.

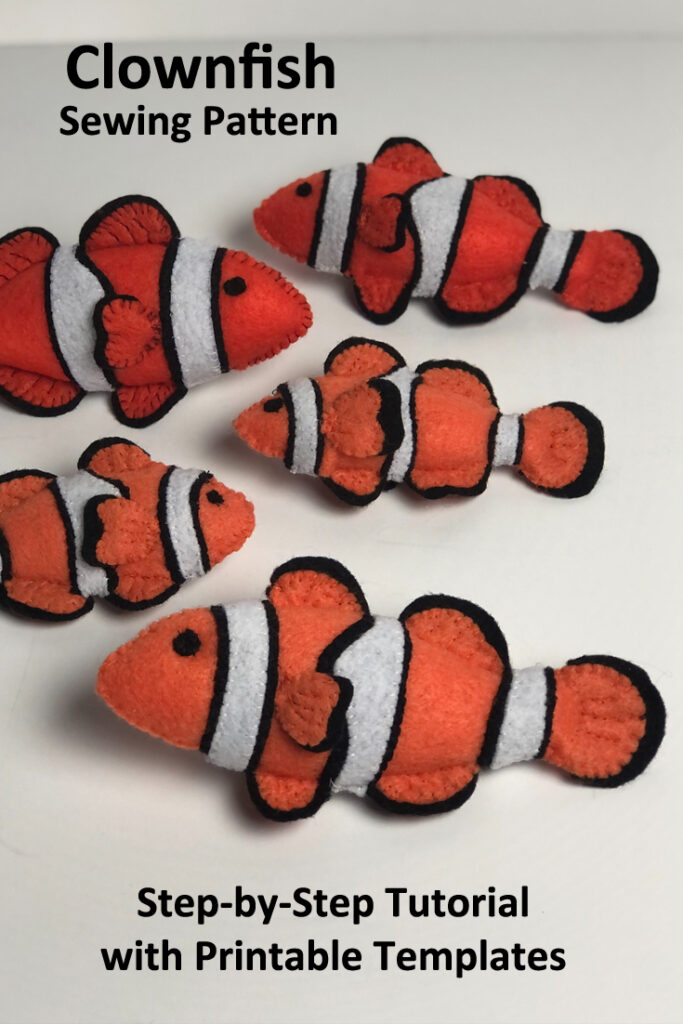
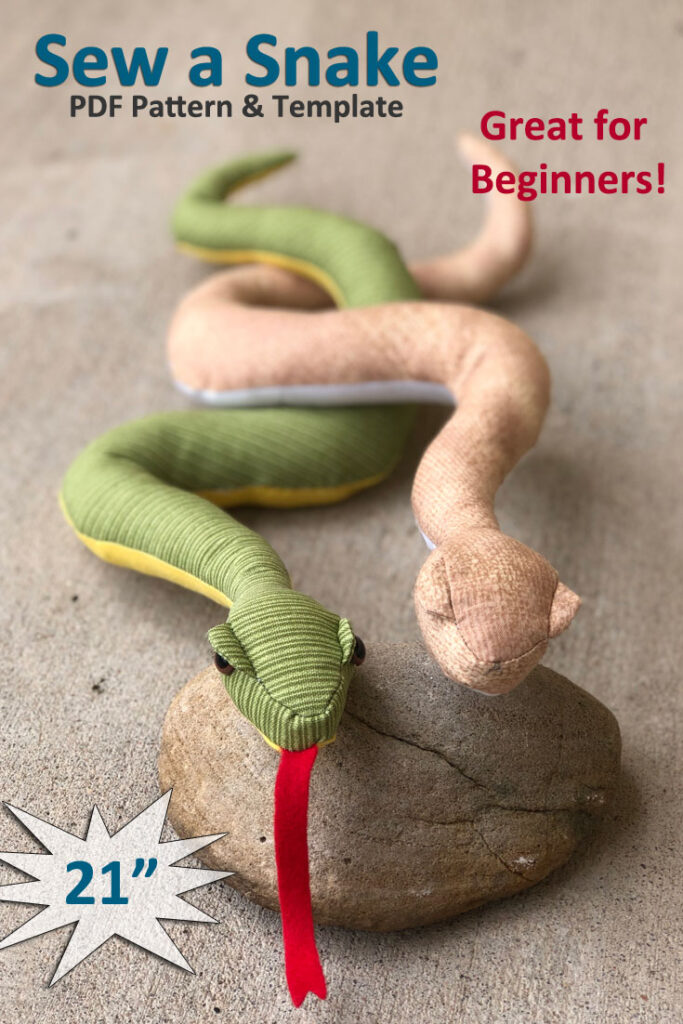
Sewn Koalas, jellyfish, clown fish, dingos and platypus. These creatures are so different and fascinating.

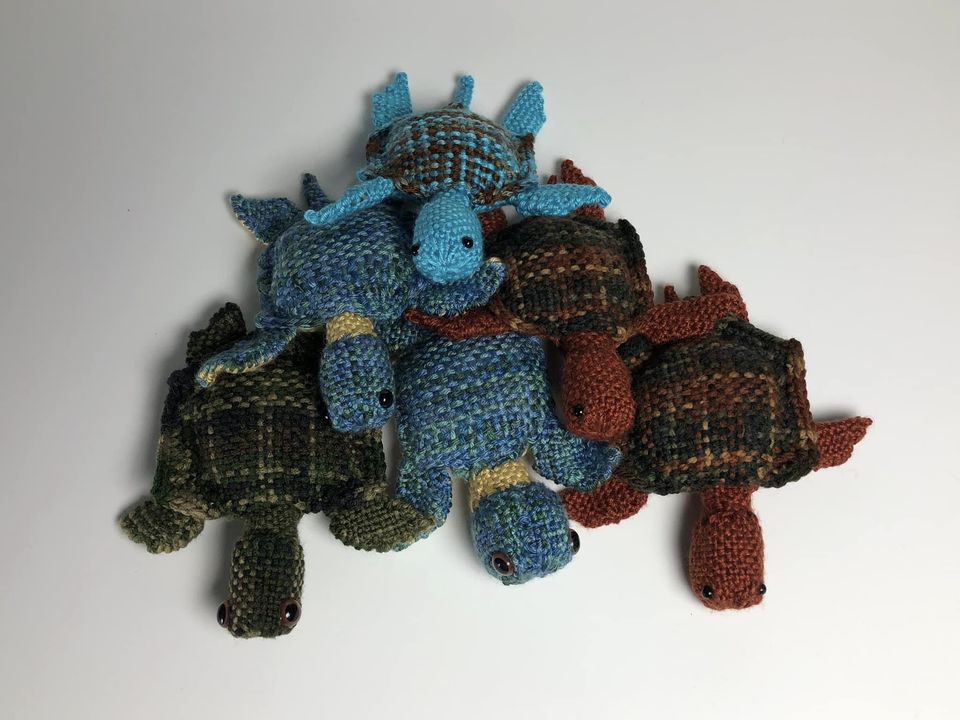
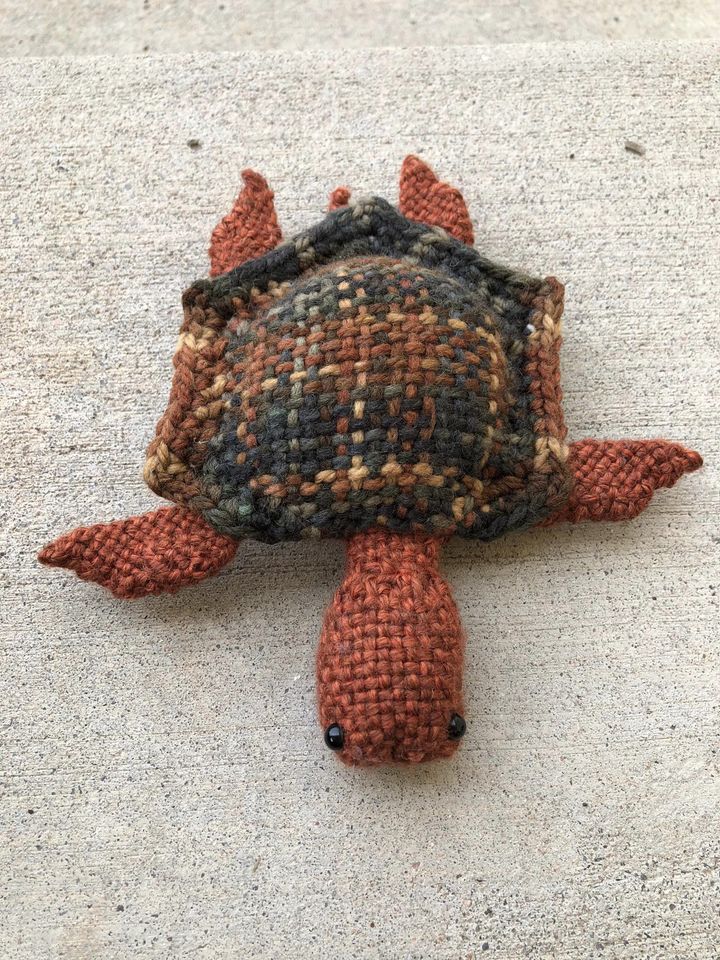
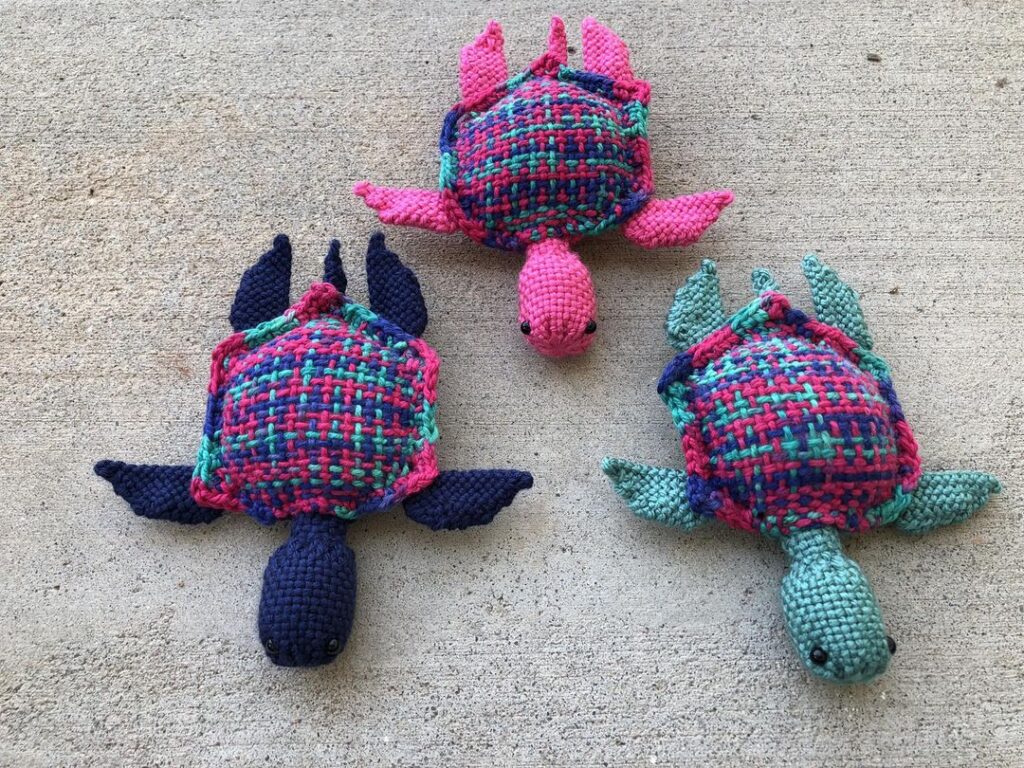
Got the pin looms out to create some turtles. It’s amazing how different they look with yarns of different colors both solid and variegated.

The turtles were made with a few different looms including:

  • hexagon pin loom
  • 2″x4″ rectangle pin loom
  • 2″ square pin loom

Found the sewing patterns online. Some were on Etsy others were free on various blogs. The turtles were inspired by a weave along on the Facebook Pin Loom Support Group. If you love to craft, we encourage you to look into pin loom weaving and join this private group for inspiration.

Pin Loom Turtles

Turtles are a heartwarming creature. And easy to make with a hexagon pin loom. The are also a great opportunity to mix variegated yarns and solids in the same project.

We joined the turtle weave-along on TexasGabi’s website. We learned about it in the Pin Loom Weaving Support Group on Facebook. Before you know it, we had woven a bale (group) of turtles! We experimented a bit. We tried different yarn combinations, different size safety eyes and used different colors for the top vs bottom of the turtle.

Pin Looms Used to Make Turtles

The main pin loom used was a hexagon. We like the one from Bluebonnet Crafters. They have this classic shape in their Etsy shop and several other fun shapes, too.

While we used a lot of other shapes for the head, feet, tail and neck, they can all be made by folding, rolling and tucking a 2″ square.

But since we have other looms, we sometimes used the follows:

  • 2″x4″ pin loom was used for the head
  • 1″x4″ pin loom was used for the neck
  • 2″ triangle pin loom was sometimes used for the feet when we wanted a different color on top verses bottom of the turtle.

We received a special request for a few turtles. They requested pink, teal and blue. So we made a few more!

Gingham Gnome Pin Loom Pattern

This pin loom gnome has gorgeous fashion sense! Make your own gnome, hat and muff and learn a new pattern for pin loom weaving.

This step-by-step tutorial will show you how to use two colors to make a square and a rectangle with a quadrant print which looks just like gingham. The pattern has lots of photos and clear written instructions for making the gnome, hat and muff, too.

The Gingham Gnome Pattern includes:

  • Instructions to make a Gnome, Hat and Muff
  • Instructions to make a Gingham Square and Rectangle
  • 12 pages with color photos
  • Step-by-Step written instructions

PDF Download for Gingham Gnome Pin Loom Pattern Available Now.

The Gingham Gnome Pin Loom Pattern is available in our Etsy shop.

Available now on Etsy.

Buy Now on Etsy

Pin the Gingham Gnome to Pinterest

Share the love; pin this Gingham Gnome to pinterest.

More About the Gingham Gnome Pin Loom Pattern

You’ll be surprised at how easy it is to make this gnome. We list it as intermediate because of all the folding, tucking and sewing but this step-by-step tutorial will make it easy and fun to create.

What you’ll need to make this Gingham Gnome:

  • Pin Looms: –4” square, 2” x 4” rectangle
  • Yarn:   Red Heart: Soft – Medium (4)
  •  BLACK #4614 – 130 yds
  •  OFF WHITE #4601 – 45 yds
  •  WHITE #4600 – 50 yds
  • WHEAT #9388 – 10 yds
  • Needle:  6” needle for weaving and yarn needle for sewing
  • Pompom Maker: – 1 ¾” pom pom
  • Stuffing
  • Beans: to weigh the gnome down
  • Crochet Hook: – size G (optional)
  • Fabric Marker: – white, dark
  • Pet comb: – metal
  • Steamer (optional)

About Pin Loom Weaving the Gingham Gnome

This gingham gnome is made with only two pin looms: 4″ square and 2″x4″ rectangle. That’s all! It’s hard to imagine that this cute little gnome is made with only squares and rectangles, but simple folds, rolls and tucks transform simple shapes into a darling toy.

The base of the gnome is stuffed with beans to give it weight and prevent it from wabbling about. The rest is filled with polyfill stuffing.

The beard is made with yarn, then combed with a metal cat come to separate the strands. Then a steam iron was used to straighten out the yarn. These little details really make the beard shine.

Get your copy of the Gingham Gnome Pin Loo Pattern in our Etsy Shop.

Buy Now on Etsy

Pin Loom Chef Gnome

Pin Loom Chef Gnome. Photo Matt Graves

This little pin loom chef gnome has a sweet tooth. Here he is serving up some cherry desserts.

Make your own chef gnome with pin looms. He’s the perfect accessory for the kitchen and makes a great gift for those who love to cook…and eat.

We love the obvious and the subtle details that turn this gnome into an accomplished chef. The toque (hat) is probably the most iconic item. But the gnome is also wearing a white apron and holding a red and white striped serving towel. All of these items were made with pin looms. There are a couple little elements of crochet (we’ll touch on that in a moment). The cherry dessert in his hand was purchased at a craft store in the miniatures/doll department.

Chef Gnome Pattern Available on Little Looms

This particular gnome pattern was designed for Little Looms and is available with All Access membership to their site. Learn more about the online subscription to Little Looms where you can buy access to all past and present patterns from Little Looms magazine.

Materials Used to Make the Chef Gnome

The main items needed to make this chef gnome are pin looms and yarn. But there are a few other items that give the gnome his polished appearance. For instance, the yarn of the beard is combed with a metal pet comb then steam ironed to straighten the threads. Here’s a complete list of what was used to make the chef gnome:

  • Pin Loom – Square: 2” and 4”
  • Pin Loom – Hexagon: 3 ¾“ diameter (2” sides)
  • Pin Loom – Rectangle: 2” x 4” and 2” x 6”
  • Needle: 5” weaving needle, tapestry needle
  • Yarns Red Heart Soft (100% acrylic; 256 yd/4 oz), #E4600 White, 200 yd; #46414 Black, 24 yd; #9274 Biscuit, 8 yd; #9925 Really Red, 5 yd.
  • SUBSTITUTION if needed: Red Heart With Love (100% acrylic, 370 yd/7 oz) #1001 White, 1012 Black, #1308 Tan, #1909 Holly Berry.
  • Stuffing
  • Miniature Cake
  • Crochet Hook Size G/6/4.00mm
  • Small Bag of Bean or Something Heavy to Weigh Down the Gnome
  • Straight Pins
  • White Fabric Marker
  • Steamer
  • Pet Comb
  • Hot Glue.

More about the Chef Gnome

As mentioned earlier, there is a tiny bit of crochet on the gnome. The apron strings are crocheted as are the cuffs at the wrist of each arm. If you don’t know how to crochet, then ribbon could be substituted for the apron strings. And the cuffs could be omitted.

All the shapes are woven in plain weave. So that portion is very beginner friendly. The project my look intimidating, but the pattern will explain step-by-step how to fold, roll, tuck and cinch pin loom woven shapes into a chef worthy of any kitchen.

Bon Appetit!

A Motivation to Make Beginner Friendly Sewing Patterns

Though we’ve been life long crafters, we have sewed out of utility rather than pleasure (i.e. lining for crochet bags). Our mother was much the same. She dutifully, if a little grudgingly, sewed costumes for our high school drama performances.

But when the spark ignites, sometimes a scarcely used skill can grow into a new passion. It began as a simple desire for Deborah; to make a few stuffed animals to hand out at Vacation Bible School. She poked around the internet a bit, searched Pinterest and Etsy. Then down the rabbit hole she plunged.

Sewing for Vacation Bible School

With a mix of free online patterns and some purchased on Etsy, Deborah began to sew. She made six koalas and found it kind of fun. She found another pattern, then another. Soon she was creating a large collection of creatures. She sewed and sewed.

And sewed some more. She made koalas, fish, dingos, kangaroos and many more animals.

clown fish sewing pattern

This adorable little orange fish was our first sewing pattern inspired from the VBS experience. The Clown Fish Sewing Pattern is stitched entirely by hand with felt fabric. It’s super cute. As we’ll mention in a moment, this pattern also includes traceable templates.

Creating Sewing Patterns

Deborah soon found that although there are a lot of great patterns online, sometimes there’s a void; the variety may be limited or the style not quite right. So Deborah began creating her own patterns.

A well written pattern makes the sewing experience more enjoyable, as recent experience would show. So we decided that we wanted our beginner friendly sewing patterns to have 3 key components:

  • Step-by-Step Written Instructions
  • Lots of Color Progress Photos
  • Printable and Traceable Templates at 100% Scale

Snake Sewing Pattern

One of the first sewing patterns we put together was for a snake. This one has an exaggerated brow above the eye. It gives the snake attitude. Learn more about the Snake Sewing Pattern on our blog.

snake sewing pattern

Hammerhead Shark Sewing Pattern

Another of our beginner friendly sewing patterns is the Hammerhead Shark. This time the emphasis was on the fins. Our shark stuffed animal has all the same fins that a real one has. Learn more about the Hammerhead Shark Sewing Pattern on our blog.

hammerhead shark sewing pattern

Bear Pillow Sewing Pattern

One last beginner friendly sewing pattern I’d like to highlight is the bear pillow. This character is 100% huggable. And with a few modifications, the bear can be a panda or a brown bear. Learn more about the Bear Pillow Sewing Pattern on our blog.

bear pillow sewing pattern

Whatever you sew, we wish you many happy stitchable moments.