Bridal Shower Gift – Crochet Handcuffs
Bridal showers are a great time to gift practical items for kitchen and bath to a soon to be wed young couple. It’s also a fun time to embarrass them with items a bit more playful like lingerie and toys.
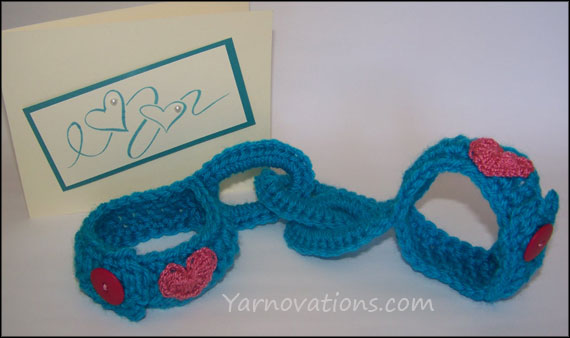
I crocheted the bride-to-be a pair of handcuffs (using a similar color to one in the upcoming wedding) in addition to getting her something from her registry.
I also stamped a card and wrote a suggestive message inside…which I encouraged the bride-to-be to read to out loud to everyone (we can’t miss the opportunity to embarrass her a little!):
Dear Bride,
I crocheted you something you can use to make him your LOVE SLAVE.
Enjoy!
PS: They are adjustable in case you want to be the slave to his love.
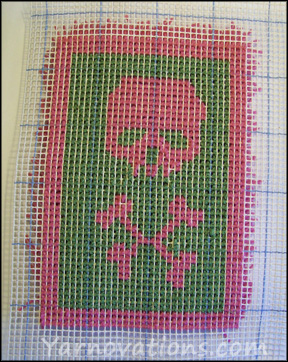
FREE Crochet Patterns for Handcuff and Hearts
The free crochet patterns for these are found in a couple older blog posts:
- Handcuffs (pictured above: Vanna’s Choice in Aqua and J/10/6.00mm hook)
- Heart – (pictured above: Bernat Handicrafter Cotton Thread (5) in Rosy Rose and a 3.5 mm steel hook)
Enjoy, you young lovers!


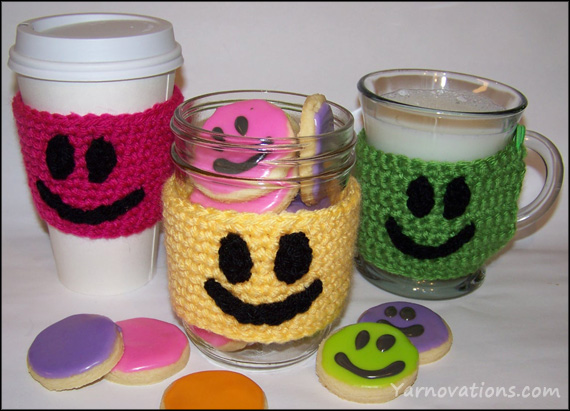
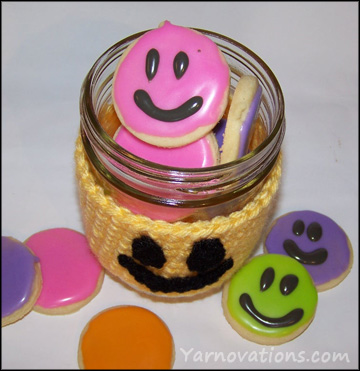 Smiley Face Sugar Cookie Recipe
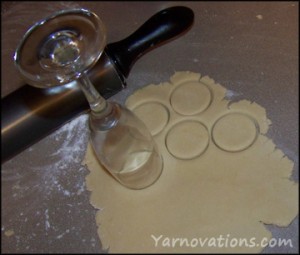 COOKIE DIRECTIONS:
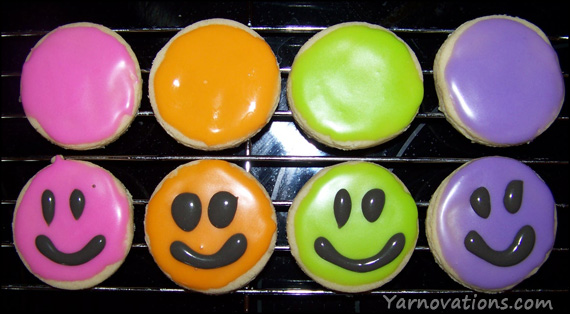
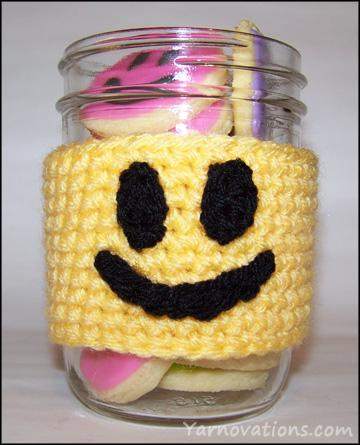 Crochet Smile Cozy
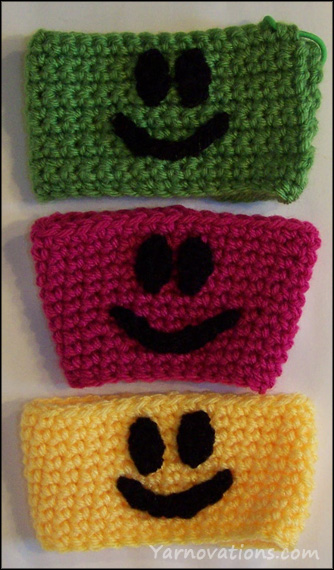


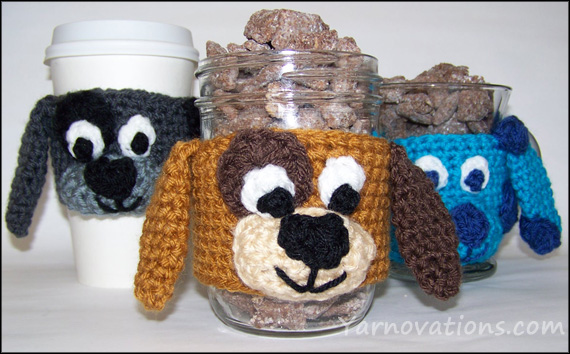
 You’ll have the boss eating out of your hand (or mason jar) with this puppy chow recipe! He will lap it up and return begging for more. (PS: if you don’t bring a doggie bag to refill his jar, you can always share the recipe with him instead).
 Place cereal in large pot. Set aside.
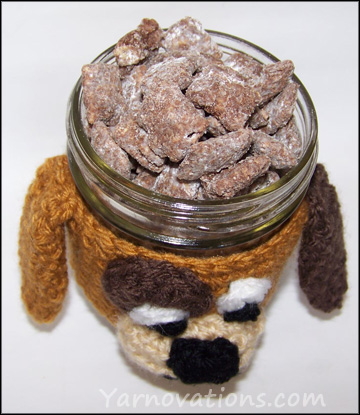
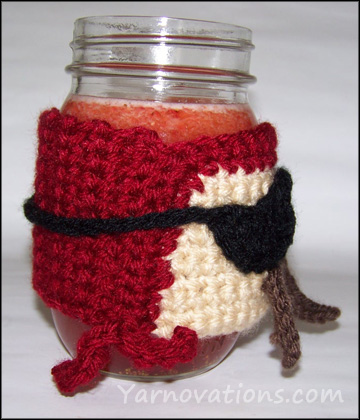
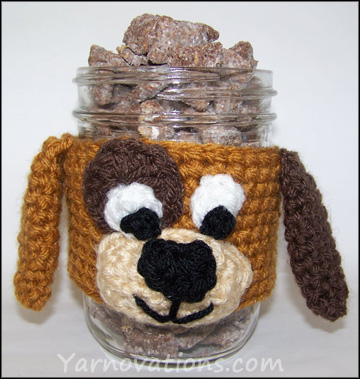 This crochet dog cozy is great for Boss’s Day or as a special gift for a dog loving friend. They’ll dig it and the treats that come with it.
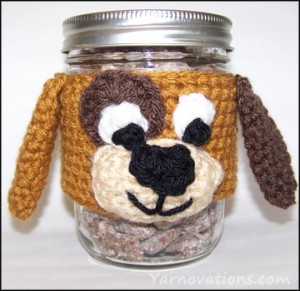 COZY INSTRUCTIONS
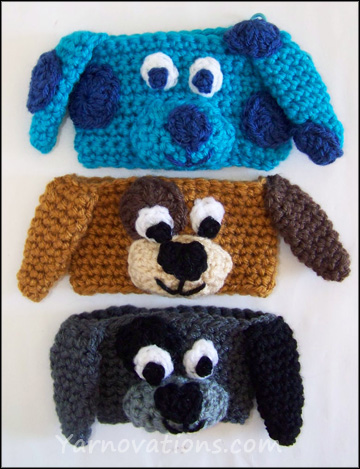
 PUPIL INSTRUCTIONS (make 2)
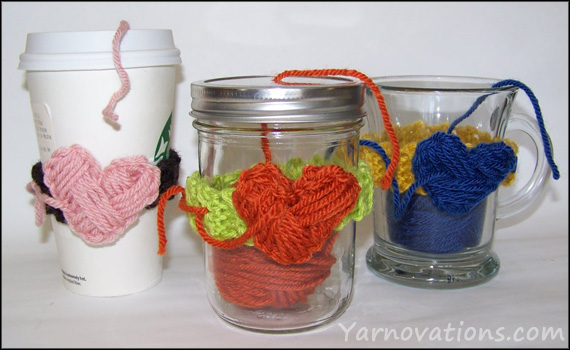
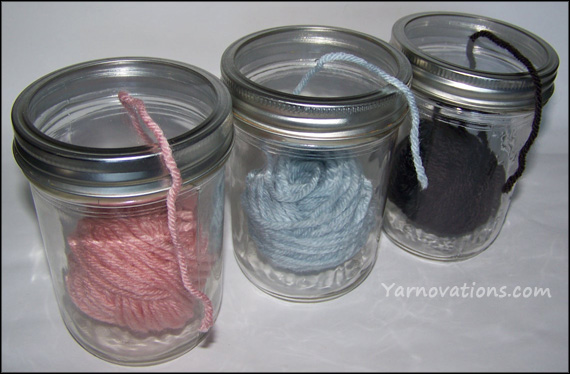
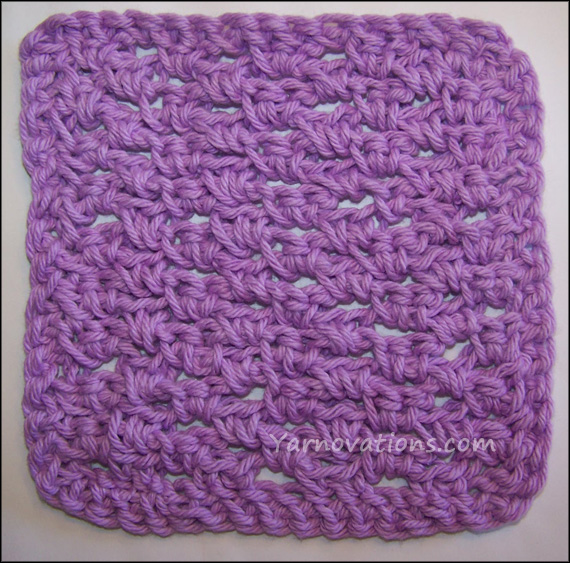
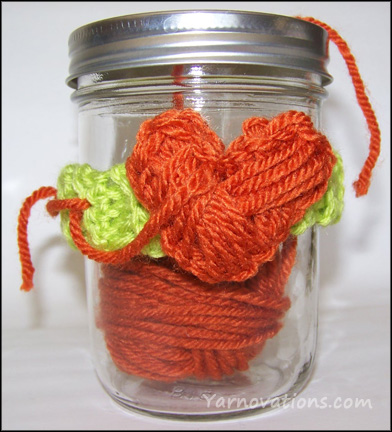 This mason jar yarn keeper is similar to yarn bowls and yarn keeper bags. The mason jar version has the added benefit of looking adorable on a shelf stuffed with yarn in a kaleidoscope of colors.
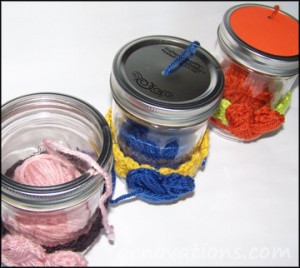
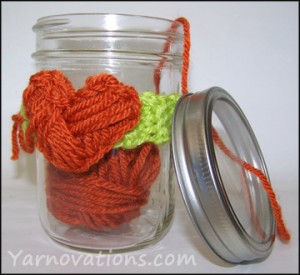 I Love Yarn Day Cozy
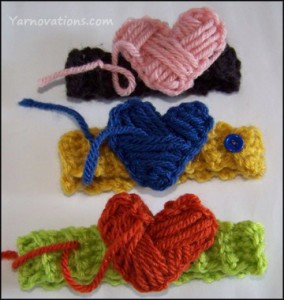
 HEART INSTRUCTIONS
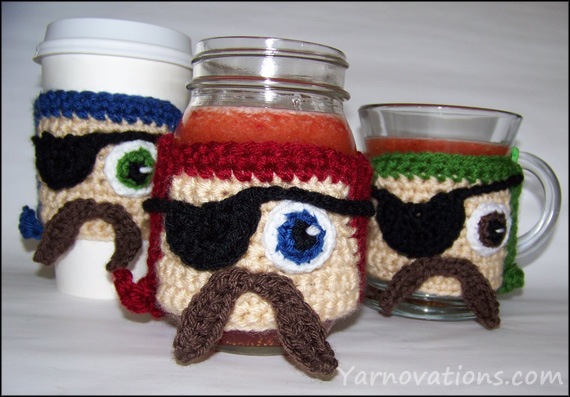
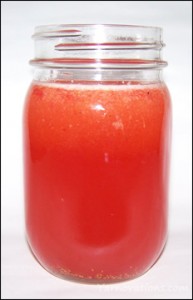 Strawberry Lemonade Recipe
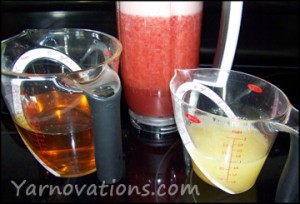 Juice lemons (best if they are room temperature) and strain to remove seeds.
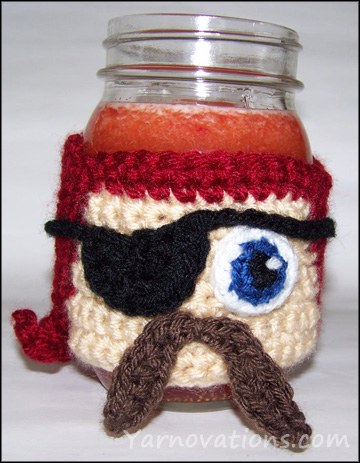


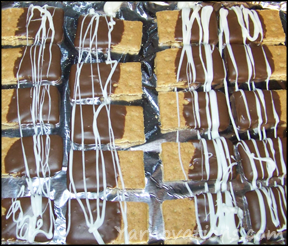 Break graham crackers into pieces (4 pieces per graham) and lay out on a cookie sheet.
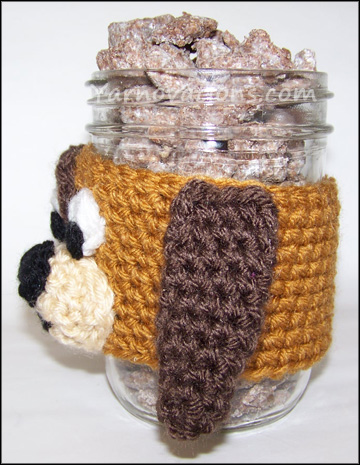
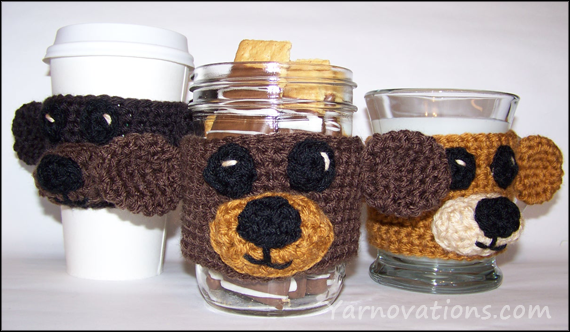
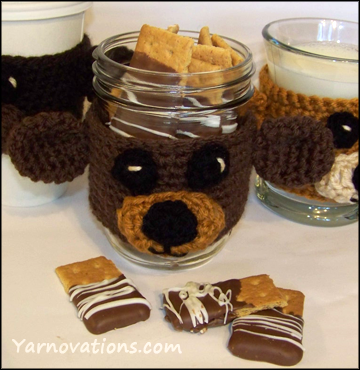
 This crochet bear cozy makes a great gift. Fill a mason jar with snacks and trickets and you’ve got a beary special gift. Here are a few fun greetings for special occasions:
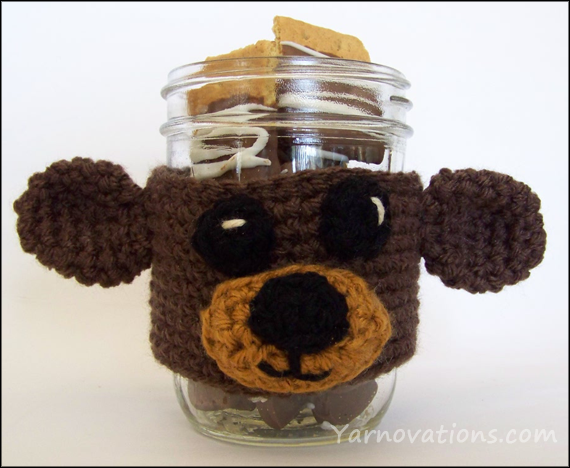
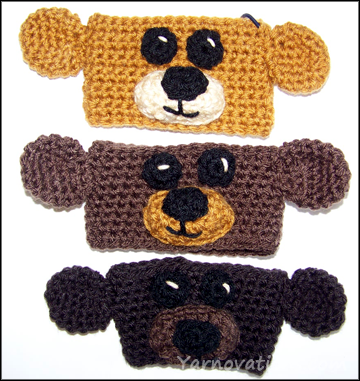 EAR INSTRUCTIONS (Make 2)
