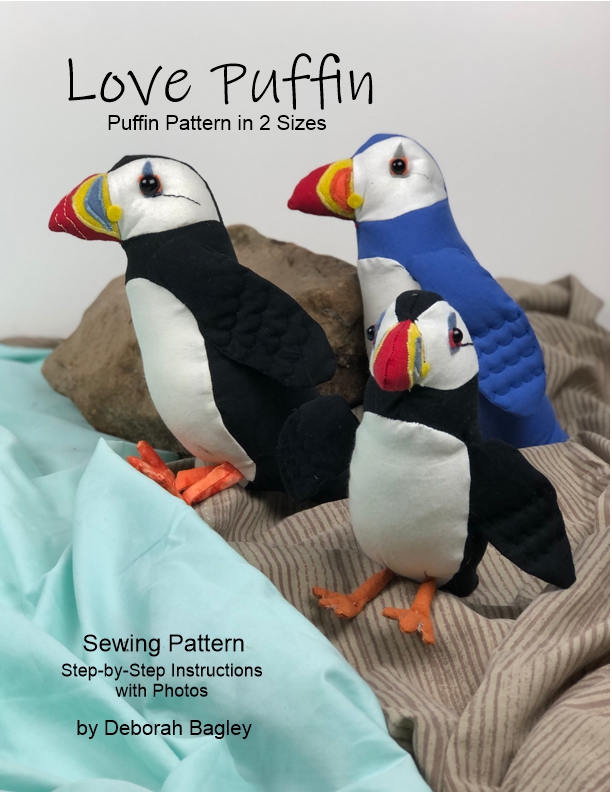
Puffin Sewing Pattern with Templates

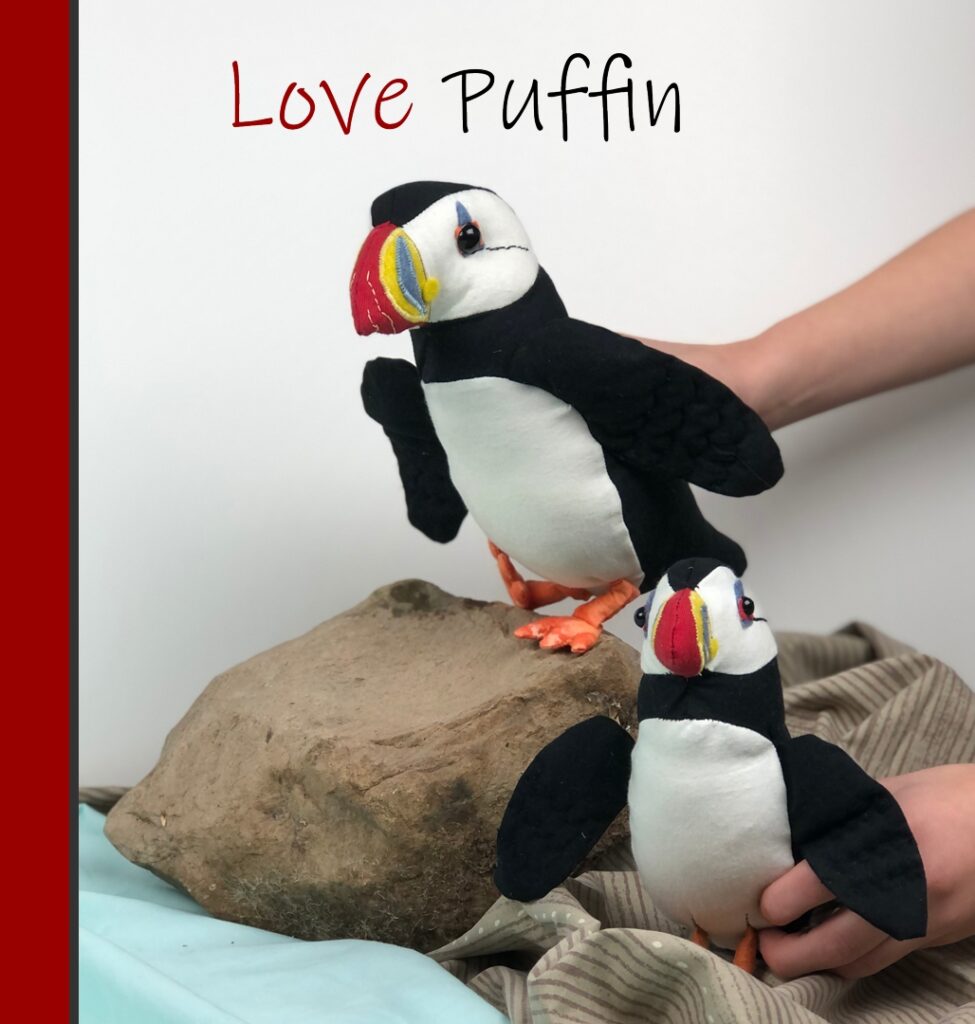
Most people agree that the Puffin is a funny looking seabird. And that’s what makes it so adorable! Our sewing pattern comes with templates in two sizes: 9″ and 7 1/2″ tall.

Reviews for Our Sewing Patterns

  • “Wonderful pattern, was very easy to follow and the images were very helpful.”
  • “This pattern was exactly as advertised and met my expectations. The instruction were great and easy to follow.”
  • “Great project! Easy and clear assembly directions!”

Step-by-Step Sewing Pattern with Templates

This puffin sewing pattern is easy to follow along because it has step by step written instructions and lots and lots of photos. In the end you’ll have a loveable huggable stuffed animal. Here’s what’s in the puffin sewing pattern.

Puffin Sewing Pattern Includes:

  • Traceable templates
  • 2 sizes: 9″ and 7 1/2″ tall
  • Step by Step written instructions
  • 20+ photos
  • 18 pages
  • links to stitch videos

Puffin Pattern Available on Etsy

The puffin sewing pattern with templates is available in our Etsy Shop. When you purchase the pattern PDF on Etsy, you get an instant download link.

Buy the pattern on etsy

More about the Puffin Sewing Pattern with Templates

We are rating the puffin pattern as intermediate because of all the curves and multiple parts and pieces, but the pattern is easy to follow with step-by-step written instructions and more than 20 color photos. The tracing templates can be enlarged should you want a larger puffin, though we think the larger 9″ bird is the perfect size for hugging.

The puffin is sewn with a traditional 1/4″ seam allowance. There is a little bit of top stitching, as seen on the bill. That makes sewing the small fabrics much easier. And of course, there is the ladder stitch which creates and invisible seam where you turn the puffin right side out. We have a couple video links to these stitch techniques.

Share the Puffin Love
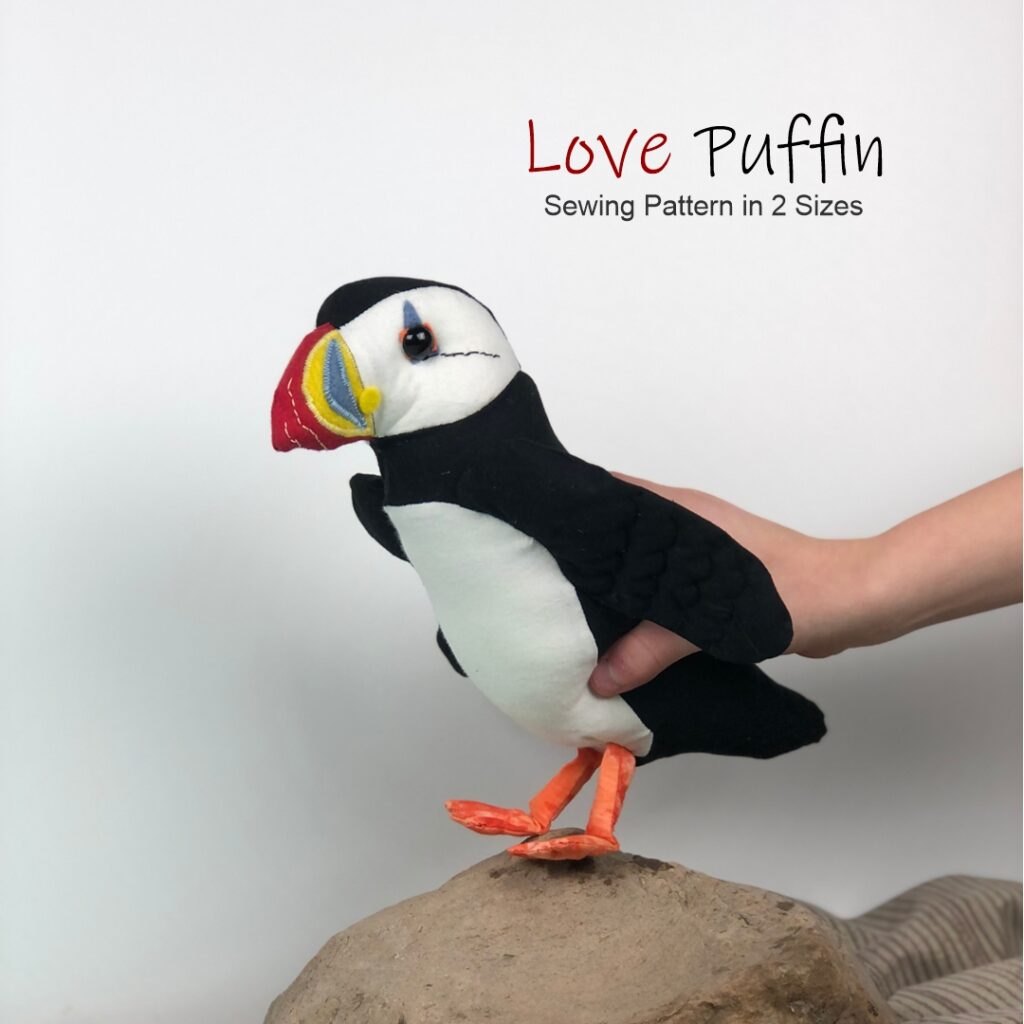
puffin stuffed animal

Share the love by sharing this puffin pattern on social media. Pin one of our photos to pinterest and share on facebook.

Thank you!

What You Need to Sew a Puffin Stuffed Animal

To sew your own puffin stuffed animal, you need fabric, stuffing, safety eyes and a sewing machine. Here’s the complete materials list:

  • Pattern Pieces: template at the end of the pattern
  • Fabric (for 1): Cotton: Black – 11” x 17”, White – 6” x 8”, Red – 3” x 5”, Orange – 3” x 6”
  • Felt: Yellow – 1 ½” x 4”, Steel Blue – 2” x 4”, Orange – 1” x 1 ½”
  • Thread: Black, yellow, steel blue, orange
  • Safety Eyes: Large bird – (2) 12mm, Small bird – (2) 8 mm
  • Needle and Straight Pins
  • Fabric Glue
  • Stuffing, Stuffing Stick, Tweezers
  • Scissors, Sewing Machine
  • Pencil, chalk, or Washable Marker

Available Now on Etsy

The PDF for the Puffin Sewing Pattern is available in our Etsy Shop: YarnovationsShop. When you purchase from Etsy, you get a link to instantly download the pattern.

Available now on Etsy.

Buy the pattern on etsy

Bottlenose Dolphin Sewing Pattern

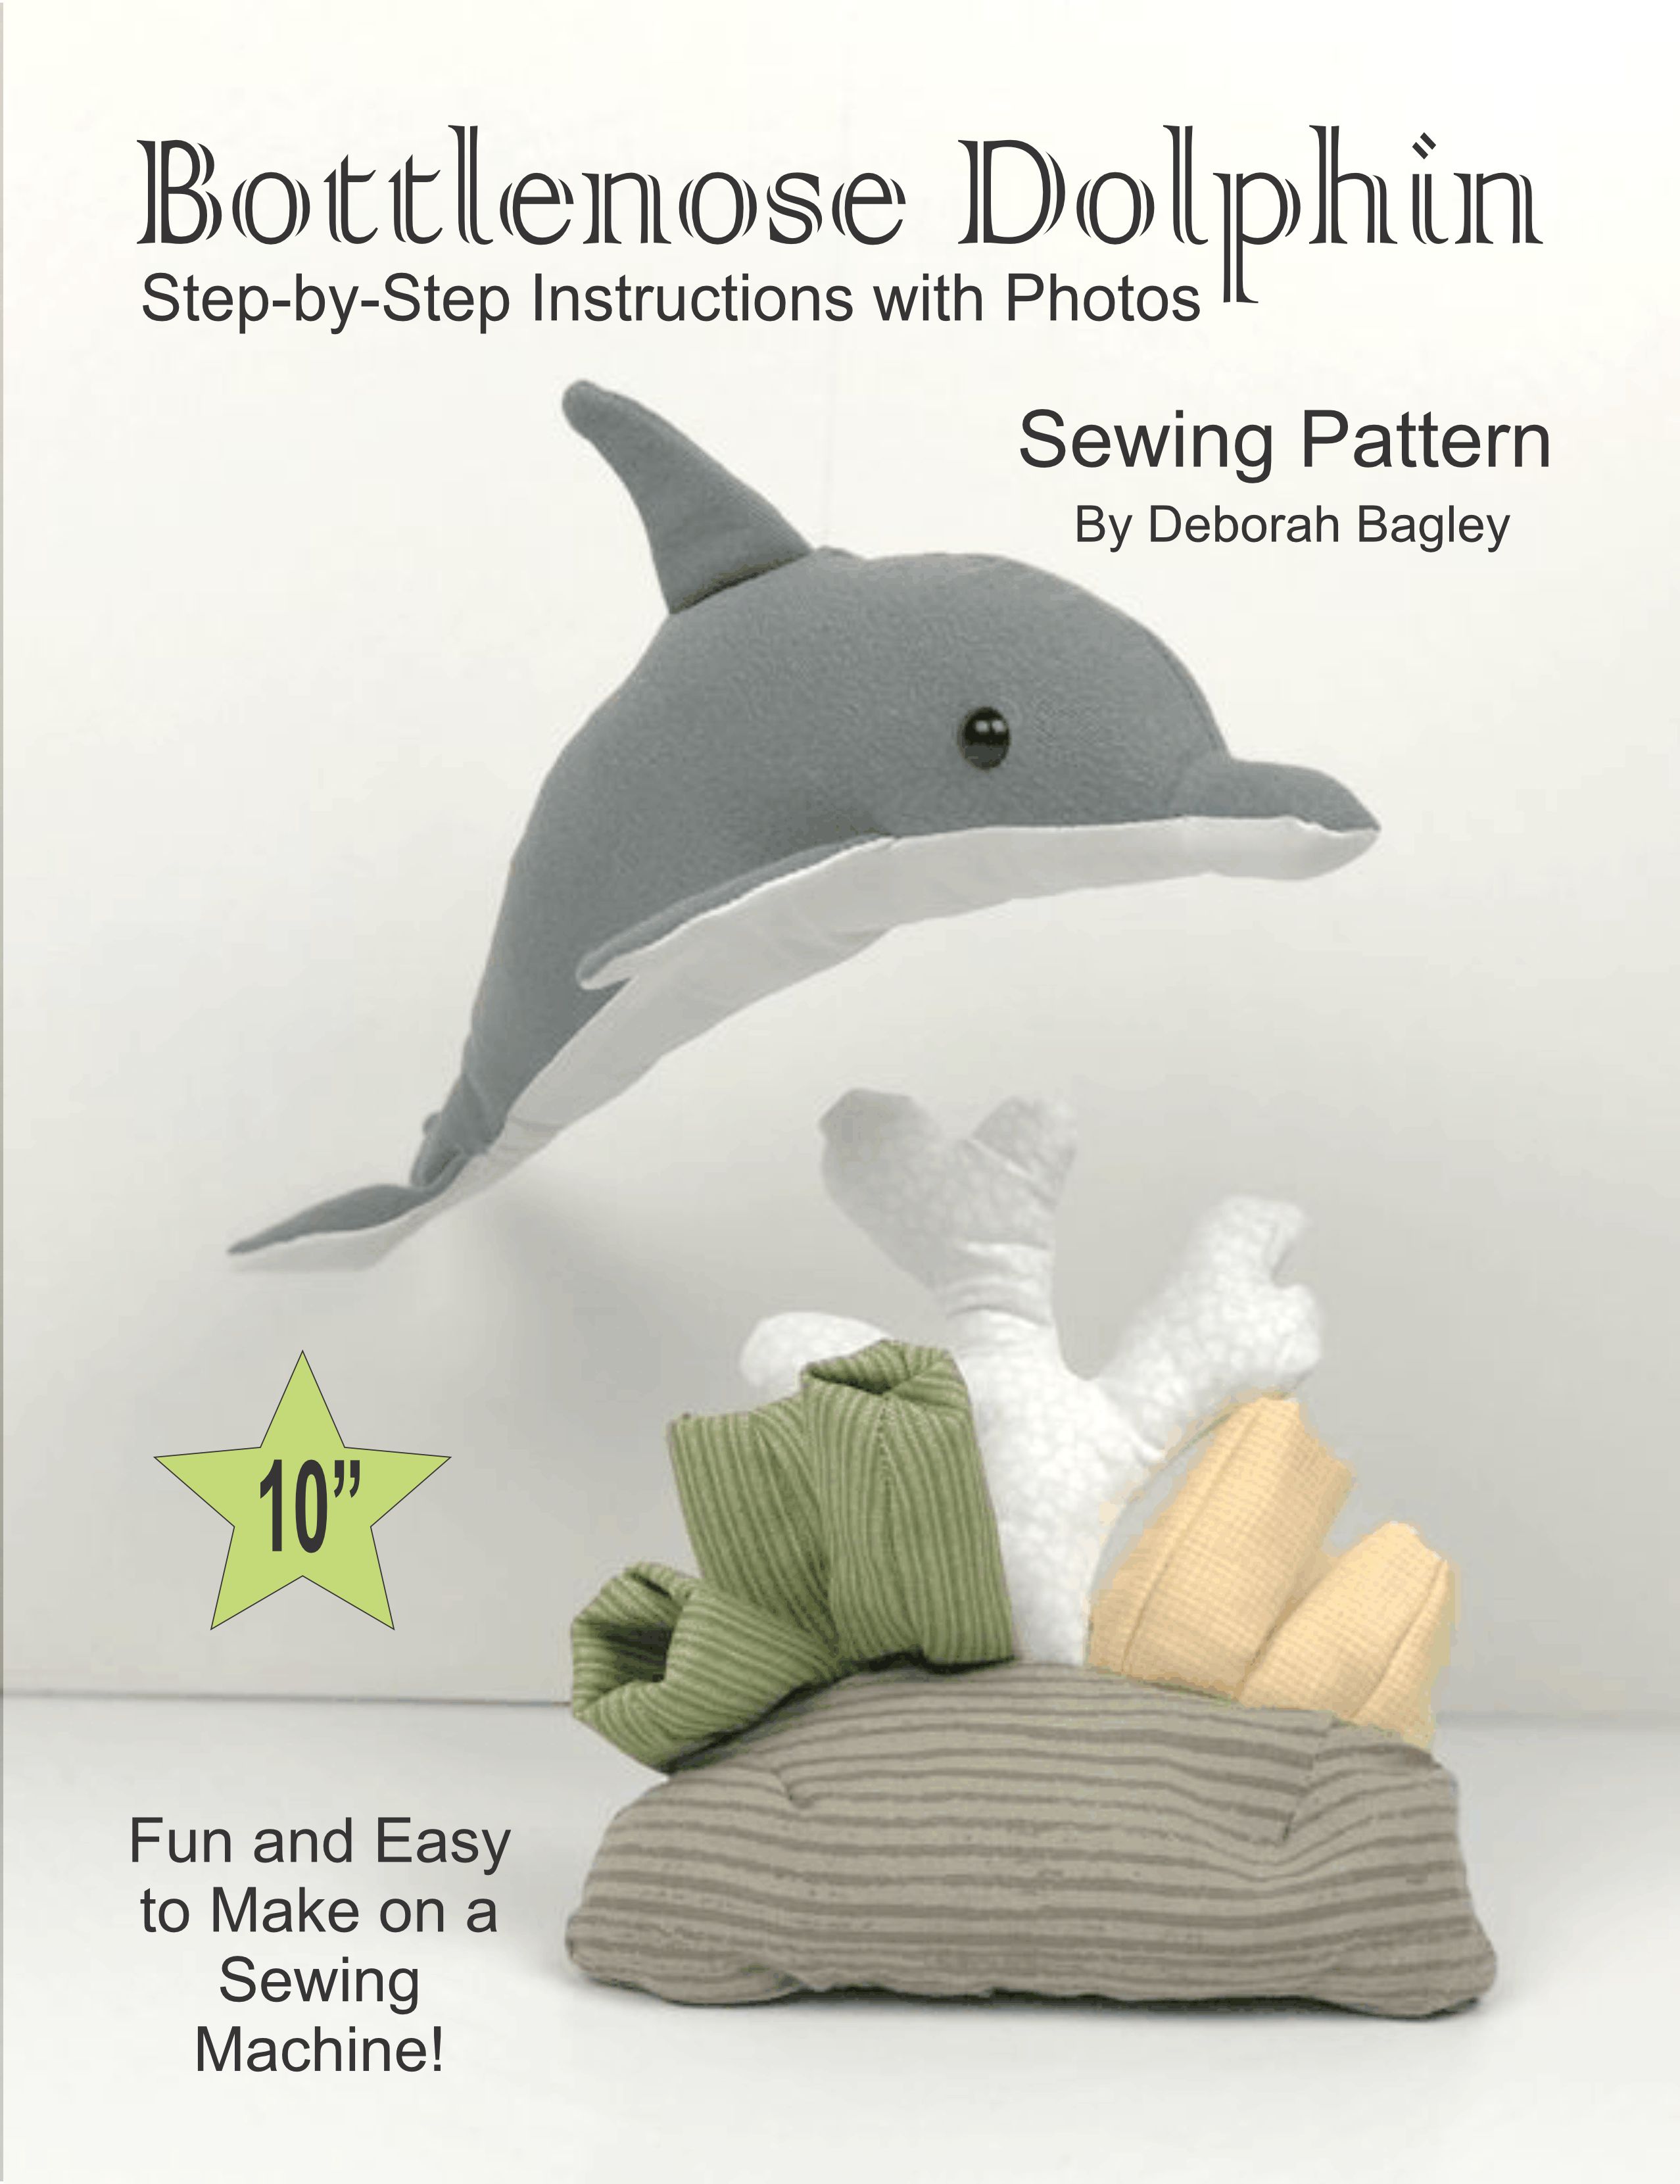
Looking for a beginner friendly sewing tutorial? Try this fun and easy Bottlenose Dolphin Sewing Pattern. It has step-by-step instructions, lots of photos and is great for brand new sewists.

*coral not included.

bottle nose dolphin sewing pattern

We love making patterns for people new to sewing. The bottlenose dolphin is a great first project. The end result is something fun to hold and to hug. Here’s what’s included in the tutorial:

  • Dolphin Instructions
  • Tracing Templates
  • Step by Step Written Instructions
  • 13 Pages
  • 20 Photos

Reviews of Our Sewing Patterns

  • “Wonderful pattern, was very easy to follow and the images were very helpful.”
  • “This pattern was exactly as advertised and met my expectations. The instruction were great and easy to follow.”
  • “Great project! Easy and clear assembly directions!”

Bottlenose Dolphin Pattern on Etsy

The Bottlenose Dolphin Pattern is now available on Etsy. This is a beginner friendly step-by-step tutorial with photos.

Available now on Etsy.

Buy the pattern on etsy

Share the Love – Pin This to Pinterest

Share the love of sewing and dolphins…pin this image to pinterest.

Thank you!

The Bottlenose Dolphin Sewing Pattern

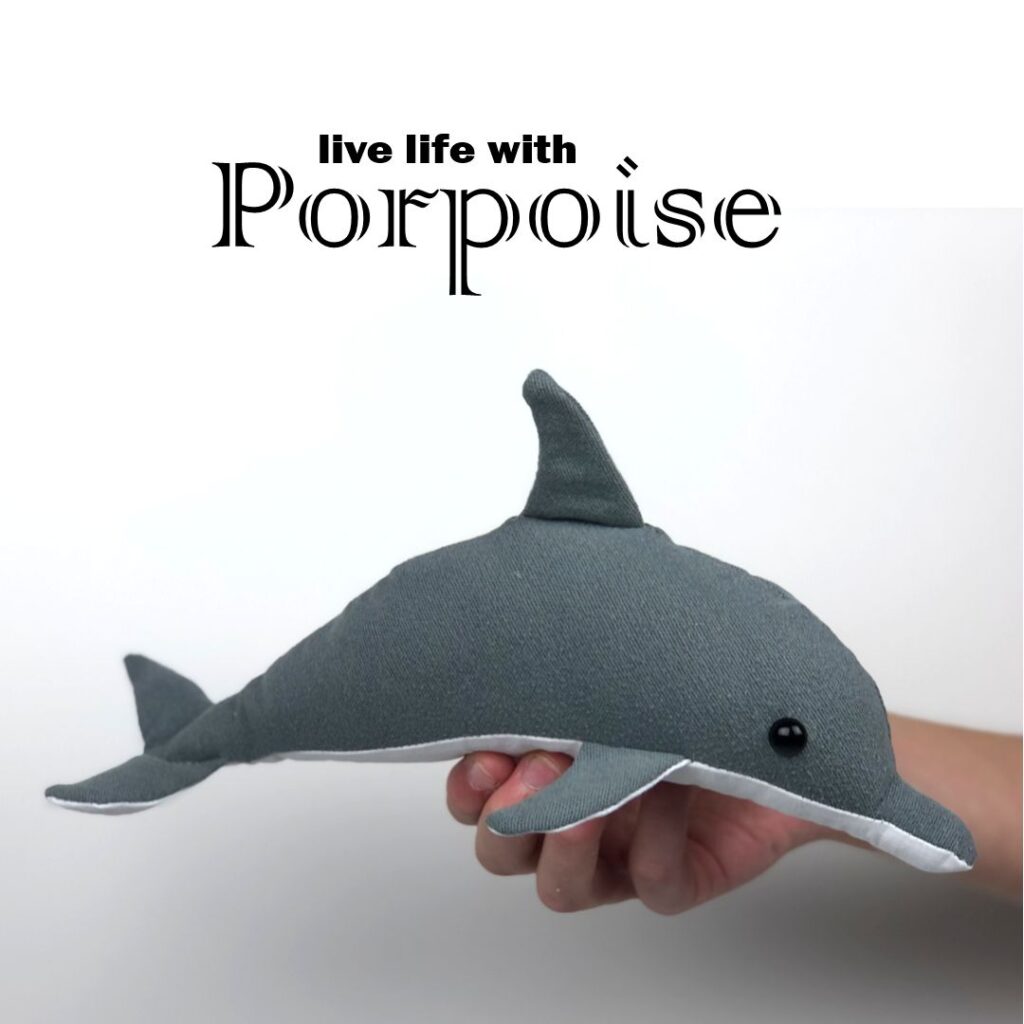
Real dolphins can grow to be up to 13 feel long and 660 pounds. Ours is bit smaller than that. This bottlenose dolphin stuffed animal measures approximately 10 1/4″ long x 3″ wide x 4 1/2″ tall. It can be made with traditional grey and white fabric or other bright and colorful fabrics, too. This is a great project to reuse fabric you have on hand like old bed sheets.

The supplies list is very minimal for this beginner friendly sewing pattern. To make the bottlenose dolphin stuffed animal you’ll need:

  • Pattern Pieces: templates at the end of the pattern
  • Fabric: Grey – 12” x 10”, White – 12” x 3 ½”
  • Felt or Stabilizer (optional): White – 4” x 6”
  • Needle and Thread: Grey
  • Safety Eyes: (2) 10mm
  • Straight Pins
  • Fabric Glue
  • Stuffing and Chopstick
  • Scissors
  • Pencil or Washable Marker

Get the pattern and make a bottlenose dolphin today!

Bottlenose Dolphin Sewing Pattern on Etsy

The bottlenose dolphin sewing pattern is available now in our Etsy Shop.

Available now on Etsy.

Buy the pattern on etsy

Denim and Fabric Basket Sewing Pattern Collection

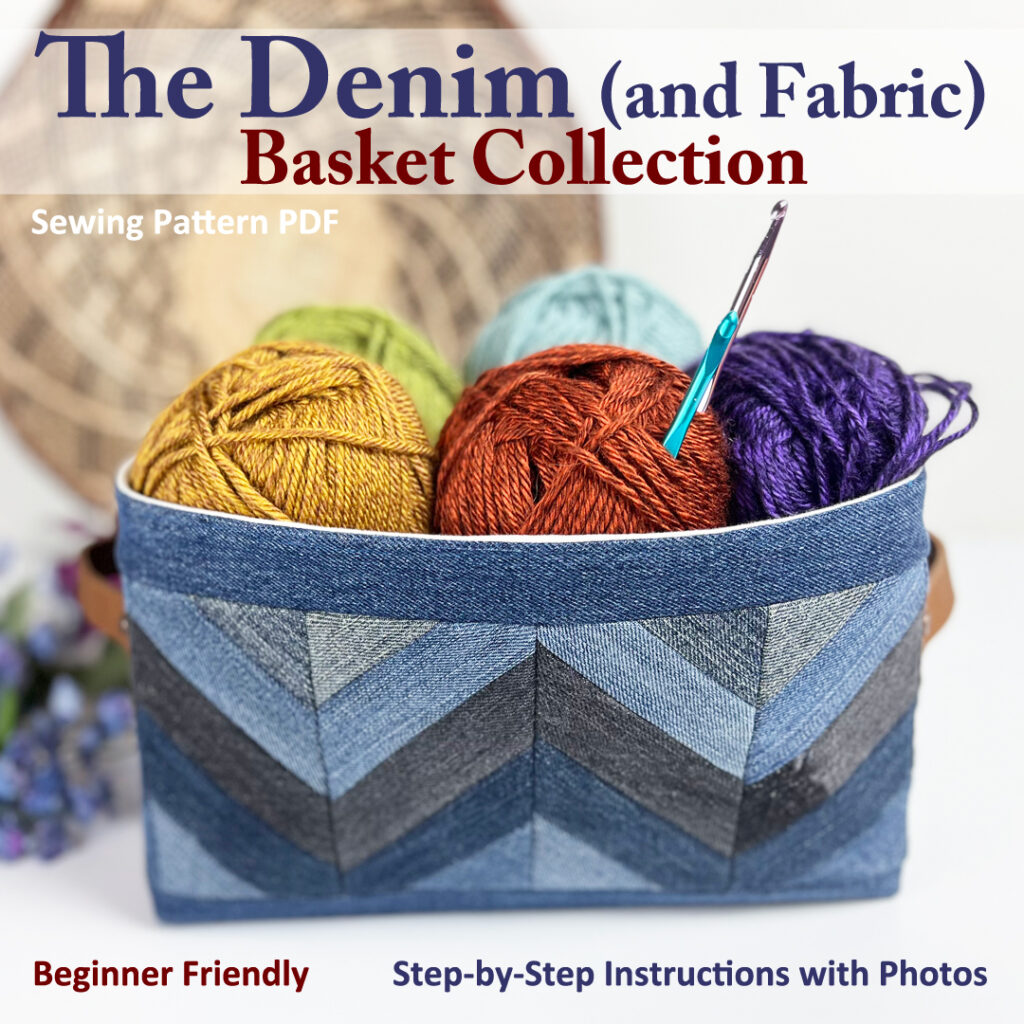
Sew your own gorgeous basket with this fun and easy Denim Basket sewing pattern PDF.

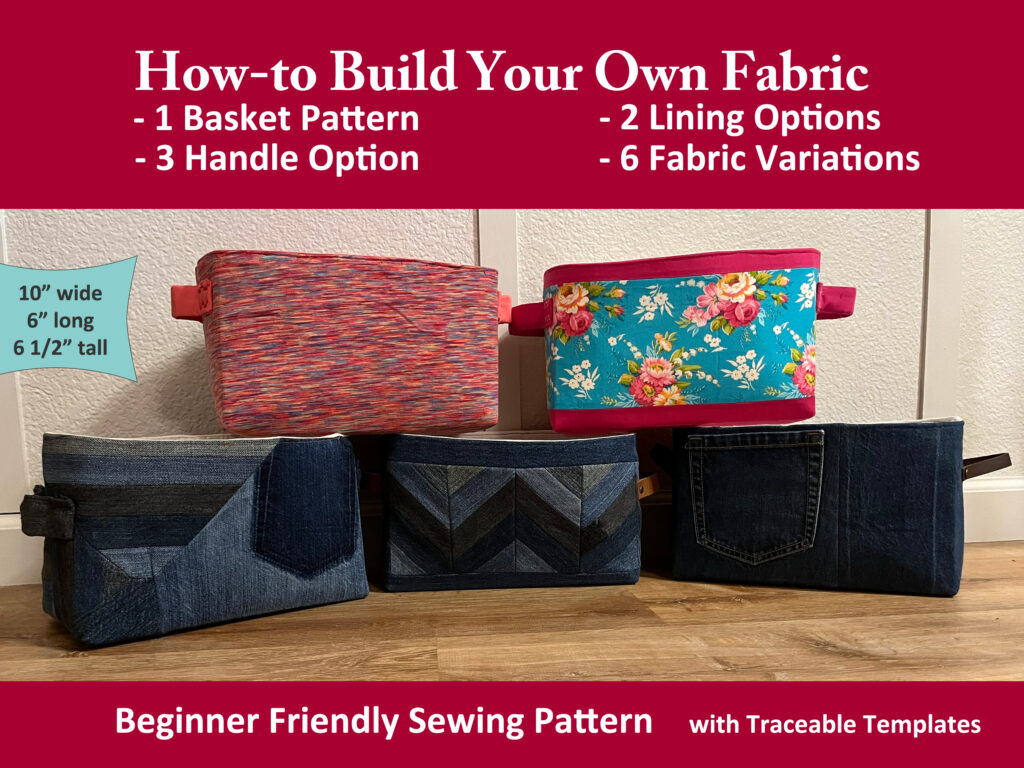
It’s a beginner friendly sewing pattern with step-by-step instructions and photos. Traceable templates are included for a denim basket (or fabric basket) that measures 10″ wide x 6″ long x 6 1/2″ tall.

About The Denim Basket (Fabric Basket) Pattern

This denim basket sewing pattern is FULL of helpful information making it great for new and experienced sewists alike. Here’s what’s in the basket sewing pattern:

  • 1 basket pattern: 10″ wide x 6″ long x 6 1/2″ tall
  • 2 lining options: sewn in or sewn separate
  • 3 handle options
  • 6 fabric designs
  • Traceable templates
  • 40 pages
  • 70+ photos
  • Beginner Friendly
  • Step-by-Step instructions

You can build your own fabric design, or sew a basket with a solid piece of material.

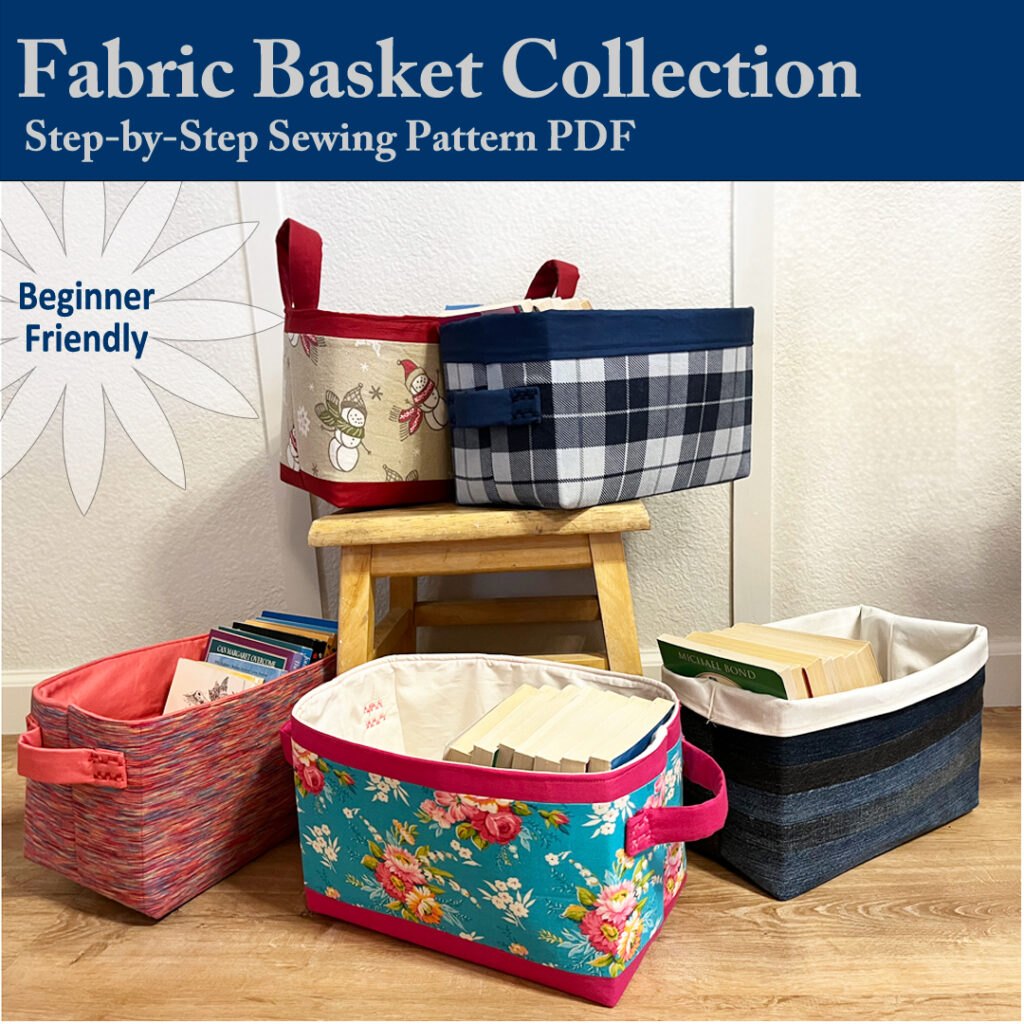
denim basket and fabric basket options in this beginner friendly sewing pattern

What material do you need to make a denim basket?

You only need 1 pair of children’s jeans to make a denim basket. However, we used 5 pairs for the chevron because we wanted different shades of blues and black material. You can use any denim you have on hand to make the denim baskets. If you want a basket with a pocket on the front, we recommend children’s jeans as the small size pocket is a perfect fit. Don’t have denim, check out your local second hand store for a pair or two.

What material do you need to make a fabric basket?

If you want to sew a basket from fabric, you have even more options. You can buy new fabric or use material you have on hand such as clothing and bed linens. This is a great time to upcycle fabrics that are worn or neglected or have a stain or two (just cut around those bad spots). The second hand store is also a great resource because you can browse all the clothing departments (children, men’s women’s) as well as the linens. We recommend cotton fibers for new sewists.

How much material is needed to sew a denim basket?

The denim basket and fabric basket each require 3 layers of fabric.

  • Layer 1: The outside fabric (such as denim or cotton)
    (2) pieces at least 12″ x 17″
  • Layer 2: The inside lining fabric (such as muslin or cotton)
    (2) pieces at least 13″ x 17″
  • Layer 3: The stabilizer (ultra firm – fusible or non-fusible)
    (1) piece at least 20″ x 24″

You’ll also need thread to match your fabric.

The Denim Basket / Fabric Basket Sewing Pattern PDF

You’ll also need the Denim Basket Sewing Pattern. It’s available in our Etsy Shop.

Now available on Etsy.

Buy the pattern on etsy

1 Basket Pattern – 6 Fabric Designs

Even though there is only 1 size basket in this pattern, we show you how to create 6 unique fabric designs. So it’s really 6 patterns in 1!

Basket measures: 10″ wide x 6″ long x 6 1/2″ tall.

The 6 fabric designs included in the denim basket sewing pattern are as follows. Keep in mind that this is in addition to a solid fabric basket design:

  • Chevron
  • Quadrant
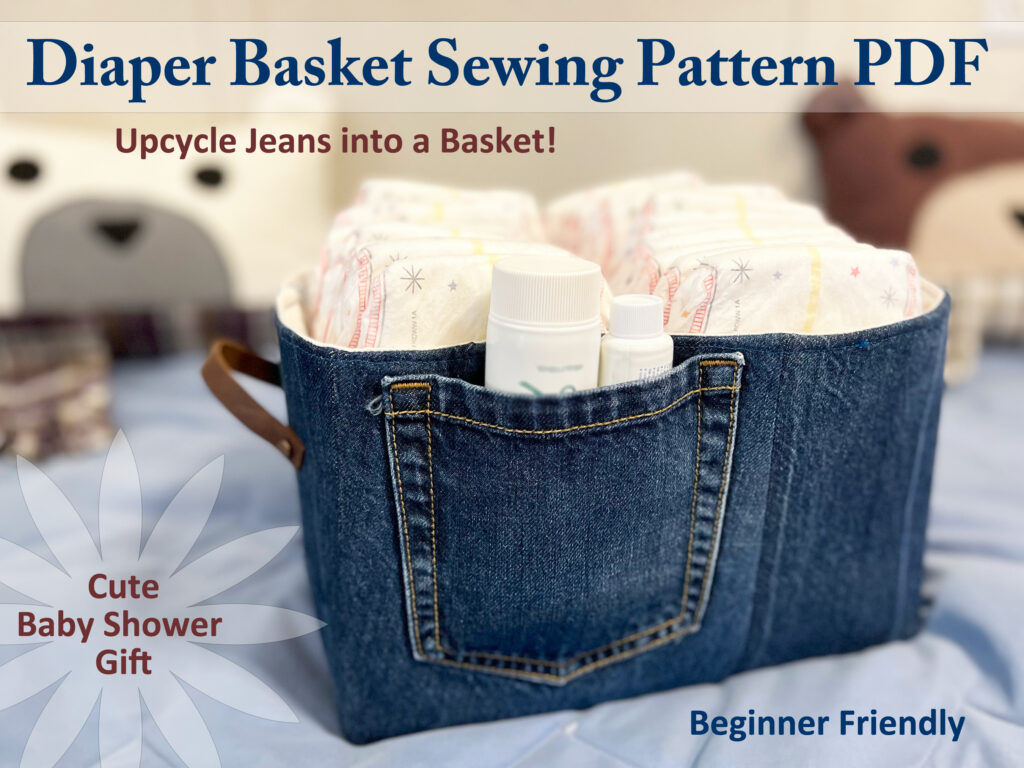
  • Pocket Front
  • Stripes
  • Wide Stripe
  • Scrappy
Denim Basket with pocket used as baby diaper basket

Uses for Denim Basket (Fabric Basket)

This 10″ x 6″ basket size is really quite convenient. It will help you get organized and help your house feel neat and tidy. We’ve used these baskets as:

  • Baby Diaper Basket
  • Baby Shower Gift
  • Paperless Towel Basket
  • Book Storage
  • Bathroom Storage
  • Christmas Basket
  • Laundry Room Storage Basket
  • College Dorm Room Storage Basket
  • And more…

Pin Our Picture to Pinterest

Share the love. Pin our pictures to Pinterest.

Buy the Denim Basket and Fabric Basket Sewing Pattern on Etsy.

We had a lot of fun sewing basket after basket. You will, too. The Denim Basket Sewing Pattern is available in our Etsy Shop.

Available now on Etsy.

Buy the pattern on etsy

Miniature Pumpkins Revsied

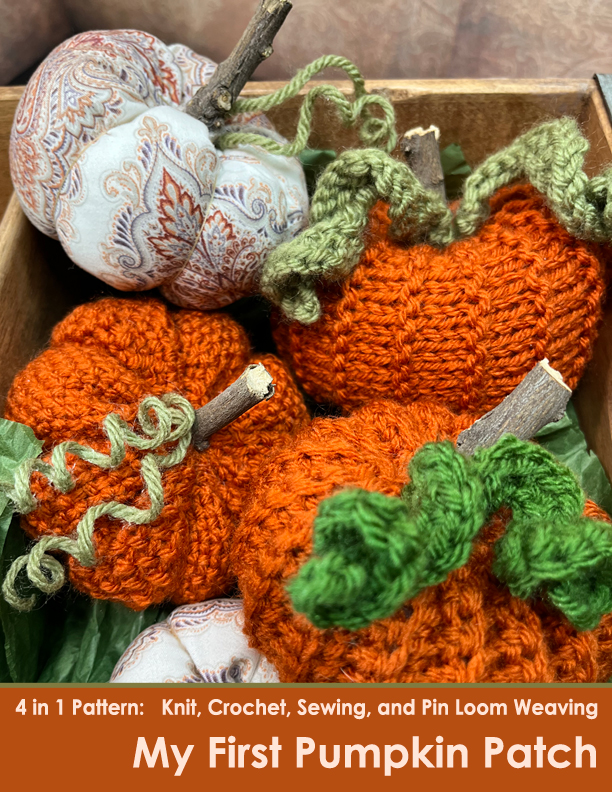
Way back in 2015 we created a pattern for miniature crochet and knit pumpkins. We dubbed them “My First Pumpkin“. Since that time, we’ve added pin loom weaving and sewing to our crafting routine. Therefore, we’ve revised the pattern to include those as well.

Yep, this is a 4 in 1 pattern: crochet, knit, sewing, pin loom weaving.

pumpkin pattern for knit, crochet, sewing and pin loom weaving

Aren’t they gorgeous? I really can’t decide which is my favorite. I love the distinct look of each pumpkin…and they were all truly a joy to create.

And…drum roll please…there is a step-by-step tutorial available as well! Yep, there are pictures and written instructions for all four crafts: sewing, knit, crochet, and pin loom weaving.

Check out the updated and revised My First Pumpkin Pattern blog. Make one or all four or an entire pumpkin patch! These are fun to decorate your home and work place. They are also fun gifts because they are quick to make and so darn cute.

The blog has a free version of all 4 mini pumpkins. The printer friendly version has a TON of photos and lots and lots of tips; it’s available on our Etsy shop.

Head over to our blog to learn more: My First Pumpkin Patch.

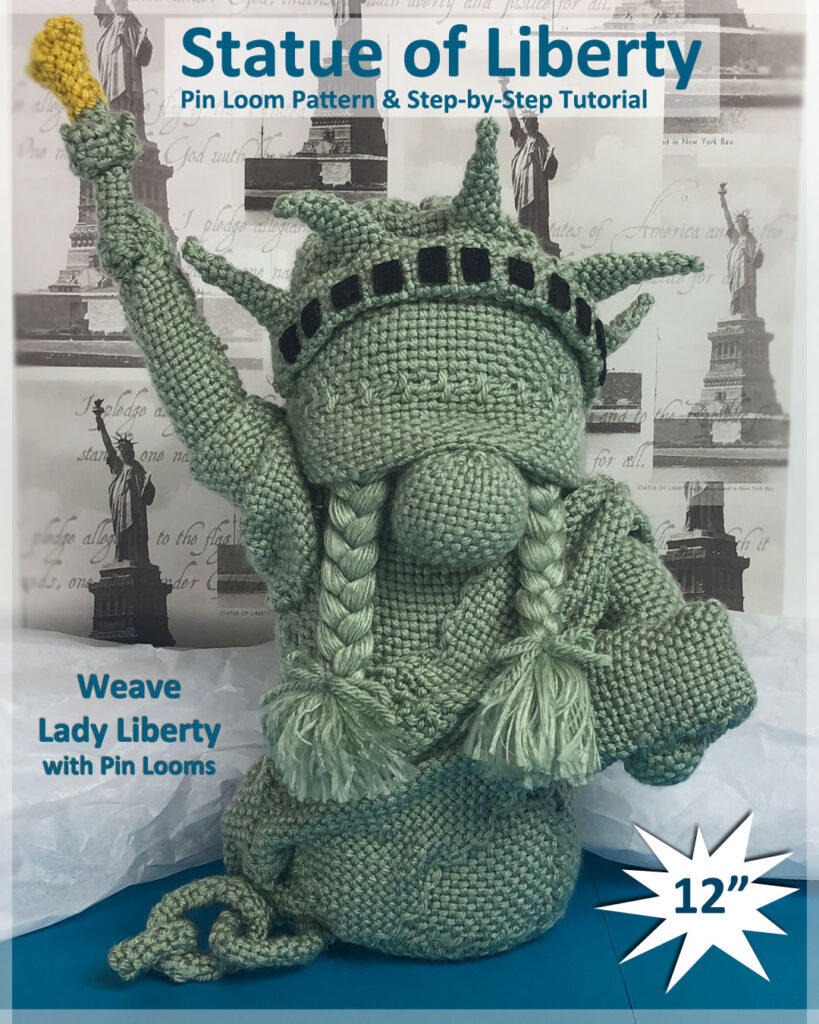
Statue of Liberty Gnome Pin Loom Pattern

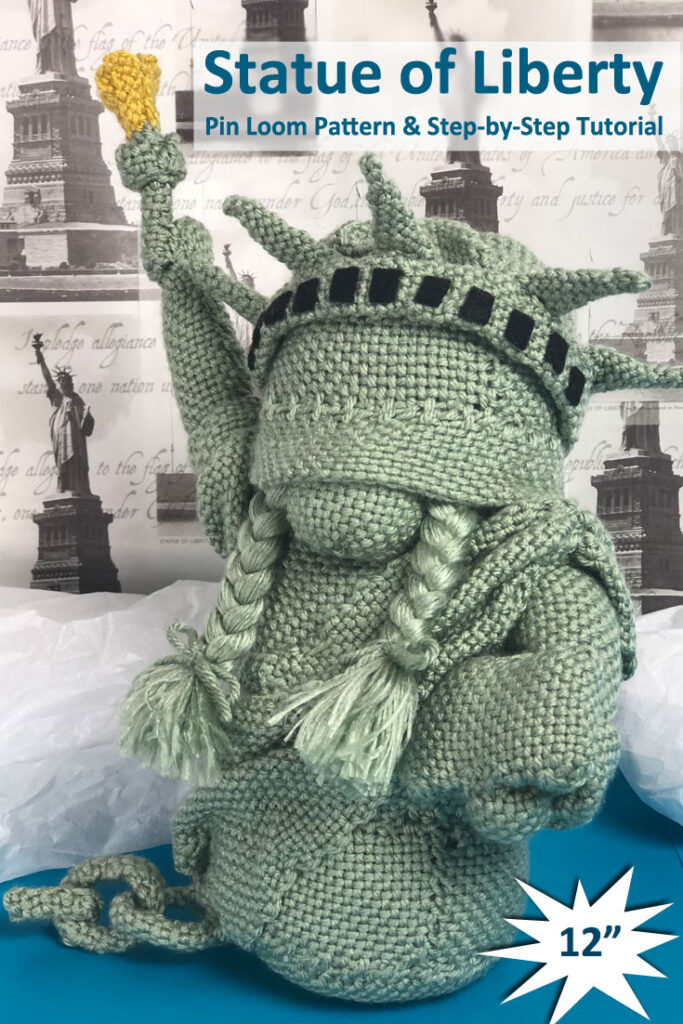
Weave your own Lady Liberty with pin looms! This step-by-step PDF pattern will show you how to transform simple squares and rectangles into your very own Statue of Liberty Gnome toy.

This plushie has many similarities to the actual Statue of Liberty. The torch, tablet and crown being the key elements. But did you also notice the broken chain? Because of the nature of pin loom weaving and the size of the project, this stuffed gnome isn’t an exact replica, but she is pretty darn cute!

What’s Included in the Statue of Liberty PDF Pattern?

  • Statue of Liberty with crown, torch and tablet
  • Detailed writtten instructions
  • 30+ color photos
  • 16 Pages
  • Tips and Tricks for shaping and finishing

Statue of Liberty Gnome PDF Pattern Available Now

The Statue of Liberty Gnome PDF Pattern is now available in our Etsy Shop.

Available Now on Etsy.

Buy Now on Etsy

This gnome was made with medium worsted weight (4) yarn. Any worsted weight should work. We love the color of Red Heart Soft in Sea Foam #9520. Besides the usual items like stuffing, the other odd item needed is black felt. Let’s take a look at what you need more closely.

What You’ll Need to Weave Statue of Liberty.

  • Pin Looms:   Squares: 2” and 4”,
  • Pin Looms: Rectangles: and 2” x 4” and 2”x6” and
  • Pin Looms: Rectangle: 1” x 4” (for the chains only)
  • Yarn:   Red Heart: Soft – Medium (4) SEA FOAM #9520 –  250 yds
  • Lion Brand: Basic Stitch – Medium (4) MUSTARD #158I – 5 yds
  • Needles:  6” needle for weaving and yarn needle for sewing
  • Stuffing
  • Felt – black, ½” x 5” strip
  • Fabric Glue
  • Beans to weigh the gnome down
  • Pet comb – metal
  • Steamer (optional)

Pin This Statue of Liberty Gnome Pin Loom Pattern to Pinterest

Share the love; pin this Statue of Liberty Gnome Pin Loom Tutorial to Pinterest.

About the Statue of Liberty and the Gnome

Liberty Enlightening the World is a statue more commonly referred to as the Statue of Liberty. Libertas, the Roman Goddess of Liberty, holds a torch and tablet, and stands in New York Harbor. She is a copper statue, given to the United States by France, and dedicated in 1886. There is a broken chain and shackle at her feet symbolizing the abolition of slavery in the United States. Though this gnome only has 5, Liberty has 7 rays forming a halo that represent the sun, the seven seas and the seven continents. There are 25 windows in the crown for viewing the harbor (the gnome has 11).

This gnome has a simple construction with components added to it that represent elements on the real statue. For instance, the Statue of Liberty is wearing robe, the gnome is wearing a sash. The halo, or rays, on the gnome is a band attached to the hat. Little bits of felt create the windows.

Get your copy of the Statue of Liberty Gnome Pin Loom Pattern on our Etsy Shop.

Buy Now on Etsy

Behind the Scenes: SC Photo Tutorial

Behind the Scenes: How to Single Crochet Photo Tutorial

I, Dana, have a love / hate relationship with the single crochet. On the one hand, it is the work horse of crochet. On the other hand, it get’s used a lot…so much so that it often leaves me uninspired. I especially hate how single crochet looks when crocheted in rows.

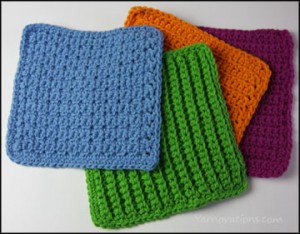
4 dishies spread outAs a crochet designer, I know there are a myriad of textures that can be created with just a single crochet and a chain and I don’t know why those textures are used more frequently. So I created a pattern and photo tutorial to showcase just how beautiful single crochet can be.

My other goal was to teach new crocheters and those needing to brush up their skills the basics. Not only that, I want to help them get over the learning curve as quickly as possible. It doesn’t seem like there are a lot of patterns on the market for beginners. So this tutorial was designed to teach the core principles that are seen in easy and advanced patterns.

After completing all 7 dishclothes in this pattern, new crocheters will be able to single crochet like pros.

I chose dishcloth patterns for a couple of reasons. 1) Creating square swatches is boring (to me anyway) even though they do a great job of showing us texture. By crocheting dish clothes, not only will newbies learn how to crochet, they can use their hand made items! 2) Dish clothes are small and can be completed quickly. It’s nice to have a feeling of accomplishment with each dishcloth completed.

Check out the How to Single Crochet Photo Tutorial.