Puppy Chow Recipe & Crochet Dog Cozy for Boss’s Day (October 16, 2013)
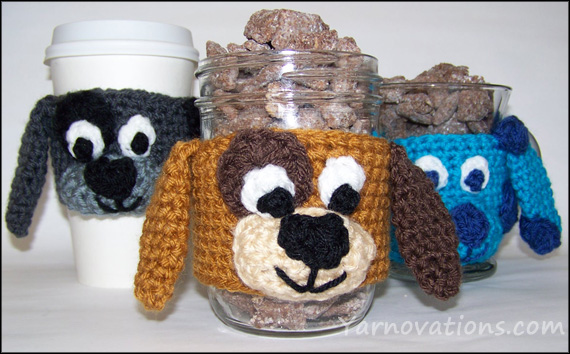
Need a fun gift idea for Boss’s Day. Show the big dog how much you appreciate him (or her) with this puppy chow recipe and a crochet dog cozy. Gobble up the left over chocolate goodness yourself or share this treat with your coworkers and watch them drool in delight.
Let’s start with the puppy chow recipe…that way you can nibble on it while you make the crochet dog cozy!
Puppy Chow Recipe
 You’ll have the boss eating out of your hand (or mason jar) with this puppy chow recipe! He will lap it up and return begging for more. (PS: if you don’t bring a doggie bag to refill his jar, you can always share the recipe with him instead).
INGREDIENTS:
- 14.25 oz Chocolate Chex cereal (9 cups)
- 1 ¼ cup dark chocolate chips
- ½ cup + 2 Tablespoons creamy peanut butter
- ½ teaspoon vanilla extract
- 1 ½ cup powdered sugar
DIRECTIONS:
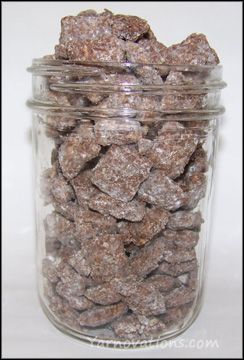 Place cereal in large pot. Set aside.
- Melt chocolate chips in small pot on medium low heat stirring constantly. Remove from heat.
- Stir peanut butter and vanilla into chocolate until smooth.
- Pour chocolate mixture over cereal. Stir until evenly coated. Allow chocolate to cool for 5 – 10 minutes.
- Pour powdered sugar over cereal and stir until evenly coated.
- Store in mason jars or tight fitted containers.
Recipe is inspired by:
http://www.chex.com/recipes/RecipeView.aspx?RecipeId=45860
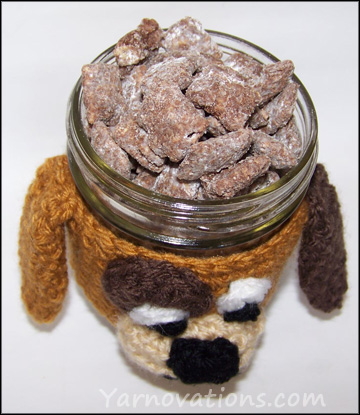
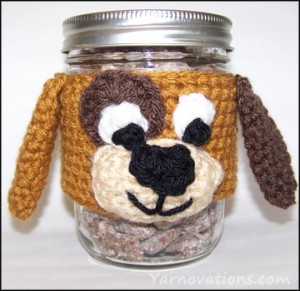
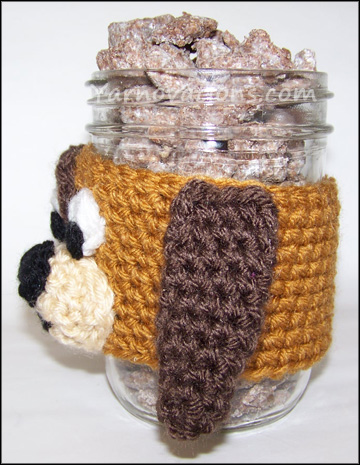
Crochet Dog Cozy
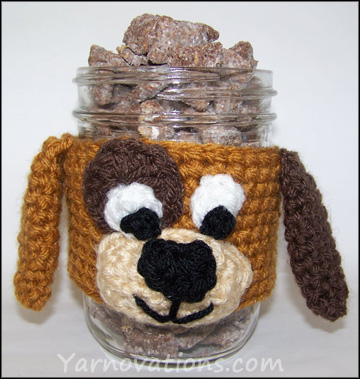 This crochet dog cozy is great for Boss’s Day or as a special gift for a dog loving friend. They’ll dig it and the treats that come with it.
These hounds are a great stash busting project. We’ve used Vanna’s Choice yarn. This line of yarn has lots of fun brown tones to choose from.
Skill Level: Easy
Stitches Used: Chain, Slip Stitch, Single Crochet, Half Double Crochet, Double Crochet
Techniques Used: Crochet in Rows, Crochet in the Round, Increase, Decrease
SUPPLIES:
- Mason Jar
- Vanna’s Choice Yarn: Wosted Weight (4)
HONEY, CHOCOLATE, BEIGE, BLACK, WHITE
(Grey: Charcoal Grey, Silver Grey, Black, White)
(Blue: Aqua, Colonial Blue, White) - Crochet Hook: H
- Yarn Needle for sewing
- Stuffing
 COZY INSTRUCTIONS
- Honey
- Hook: H
Ch 34, join with a sl st.
Rnd 1-10: Sc around. (34)
Sl St. Finish off. Weave in end.
SNOUT INSTRUCTIONS
- Beige
- Hook: H
Ch 9
Row 1: Sc in 2nd ch from hook, sc across. (8)
Row 2: Ch 1, turn. Sc across. (8)
Row 3: Ch 1, turn, sc dec, 4 sc, sc dec. (6)
Row 4: Repeat Row 2. (6)
Row 5: Ch 1, turn. sc dec, 2 sc, sc dec. (4)
Row 6: Repeat Row 2. (4)
Rnd 7: Turn to sides of Rows 1-6. Work sc across (a sc on the end of each row). Turn to foundation chain, sc across. Turn to sides of Rows 1-7. Work sc across (a sc on the end of each row). Join with a sl st. (20))
Finish off leaving a long tail for sewing.
NOSE INSTRUCTIONS
- Black
- Hook: H
Ch 3
Rnd 1: In the 3rd ch from hook work 2 hdc, dc, 2 hdc, ch 2, sl st to same st as all other sts. (7)
Finish off leaving a long tail for sewing.
SPOT INSTRUCTIONS
- Chocolate
- Hook: H
Ch 3
Rnd 1: 12 dc in 3rd ch from hook. Join with a sl st. (12)
Finish off leaving a long tail for sewing.
EYE INSTRUCTIONS (make 2)
- White
- Hook: H
Ch 2
Rnd 1: 5 sc in 2nd ch from hook. Join with a sl st. (5)
Finish off leaving a long tail for sewing.
 PUPIL INSTRUCTIONS (make 2)
- Black
- Hook: H
Ch 2
Rnd 1: Work sc and sl st in 2nd ch from hook. (2)
Finish off leaving a long tail for sewing.
EAR INSTRUCTIONS (make 2)
- Make one Honey and one Chocolate
- Hook: H
Ch 2
Rnd 1: 6 sc in 2nd ch from hook. (6)
Rnd 2-3: Sc around. (6)
Rnd 4: *sc, sc inc* around. (9)
Rnd 5-10: Sc around. (9)
Rnd 11: Sc dec. Pinch ear closed so there are 4 sts across. Work sc through loops of two sts opposite each other to close the ear. (5)
Finish off leaving a long tail. Whip st from inside to outside of all front loops and cinch closed.
ASSEMBLY INSTRUCTIONS
- Pin Snout to Rnds 1-5 of the cozy. Stuff lightly and sew. Weave in ends.
- Pin then sew Nose to center of Snout.
- Embroider a mouth on Snout below the Nose. Weave in ends.
- Sew Spot to cozy above Snout with right edge of Spot about centered. Weave in ends.
- Sew Pupils to Eyes. Weave in ends.
- Sew reflective spot to each Pupil with tails of Eyes If desired.
- Pin then sew Eyes just above Snout – one to be sewn on the Spot. Weave in ends.
- Sew Ears to the sides at Row 10.
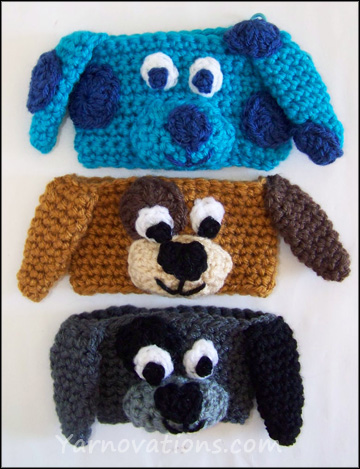
More Cozies in Store
 Love this dog cozy? There are more seasonal, holiday and just for fun cozies in the store in our Crochet Cup Cozy eBook. We’ve created an entire collection with 28 designs one ebook.
Looking for the cup and mug version? They’re in the ebook.
Each design in the ebook has instructions to fit Mugs, Cups and Mason Jars. Every design has a delicious recipe or fun craft.
All 3 dogs pictured at the beginning of this post are in this ebook! AND the ebook includes 4 new designs – Dracula, Vampire, Mummy and Blue Jeans.
 Read more about the set:
Blog: Coffee Cup Cozy Collection
Store: Coffee Cup Cozy Collection

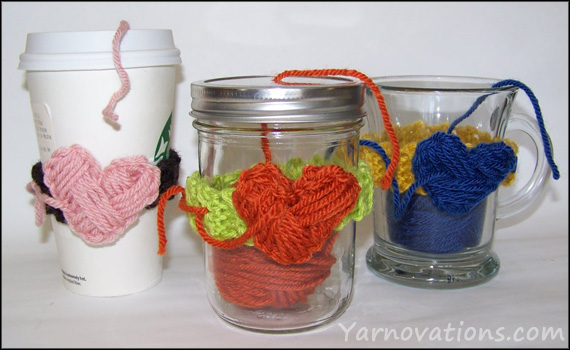
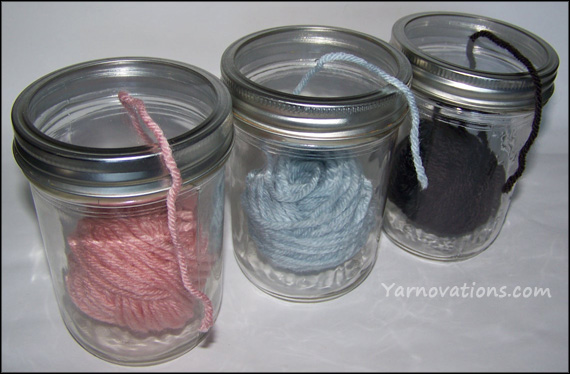
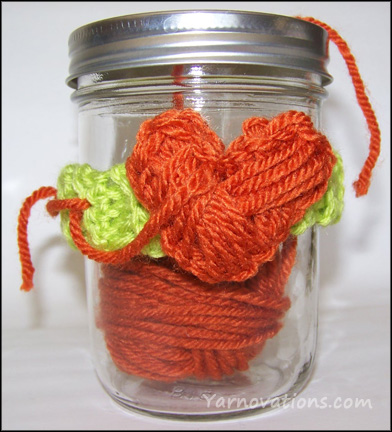 This mason jar yarn keeper is similar to yarn bowls and yarn keeper bags. The mason jar version has the added benefit of looking adorable on a shelf stuffed with yarn in a kaleidoscope of colors.
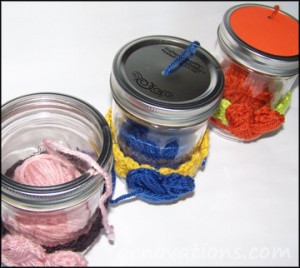

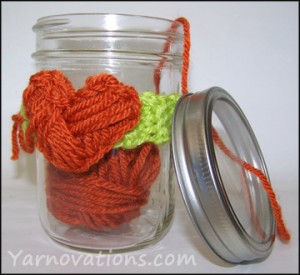 I Love Yarn Day Cozy
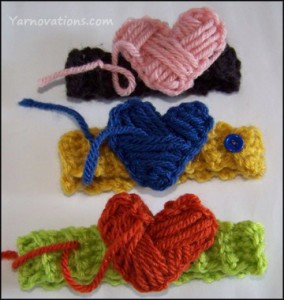
 HEART INSTRUCTIONS