Turtle Cake in a Jar Recipe and Crochet Cupcake Cozy
This turtle cake in a jar recipe is extremely rich and moist. Truth be told…I don’t really like cake….but I request this chocolatey deliciousness every year for my birthday. It is so rich, you will definitely need a tall glass of white milk to go with it.
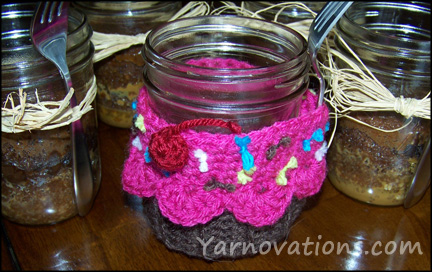
Speaking of birthdays, we’re dressing up this jar with a crochet cupcake cozy! It’s perfect for any special occasion where cupcakes are served (like birthdays). Cakes in a jar for everyone with the person of honor getting a snazzy cupcake cozy as well.
Let’s start with the cake and wrap it up with a crocheted cozy.
NOTE: We are not canning cake…simply serving cake in jars.
Turtle Cake in a Jar Recipe
INGREDIENTS AND SUPPLIES:
- 1 Betty Crocker Super Moist Milk Chocolate Cake Mix
- 14 oz. Caramels
- 1 cup Evaporated milk
- ½ cup chocolate chips
- 8 pint size canning jars
DIRECTIONS:
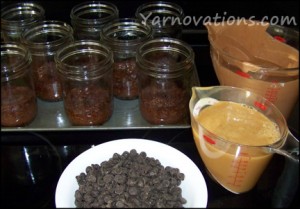 1. Preheat oven to 350°.
2. Grease all sides of inside of jar with cooking spray. Spread jars evenly on a cookie sheeet (for ease of taking them in and out of the oven.)
3. Mix cake batter according to cake mix directions.
4. Pour 1/4 cup of batter into each jar. Wipe away any batter that’s on the sides of the jar.
5. Bake for 20 minutes or until done. Remove from oven and set aside while you prepare the rest of the ingredients.
6. Melt Caramels and milk together in a pot on low temperature, stirring constantly.
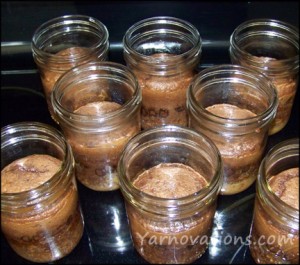 7. Pour 1/4 cup of caramel and milk mixture into each jar.
8. Sprinkle 1/8 cup of chocolate chips into each jar.
9. Pour 1/4 cup of batter into each jar. Wipe away any batter that’s on the ides of the jar.
10. Bake for 25 minutes or until done.
11. Allow to cool completely before serving.
NOTE: To learn about canning foods, visit the National Center for Home Food Presevation. Read why the University of Georgia does not recommend canning (preservation) of cakes.
Cake in a Jar Crochet Cupcake Cozy
Now we’re ready to crochet a cupcake cozy for the cake in a jar. Bright colors work great for this project. This is a great stash buster, too. We’ve used a colorful selection of Vanna’s Choice.
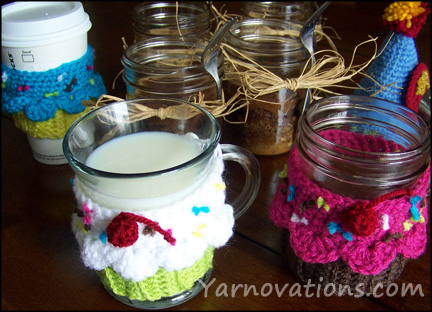
In addition to being fun for birthdays, a cake in a jar makes a tasty gift idea for teacher, women’s retreats, bridal showers and more. The cupcake cozy can even be used as a coffee cup sleeve!
SUPPLIES:
- Pint size canning jar
- Vanna’s Choice Yarn: Medium Worsted Weight (4)
CHOCOLATE, RASPBERRY, RADIANT LIME, RADIANT YELLOW, AQUA, CRANBERRY, WHITE - Crochet Hook: H, F
- Yarn Needle
COZY INSTRUCTIONS
Chocolate
Hook: H
Ch 8
Row 1: Hdc in 3rd ch from hook. Hdc across. (6)
Row 2-22: Ch 2, turn. Hdc in back loops only across. (6)
Row 23: Turn to side of Rows 1-22. Work 34 sc across. (34)
Row 24: Fold cozy in half and join Row 22 to foundation ch with sl st across. (6)
Finish off and weave in ends.
CUPCAKE INSTRUCTIONS
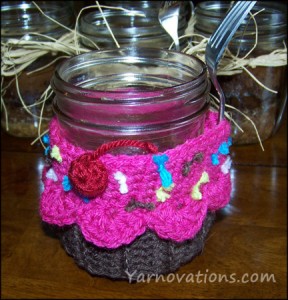 Raspberry
Hook: H
Attach Raspberry to any st.
Rnd 1: Ch 1, sc around. Join with a sl st. (34)
Rnd 2: Working in the back loop only, sc around. (34)
Rnd 3-5: Working in both loops now and until specified, sc around. (34)
Rnd 6: 33 sc, sl st. (34)
Finish off leaving a long tail for sewing.
Attach Raspberry to any front loop of Rnd 2. Hold your work so that the Raspberry is closest to you and the Chocolate farthest away from you. This way the shell st you are about to work will lay flat.
Rnd 7: Working in the front loop only: Ch 2, 5 dc in same st, *skip a st, sl st, skip a st, 6 dc in next st* Eight times. skip a st, sl st into base of ch 2. (62)
Finish off and weave in ends.
CHERRY INSTRUCTIONS (make 2)
Cranberry
Hook: F
Ch 2
Rnd 1: 8 hdc in 2nd ch from hook. (8)
Rnd 2: Sc around. (8)
Sl st. Finish off leaving a long tail for sewing.
ASSEMBLY INSTRUCTIONS
- Pin then sew cherry to cupcake. Pull tail out the top. Tie a knot about 1 ½” away from cherry. Trim yarn at knot. This represents the cherry stem.
- Tie little knots of yarn around the cupcake to represent sprinkles. Ours are Radiant Yellow, Radiant Green, Aqua, White, and Chocolate. Trim to desired length.
More Cozies in Store
 Love this cupcake cozy? There are more seasonal, holiday and just for fun cozies in the store in our Crochet Cup Cozy eBook. We’ve created an entire collection with 28 designs one ebook.
Looking for the cup and mug version? They’re in the ebook.
Each design in the ebook has instructions to fit Mugs, Cups and Mason Jars. Every design has a delicious recipe or fun craft.
All 3 cupcakes pictured above are in this ebook! AND the ebook includes 4 new designs – Dracula, Vampire, Mummy and Blue Jeans.
Blog: Coffee Cup Cozy Collection
Store: Coffee Cup Cozy Collection

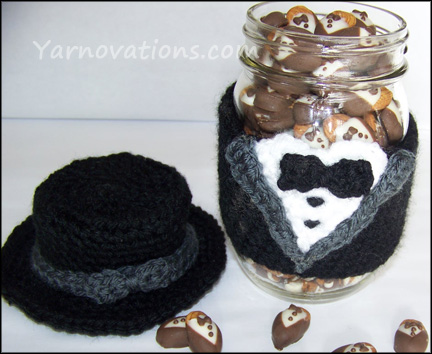
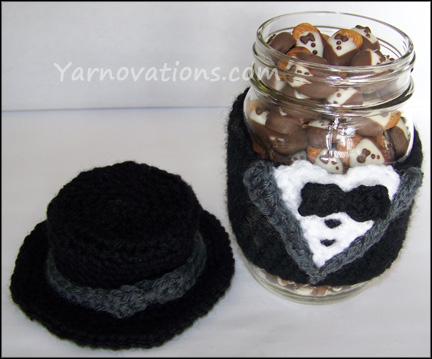
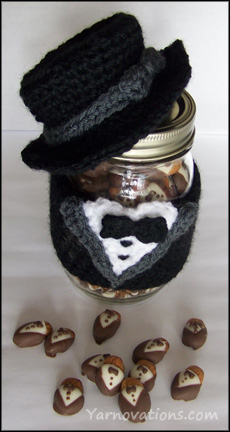 We’ve cooked up this Tuxedo Chocolate Covered Almonds recipe with coordinating Tuxedo Jar Cozy…’cause it’s party time!
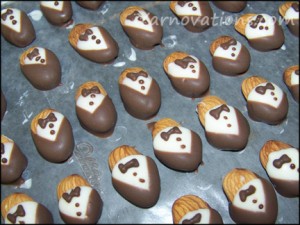 Melt 4 oz of Chocolate Almond Bark in microwave (stirring every 30 seconds). Holding the Vanilla coated almond at the widest end, dip the side edge of the almond into the Chocolate Almond Bark, turn and dip the other side edge. Scrape excess off back. Lay on parchment paper to cool and harden.
 Lightly squeeze bag as you create bow tie following the arrows. Stop squeezing at the bottom of the right most arrow. As you pull up and away from the almond, move the bag toward the start of the bow tie (top left).
 Black
Black This free crochet Santa hat pattern is festive and fun. It’s one-size-fits-all, fitting both men and women! Per my husband’s request, we crocheted ours in green. (Caution: someone called him a Grinch because his hat is green!)

